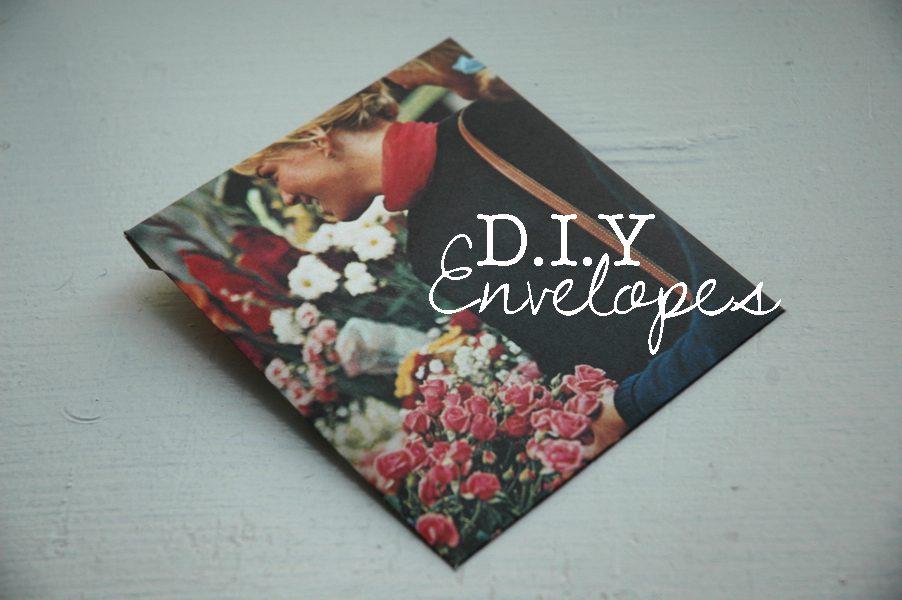
I’m pretty excited to share one of my favorite DIY’s – Envelopes!
I don’t know why, but I adore making my own envelopes, whether for mailing letters, attaching to gifts, or just to keep in my massive stash of envelopes (and believe me, it’s massive!). Anyway, it’s pretty simple and once you get the hang of it, super easy. I definitely suggest maybe using some scrap paper to practice first!
Anyway, onto supplies…
Some sort of photo (my mom picked me up this giant 1960s travel photagraphy book and it’s been PERFECT for envelope making:)
A bone folder (you could probably just use a slighting sharper butter knife if you don’t have one – I LOVE mine though, it’s Martha Stewart and pretty pink!)
Ex-acto knife
Ruler (preferably metalish)
Corner trimer
1.
try to get as big of a picture as you can! although, if you’re not mailing it you could go with a smaller one and make a “mini envelope”! You could definitely just make them out of fun scrapbook paper if you want too!
Then just go ahead and cut it out!
2.
Measure it out! my photo was 9 inches in total, so I figured my actual envelope width would be 4 inches and either side flap would be 2.5 (I always try to have just a tad bit extra on my side flaps so they have no problem coming together). And same goes for figuring out the height.
Score & crease your corners up away from the photo you want to show.
3.
Trim all those extra side corners off!
4.
Trim your side flaps and bottom at angles.
5.
trim your top flap and round off!
All Done!
Really, I promise, it’s pretty simple, and once you get the hang of it I promise you will have to stop yourself from making them! Here’s the finished one (in the middle) with a couple other I made:)


Very Cute, love your blog!
This is so awesome! Thank you! <3
I need to get one of those books!!!