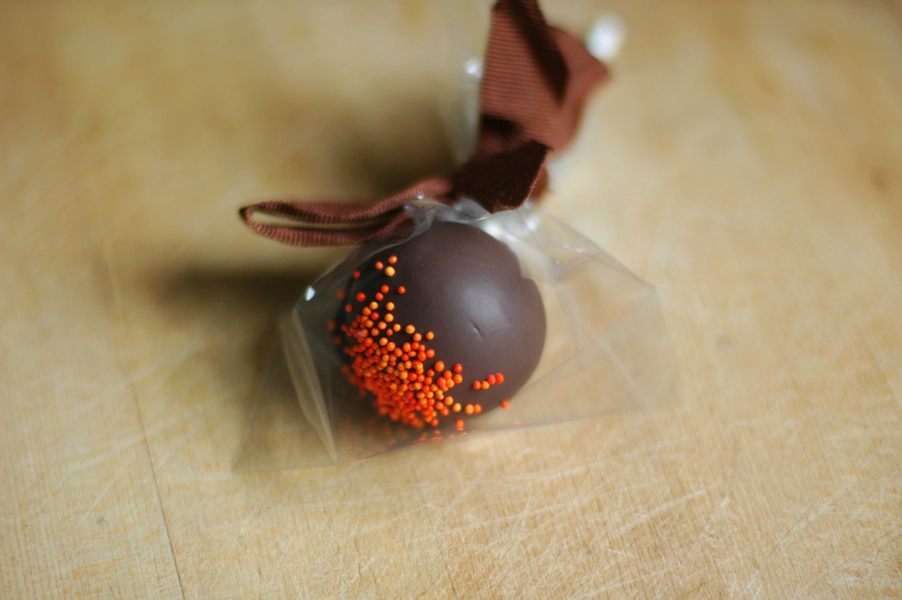
Even though I love to bake, I generally don’t talk about it too much on here, but I’ve had quite a few people ask about how I did the cake pops for my sister wedding. I have to admit, cake pops can be quite frustrating without knowing the right technique (I think the first 2 or 3 times I made them I ended up with a pile of cake mush in melted chocolate).
So here’s how I make them. My technique is adapted from the amazing Bakerella’s…
What you’ll need: -Cake mix cake (I used pumpkin for a tasty fall flavor:) -little tub of Icing (I used cream cheese) -Chocolate melts or chocolate chips (I used chocolate) -lollipop sticks -Styrofoam block (I have one of the ones people use for flower arranging, found in the flower section of craft stores!)
take that cake you have and cut it into chunks and throw it in your mixer. run it through your mixer until it’s just crumbs! Then put a few little globs of icing in there and mix up (start with just a little icing, and keep adding little-by-little until you get a dough-like consistency – If you’re not sure if you’re there yet just grab a hand-full and see if you can make a nice ball with it)
Grab small hand-fulls at a time and roll between both hands until they’re nice a smooth . Don’t make them too big or they fall off the sticks!
NOW FREEZE! I mean… freeze the cake balls. For a half hour, or until nice and firm.
Now that they’re nice and firm you can stick the lollipop stick about half way through and then take a little bit of icing and go right around the base of the stick.
NOW BACK TO THE FREEZER! For at least another half hour to hour. You want the icing to completely harden before you go to the next step.
Now it’s time for those bad boys to take a nice little dip in a chocolatey hot tub. If you’ve never melted chocolate before it’s pretty simple. Either temper in a double-boiler over the stove until melted (AS SOON as it’s melted though, take it off! It can go from perfect to trash in no-time-flat!), or go the super lazy girl way (ahem-this is what I do) and stick them in the microwave for 10 to 15 seconds at a time, stirring in between until just melted. So have that little Styrofoam block and any sprinkles you may want on top ready to go. I take the pops out one-by-one as I’m doing them so that they don’t get too soft. So with your dominate hand hold the lollipop stick, and with your other hand tilt the bowl toward you so you have a nice deep chocolate lava pit for your pops to dive into. Take the pop and completely submerge the one side and immediately twist to cover the whole pop in chocolate. If you’re adding sprinkles you need to put them on right as you pull them out of the chocolate because it dries fast! and then just stick them in the Styrofoam to keep them up-right until they completely dry (it usually only takes 5 minutes at the most).
PHEW. hard part is OVA!
Now just do that a thousand more times until they’re all done:)
and seriously, don’t worry if the first few come out not so pretty, even after making a million of them I still end up with ugly ones. Just keep at it and you’ll totally get it!
PS. The pumpkin/cream cheese/chocolate combo ended up being totally delish! Seriously, such a good fall snack! Perfect amount of pumpkin, cinnamonyness and chocolate:)


Thanks so much for posting that…in such a timely manner! There are a few steps i haven’t done before, so hopefully i’ll get the hang of it!
Oh, thanks for sharing! I’ve always wanted to try my hand at making cake pops and those look utterly amazing! <3
These were DELISH. So rich and moist! Pumpkin and chocolate are the perfect fall combo!
Perfect timing – to learn that is. My lil’ one’s birthday is in February. Finding this post gives me ample time to get it right 🙂
Thanks!!!