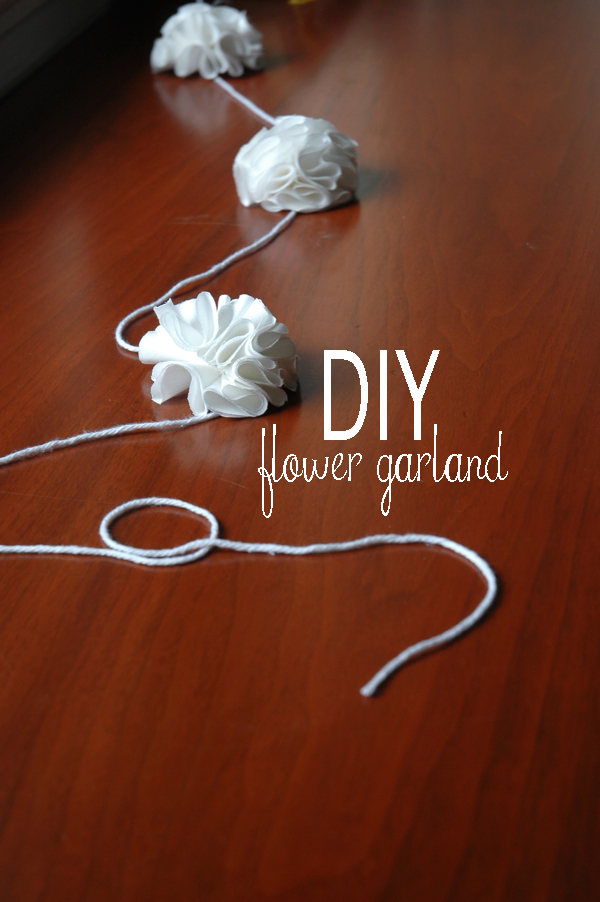
If you haven’t noticed I’ve been on a total DIY kick and am LOVING it!
This one is also super simple and, if you’re like me, you probably have everything you need laying around the house already (my favorite kind of project!).
Supplies…
Yarn
Needle & Thread
Scissors
Fabric (this is just scrap fabric I had laying around, perfect for this kind of project!)
First step!
Trace circles onto fabric.
I folded my fabric over a whole bunch of times so I could cut out a whole bunch of circles at once. I just used my little round leather holder-y thing to trace (you can use something super big, or super small, whatever size you want your little flowers to turn out!
Cut out the circles (I like to cut out a TON at once so I can put together a bunch of flowers at the same times, but if you want to test out your flower size first I’d just cut out a few)
Fold each circle over 3 times.
Sew your folded circles onto your string and push to the knot & just keep adding them on!
once you have all your petals on (I used 12 for each of my flowers) sew back through your first petal and knot it off!
It should look vaguely like this when it’s done. At this point I usually “fluff” it a bit and pull the petals apart so it looks more like a flower.
I actually switched to a bigger needle (came in a pack of assorted needles I bought at the craft store) for the yarn and just sew it through the back of the petals (if your using thicker yarn like me you may have to fight with it a little to get it through). Do the same with all of them and push them all the way down the yarn until you get them spaced the distance you want apart.
cut and tie off your ends!
All done!
I hung mine on my mirror:)


This is brilliant – great DIY! xx
very pretty!
I love this! I’m going to make some right away 🙂
Simply gorgeous! I’m dreaming up a black and orange one for Halloween!
Oh that’d be adorable!