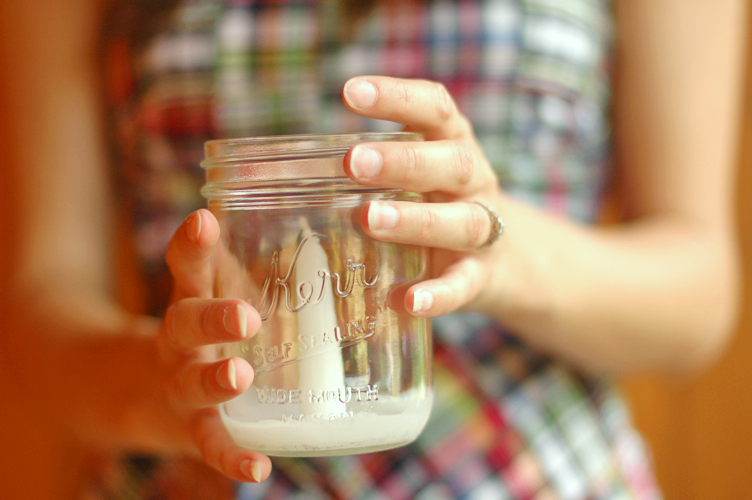
Mason jar crafts have become some of my favorites! If you don’t already have them sitting around, they’re pretty easy to find at thrift stores for just a few cents most of the time. Not to mention they easily add a vintage look to pretty much any craft you have in mind. I’m usually not a candle person, but I love how these turned out and they would be perfect for an outdoor dinner party!
This DIY is really cheap to make, but just a little bit involved, so if you plan on doing it yourself, make sure you read through the directions and plan it out ahead of time.
Supplies are simple: Mason jars and candle sticks (I got mine from the local craft store, they’re 6 inches)
You’ll also need a small soup pot and a heat-safe bowl to create a double-boiler.
Start by carefully cutting 2-3 inches off of the bottom of your candle sticks (you can cut more or less if you want – the best way to gauge is to hold your candle sticks right up to your mason jars and deicde how tall you want them to stand inside). Save the bottom parts to melt down.
In order to safely melt down those bottoms from the sticks, you’ll need to create a double-boiler on your stove. It’s quit simple, you just need to put some water in your pot (you want a good amount, but you don’t want your bowl to touch the water when it sits on top of the pot) and place your heat-safe bowl on top with the candle sticks in a bring your water to a boil, and let simmer.
It may take a little bit for them to start melting down, but be patient, don’t rush it, and always keep an eye on it! This next step goes quickly so make sure you have those tops of your candle sticks, your mason jars, and a decently long-handled spoon nearby.
*The bowl that the wax has melted down in is obviously very hot – be careful!*
Take your candle sticks and press the bottoms down into the melted wax for about a minute. This will both coat them in the melted wax as well as melt their bottoms just a little bit. Then, quickly, push the melted bottom into the center of the bottom of the mason jar, and hold for a minute while it dries and sticks. Using a large spoon, carefully spoon some of the melted wax into the bottom of the jars and gently swish around to coat the bottom, then repeat 2-3 more times to get a nice thick coating.
Let cool for 10-15 minutes, and then you’re done!
Once their dryed and cooled, you can scrape off any wax that you might have accidently dripped down the side (who me? do that? never!). You could even go crazy and use a dull butter knife to try to scrape some of the wax on the bottom down to be even, but personally, I like the home-made look here!
Can’t you just see these guys all down a nice long table in a garden for a dinner party?


Gorgeous!
Super cute!
Great idea! I haven’t made much jelly this year, so I have lots of jars lying around…
I have an issue with chipping up the mouth of my jars, which means I can’t actually can with them. I’m going to have to make some of them for camp.
What a beautiful blog you have. Lovely photos and great ideas, very nice to visit. Have a wonderful day!
Adorable, I love these! I love your blog too, been perusing your old posts the past 15 minutes, haha 🙂
Thank you so much Lauren! I’m glad you like it:)