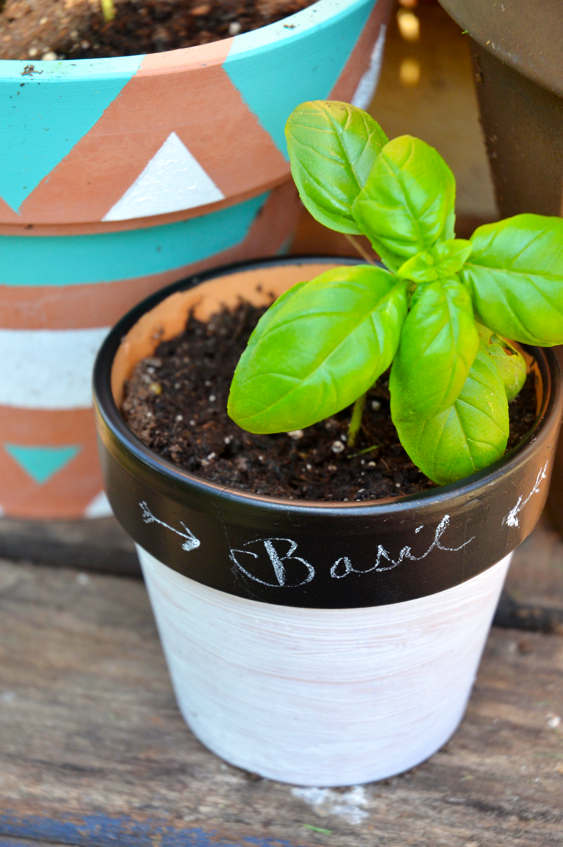
I’ve been having a bit of fun pretty-ing up my flower (or rather, herb) pots this year! I like making each one a little unique home for their repective plants, and when I got my hands on some chalkboard spraypaint I figured it was perfect to not only dress up a pot, but an easy way to label them too!
Supplies:
Chalkboard spraypaint, Painters Tape, Flower Pot, Craft Paint in White (or any other color)
using the painters tape, tape along the bottom edge of the top of the pot down and the inside of the pot. Spray exposed area with chalkboard spraypaint (I did about 3 light coats), allow to dry for a day. Using a flat paintbrush, paint a thin layer of your craft paint on the bottom portion of the pot. I loved the “brushed” look so I only did one coat, but you could certainly do a few coats and get more of a “color blocked” look!
Simple, right? Now, if your a forgetful and un-gardeny as I am, you can label the pot using a bit of chalk!


Very cute, I love this idea! I have a few plants that need to be re-potted and I may do this, only my plants have names so that’s what I’ll write on them, hehe
Love them, I think a few would look lovely in my garden :)Thanks for sharing.
I love this idea. Clever and cute. I am not very “gardeny” either.
This is a pretty cute idea! I just got some herbs and discovered that the little plant marker fell out somewhere between picking them up and getting them home. This is a great idea for instances like that!
thanks so much for visiting! love this idea, we just planted a little garden too!!-Jessica
http://runninginsideus.blogspot.com/
I really need to follow you, so lovely DIY’s. Luckly I saw you over at goinghometoroost! Very Nice chalk project, I just love chalk paint and have just done a chalk DIY. Have a wondeful day
Thank you!I didn’t realize I was featured on there, so thanks for the heads up:)