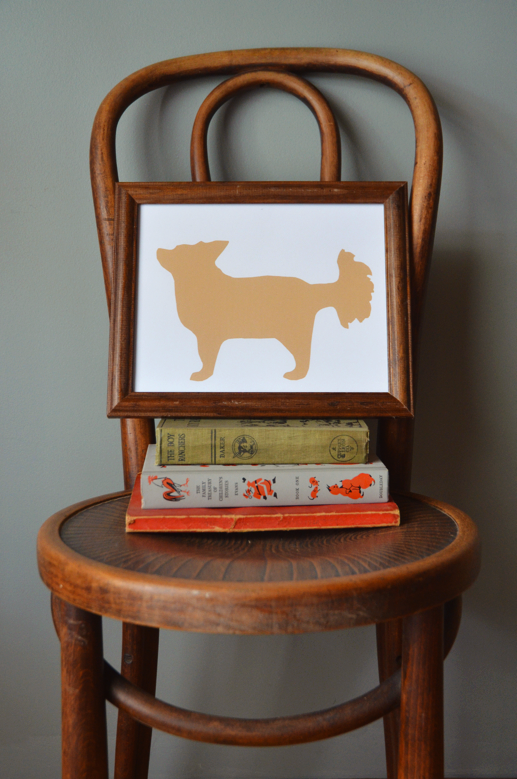
I love a good silhouette, and recently I got to thinking it would be so cute to do some of the silhouettes from our actual animals! Of course, the pupster is our baby so he got to have his done first.
What you need : Photoshop (I use PS Elements 6.. I know I’m way behind on the times..), heavy card stock to print on, and a frame, and a photo of your pet.
I started with this photo:
It was actually snapped with a camera phone by a friend. So they photo you choose doesn’t need to be high quality, but you do want it to be a good side shot of your pet.
Start by just using your eraser to trace along the outline of your pet and then erasing the rest of the photo. If your guy has a bushy tail like mine, you can go wide around it and we’ll deal with that next (if yours doesn’t, you can just skip down a little!).
Fluffy tails are definitely the tricky part, I used the magic wand tool to grab non-tail pieces and delete them until I had just the basic fluff left. At this point it doesn’t need to be perfect.
Using the magic wand, grab all of the white surrounding your little guy, go select > inverse (this will grab any parts of your pet) and then “delete” (just make sure you change your defualt delete color to something other than white, other wise you’ll just end up with a white piece of paper!).
Once you have just the silhouette you can go back in and touch up the tail. I rounded my edges off a bit with the eraser so it didn’t look so jagged.
Once you have that all done you can go back in and change the colors to whatever you’d like! I originally played around with doing the same colors they had used in the photo that inspired me, but all of my frames are a dark wood and decided it’d be more fun to do the backround a nice crisp white.
Then it’s time to frame!
Hope that wasn’t too confusing! It’s quite simple, really, and took less then ten minutes to do.
I am totally in love with it! Maybe that’s because it’s my baby but either way – I adore it! I can’t wait to do more and one day have a whole wall filled:)


So cute! I like the idea of doing this for the whole pet, I did something similar with my cats, but I did a sort of cameo profile thing instead. I went for the old school route though and printed out the picture of my cats and traced it through my window and glued in onto black construction paper. Yours looks much cleaner and modern, I like it.Much love, CharChar~
Just found your blog. Love your easy step-by-step instructions. I have been thinking of doing a pet silhouette for some time now. I am MacGirl such as yourself, but I don’t have Photoshop Elements… I use the Preview application and the “Instant Alpha” feature found on the toolbar. I find you can erase the background from a picture quite nicely. No tracing around the image, I’m terrible at it. You can also saturate the color by using the “Adjust Color” feature, right there in the application and print on whatever background paper you want too. That is, if you wanted a black silhouette on patterned background maybe…. Thanks again.
Thanks so much Katrina! It’s good to know that there’s a way to do it for people without photoshop!