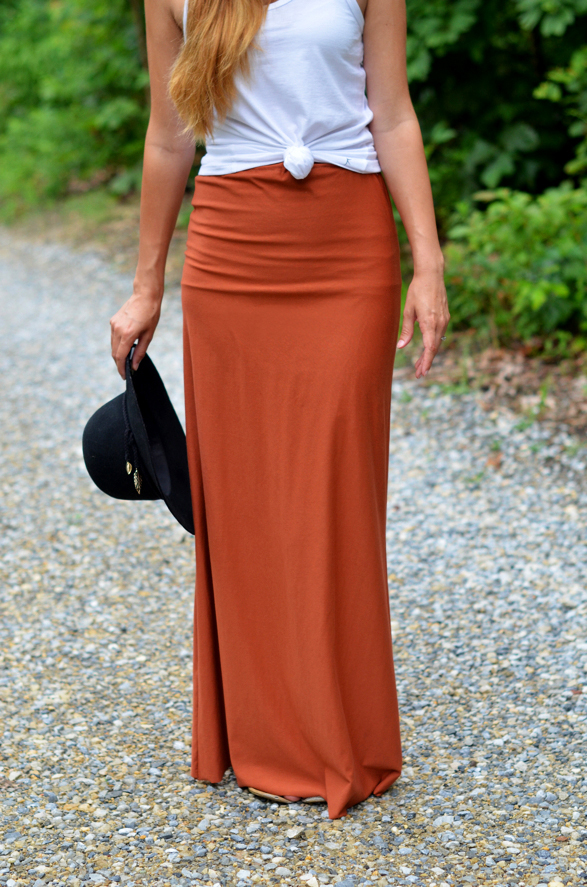
I am back with my maxi skirt tutorial as promised! You may scroll down and think “WOAH that’s a lot of steps!” but I promise it’s really simple. I broke it up into lots of little steps so that those of you who are new to this sort of thing have plenty of visuals to help you (I know I personally do way better with visuals then with trying to read through directions alone). Those of you who have made skirts before, this should be a breeze. Just make sure you read through before you dive right in!
What you’ll need: 2 yards of stretchy knit fabric, measureing tape, scissors, sewing machine, matching thread, elastic for waistband
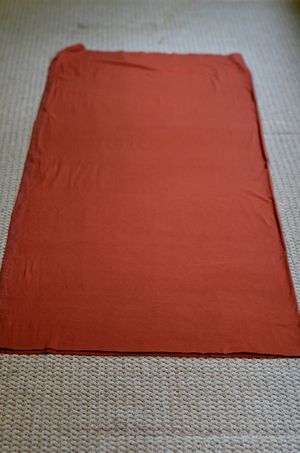
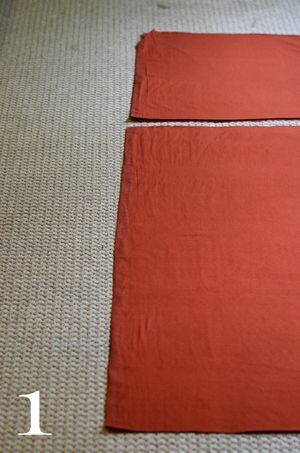
1. Measure how long you want your skirt to be (from your waist to the floor) add 4 inches. Lay your fabric out flat on the floor (it should be folded over lengthwise, so you have two layers). Cut your fabric to the length you just measured (don’t forget the +4 inches).
2. Measure your waist, divide by two and add 2 inches (waist in inches ÷ 2 + 2). You can mark that centered on one end of your fabric with just a little pencil mark to make it easy. Cut your fabric at a slight diagonal from one side of your waist mark to the wide end of your fabric.
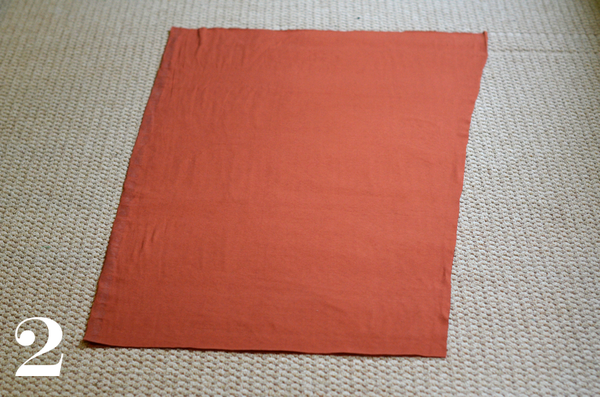
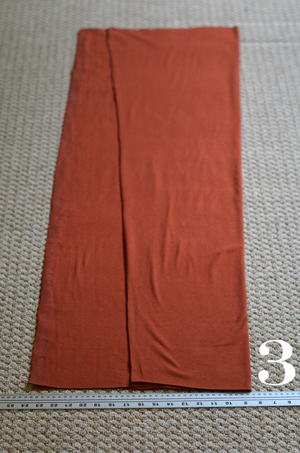
3. Fold the side you just cut over to your other waist marker, smoothing out the fabric as best you can.
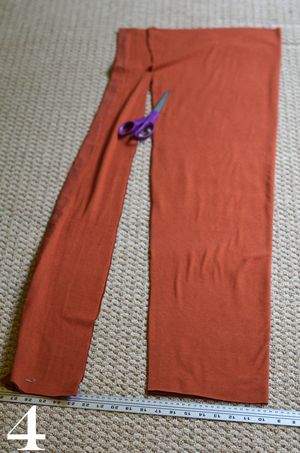
4. Use your alredy cut side as a guide as you cut the other side. unfold fabric. You’ll now have two pieces that look sort of like a V with the bottom chopped off.
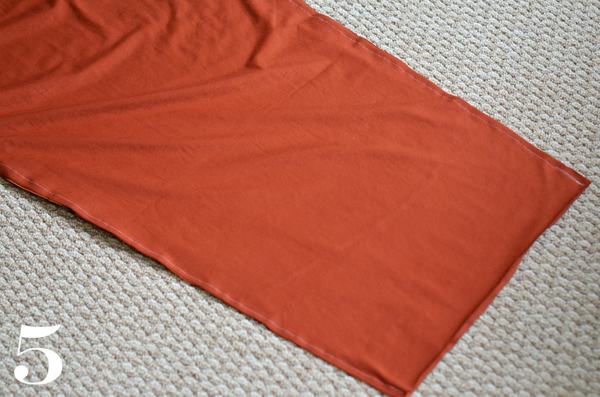
5. With right sides together, sew both length sides of the fabric together.
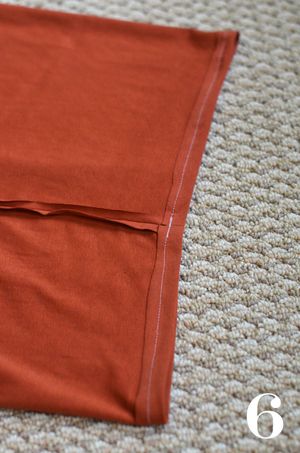
6. Take the smaller end of the fabric (this will be your waist) and fold the top over, you can iron it just a little to help keep it in place, sew the fold down (careful not to sew the whole top to itself – you won’t be fitting your waist in then!). – technically you could skip this step but it keeps your seam looking nice.
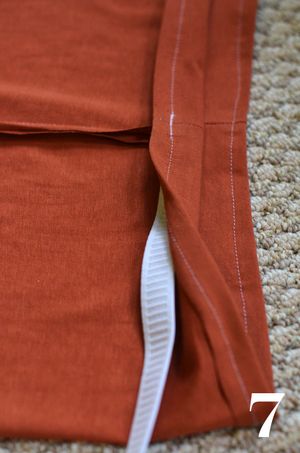
7. Your going to fold the seam you just made over again. Wrap your elastic around your waist, keeping it fairly taut, but not uncomfortable, cut off excess. Slip under your fold to get an idea of how far to fold your fabric over (you could also measure this to get it nice and perfect all the way around, but I just sort of eye it)
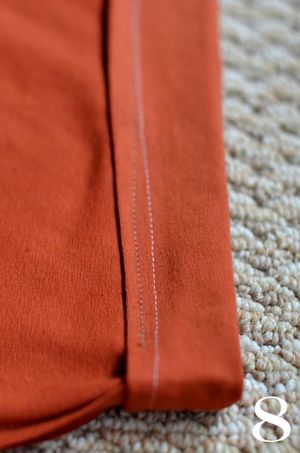
8. Remove elastic, iron and sew your new fold, leaving a 2 inch gap between your seam start and end. You can see I switched out my white thread for a tan that blends into my fabric a little better since this will be seen from the outside.
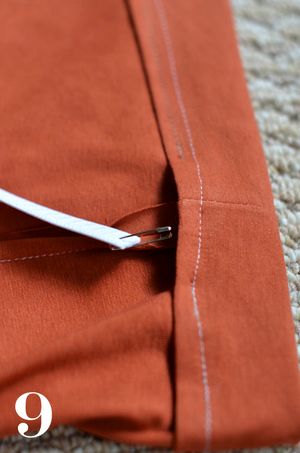
9. Take your elastic (I put a little safty pin on the end of mine to make it easier to grab) and fish it through the gap between seams and through your waist band (make sure you don’t loose your other end in there too!).
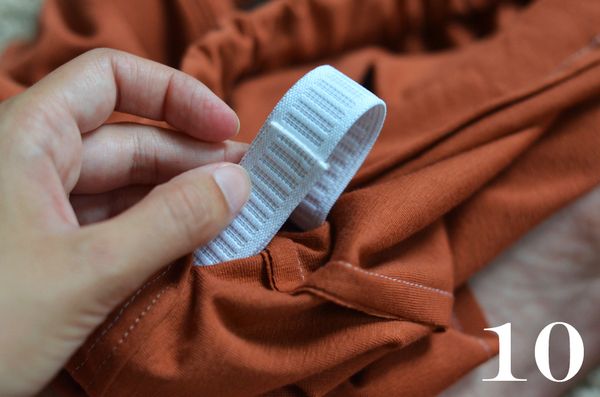
10. When you’ve got your elastic all fished through, sew each end together. At this point you want to try it on and make sure you elastic is tight enough to keep it up. I ended up taking another inch or two off so it wouldn’t go anywhere. Once your happy with your elastic you can sew that gap back up!
Last things: You can hem your skirt if you want it to look really nice, but I just opted to cut off the little bit of extra at the bottom. These types of fabric really don’t have any problems with unwraveling so you should be fine if you go that way.
It really was pretty simple, I think I whipped mine up in about an hour or so. For those wondering about the first maxi skirt I made, I used this tutorial from Winthrop Chronicals. I liked the elastic wasteband on mine a little better, but I think it’s all personal preference.

I love this! I’ve been looking for a nice maxi skirt for ages, but I haven’t found any that are long enough. I guess I should just make my own! I pinned this so I can remember to make it 🙂
This looks really cool! Since I’m petite it’s hard to find a maxi that looks good on me. Ill have to try this. By the way, how do you make the shirt knot you have in the photo? Id like to try it 🙂 Thanks
Thanks Dani! The great thing about making one yourself is that it’s custom fit to your size:)The knot is just an absolute basic knot, just looping it through!
This awesome, I plan to make a lot of theses for the summer