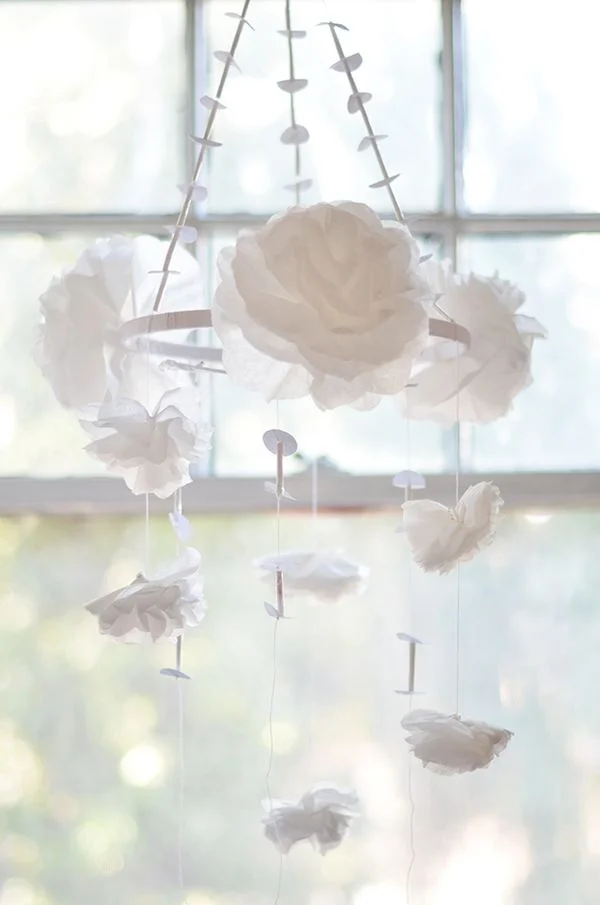
A while back I fell completely in love with the little chandelier that Ariel Alasko has hanging in her apartment. It turns out it’s called a Pajaki, and Design Sponge did a lovely little post all about them. Well, ever since I saw Ariel’s I’ve had them on my “list”. You know, that crazy long DIY list I’ve been neglecting since our whirlwind summer last year? Well, now that things are finally feeling totally settled I decided to start digging into it and this little guy was one of the first things!
The most fun part of making it was feeling like I didn’t have to copy anyone else’s. You can make them completely your own, whatever colors, shapes and sizes you like. If you want to follow along with mine though, here’s some details…
For mine I used a lot of things I already had on hand : coffee filters, plain paper, a hot glue gun, white embroidery floss, and one large quilting hoop and the small hoop I just made out of some thick guage wire I already had.
I started by covering the hoops in the thread, just wrapping it tightly around. It was teadius, but I didn’t mind having something for my hands to do while watching tv one night. Then I made the flowers. I used this tutorial which was nice and simple. I didn’t even use the masking tape, I just fluffed my flowers and gave them an extra staple when needed. I just rolled some plain old paper real tight and taped it to keep it together and then cut them to inch sizes. I also just cut my own little paper rounds out myself and use a quarter as a pattern.
Next I attached the two hoops together, with the small one floating just slightly lower inside the bigger one. Using hot glue I attached three large flowers to the outside of the large hoop. In between the flowers I wrapped peices of thread with long tails on each side. The top part of the tail I added some of my “paper straws” and circles using an extra big needle to get them on. Once all three top tails were decorated a I tied them up (at this point it can be helpful to hang the chandelier to work on). On the bottom of the tails I used my needle again to add small flowers, tying knots underneath each one to keep them in place. Then I just added a couple more pieces of thread with straws and circles to the smaller hoop and I was done!
I also made a little video to go along with it! It’s not an instructional video, it’s mostly just for fun, but it does show a lot of the process.
Have any of you guys ever made one? They’re really fun! I also think kids would love to make them too. It’s a great little rainy day activity.


gorgeous!! i love this. it turned out great~xxoo,
nikki
http://www.dreaminneon.blogspot.com
This is really pretty! http://www.lovelyclustersblog.com
that looks so pretty!<3
FIONA
http://www.fionabrookslifestyle.com/
so pretty, i love this!Miche from Buttons and Birdcages