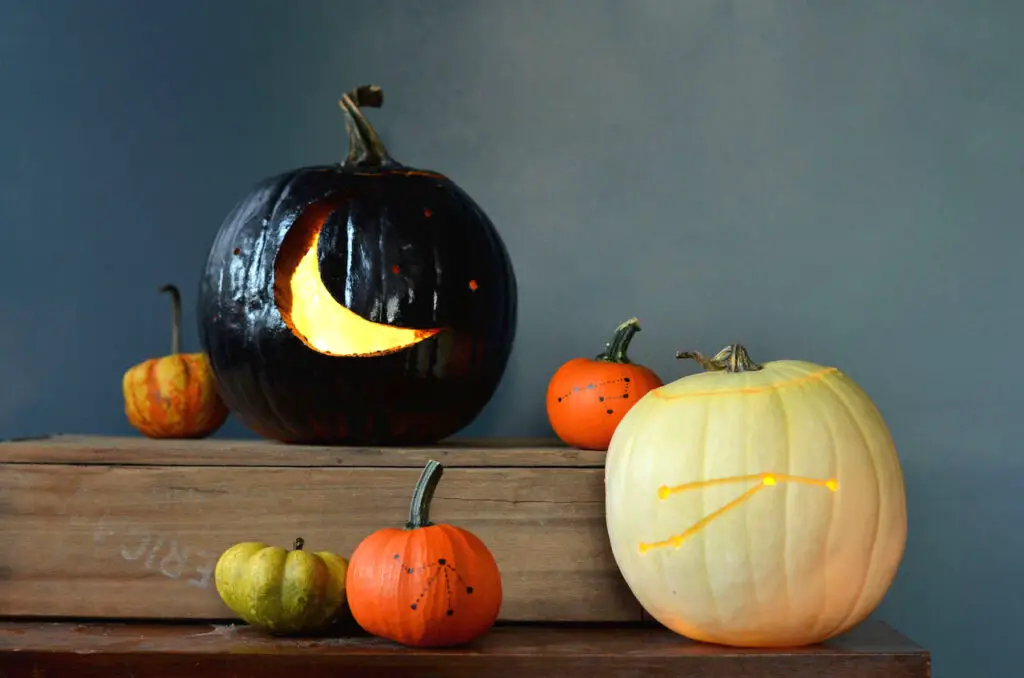
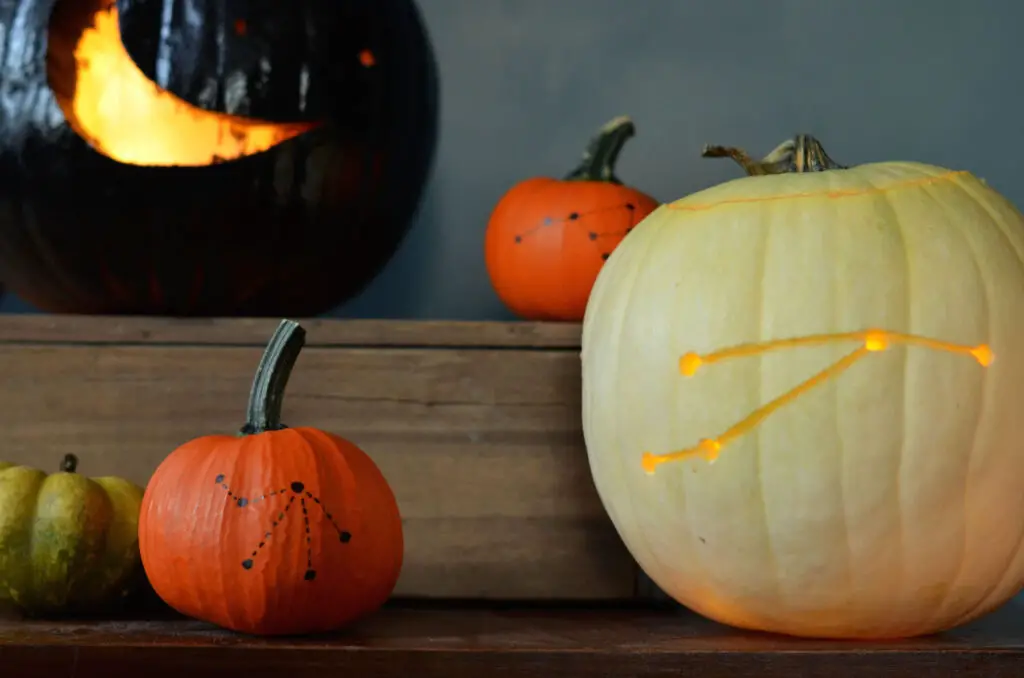
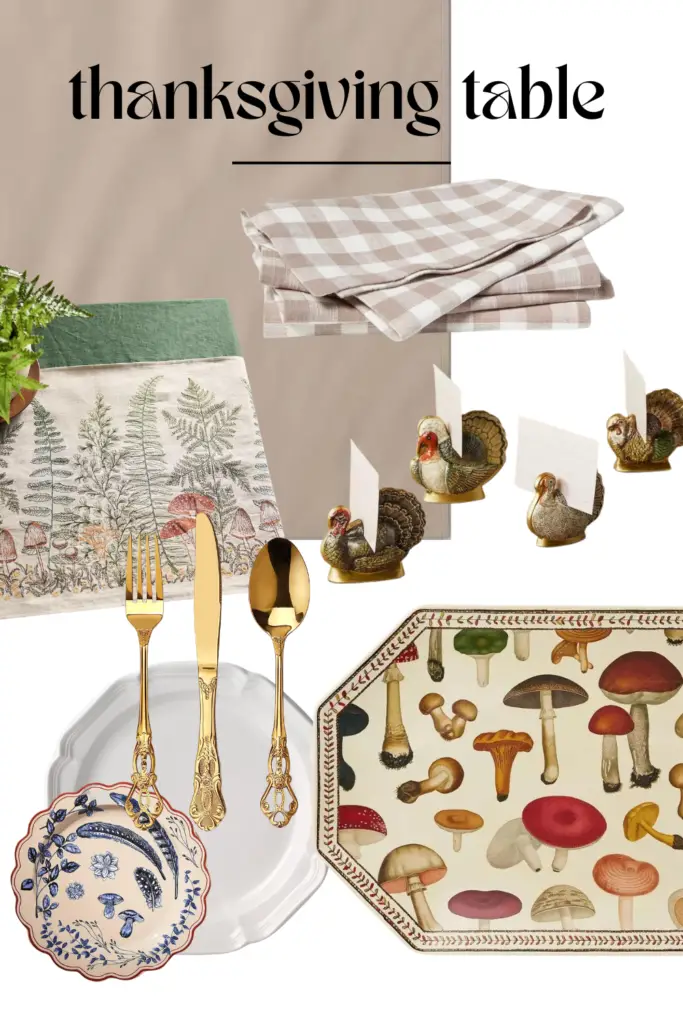
Pumpkin season is in full swing, and I love stuffing our house full with any and all different types I can get my hands on! I also have been itching to try something new with them. Growing up I don’t remember carving pumpkins much, and for the most part I haven’t been that interested in it, but this year I decided I wanted to give it a try. I wanted to doing something really simple, but interesting. I love looking at the different constellations and thought it would be really fun to do some on pumpkins! It ended up being super quick and easy to do, and I actually love the way it turned out!
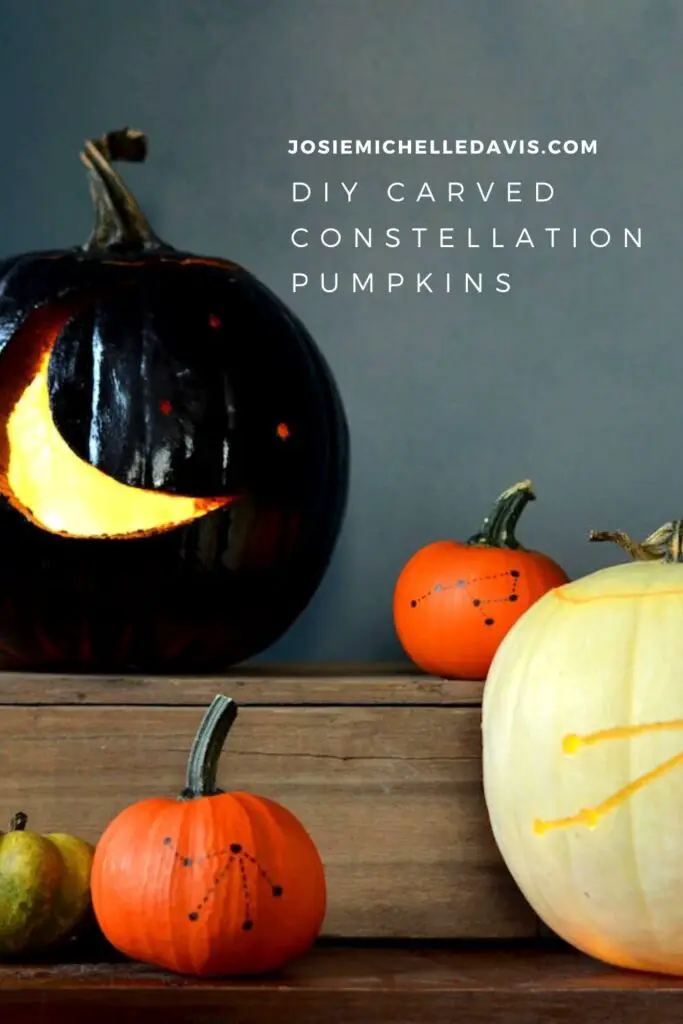
DIY Constellation Pumpkins
WHAT YOU’LL NEED :
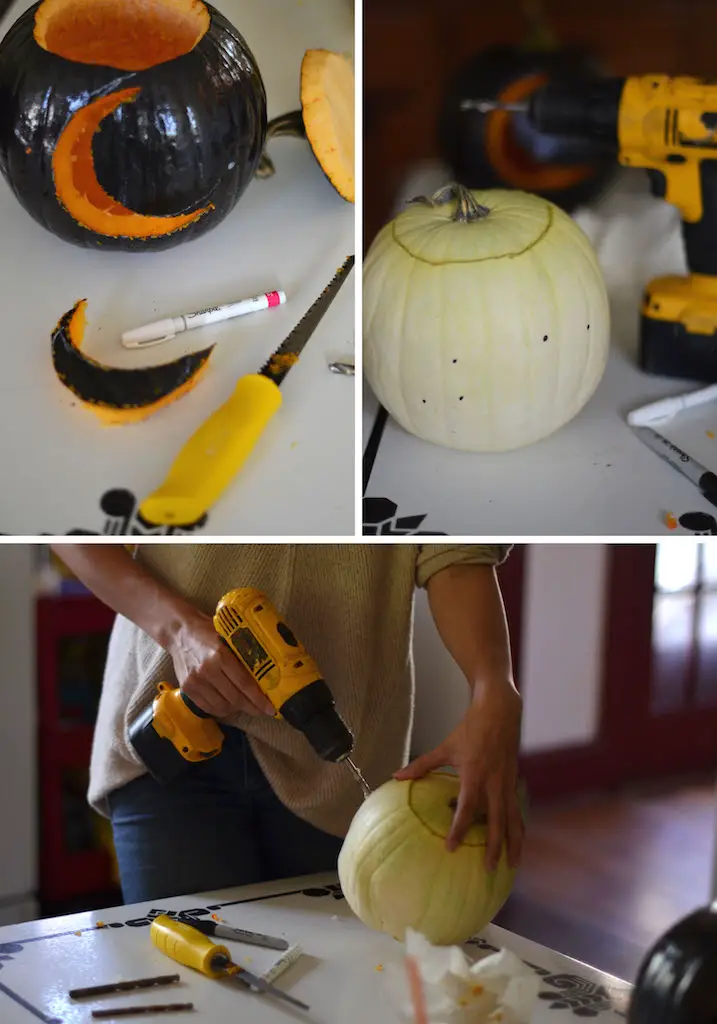
- Serrated knife for carving (I borrowed my husband’s drywall saw)
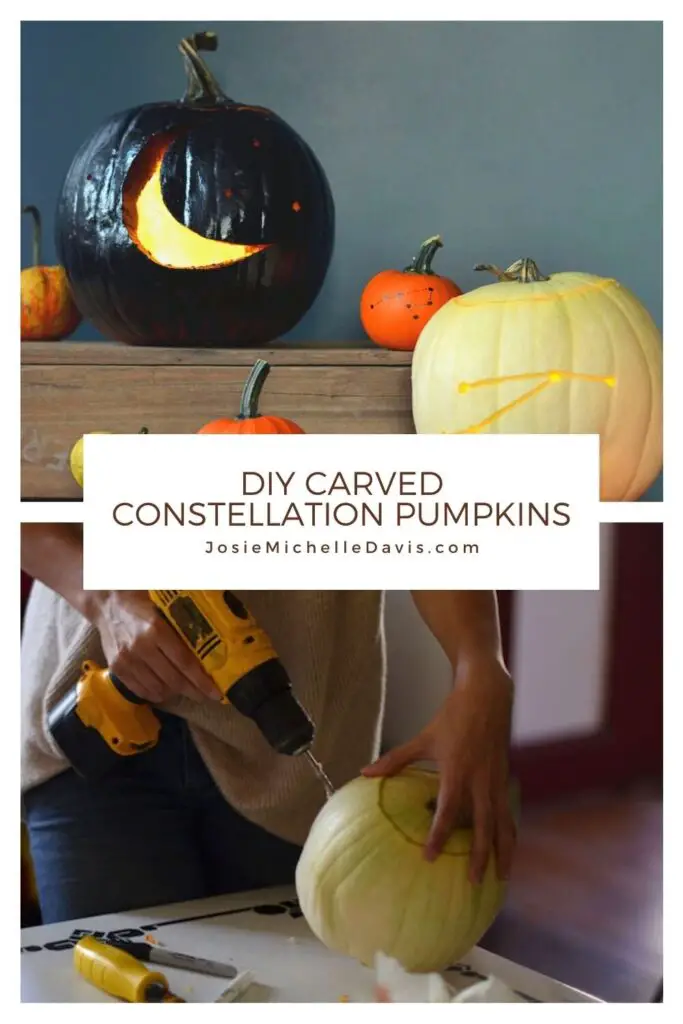
- Drill with several different sized bits
- Sharpies
- Spray Paint (optional)
I started by cutting out the top, and removing the guts. For the moon I simple drew the shape I wanted right onto the pumpkin, and used it as a template to cut out with the knife (since I had spray painted it black, I just touched it up with spray paint when I was done to cover any permanent marker still showing). For the constellation I drew on the main start points, and then used my drill to drill them out. I then used my knife to carve the lines, but only going about halfway through the pumpkin flesh, that way it would show the glow just a little!
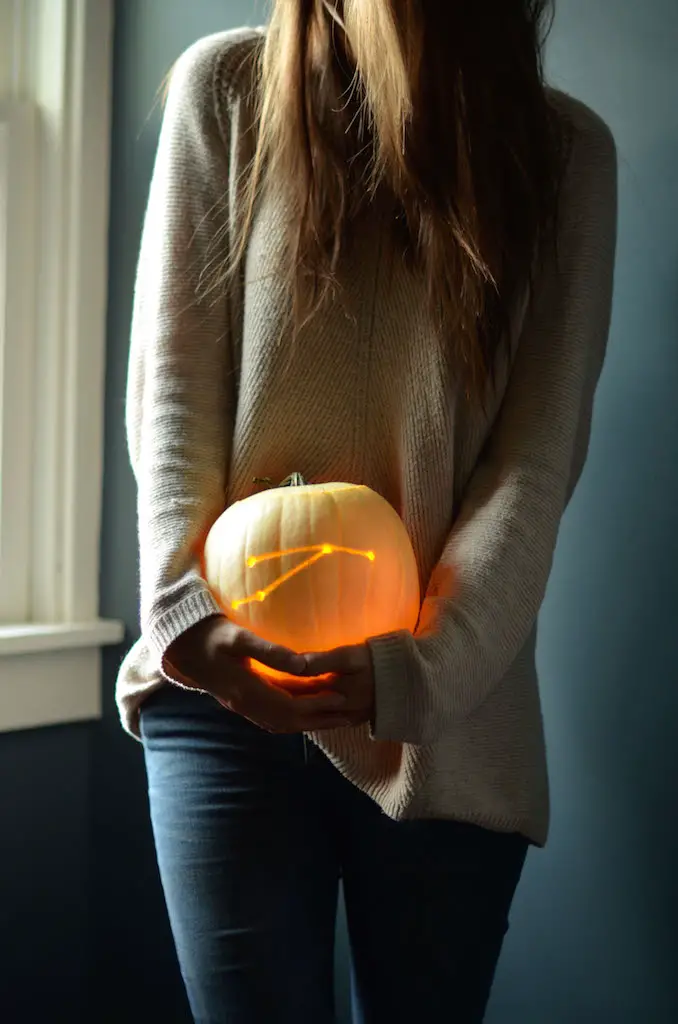
For the little baby pumpkins I just used regular and fine tip sharpies to draw the constellations right onto them, and love how adorable they came out!
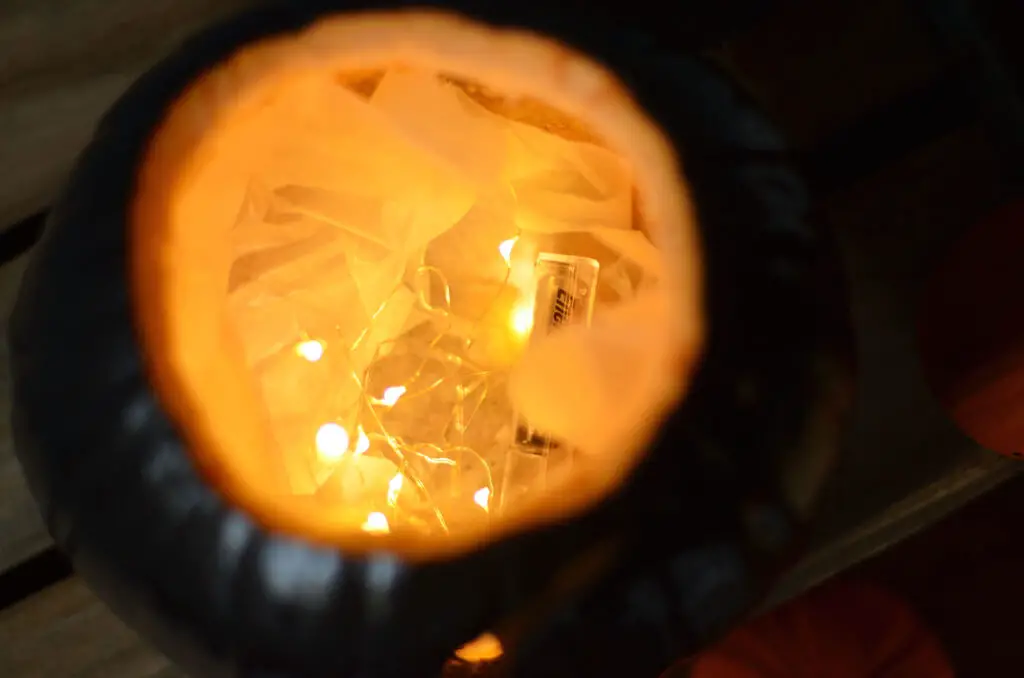
Instead of candles I opted for battery powered LED star light strands. I simply lined the bottom of the pumpkins with a little waxed paper, bundled up the lights and stuck them inside! I got mine from Target, but Here are similar ones on amazon. I love the glow they give, and I don’t have to worry about keeping an eye on them!
Have you guys done any pumpkin carving yet?
So cute! Due to birthdays and anniversaries in fall it’s usually November when I go–“Oh, decorations!” at which point it is time for Christmas. But these are really lovely pumpkins.