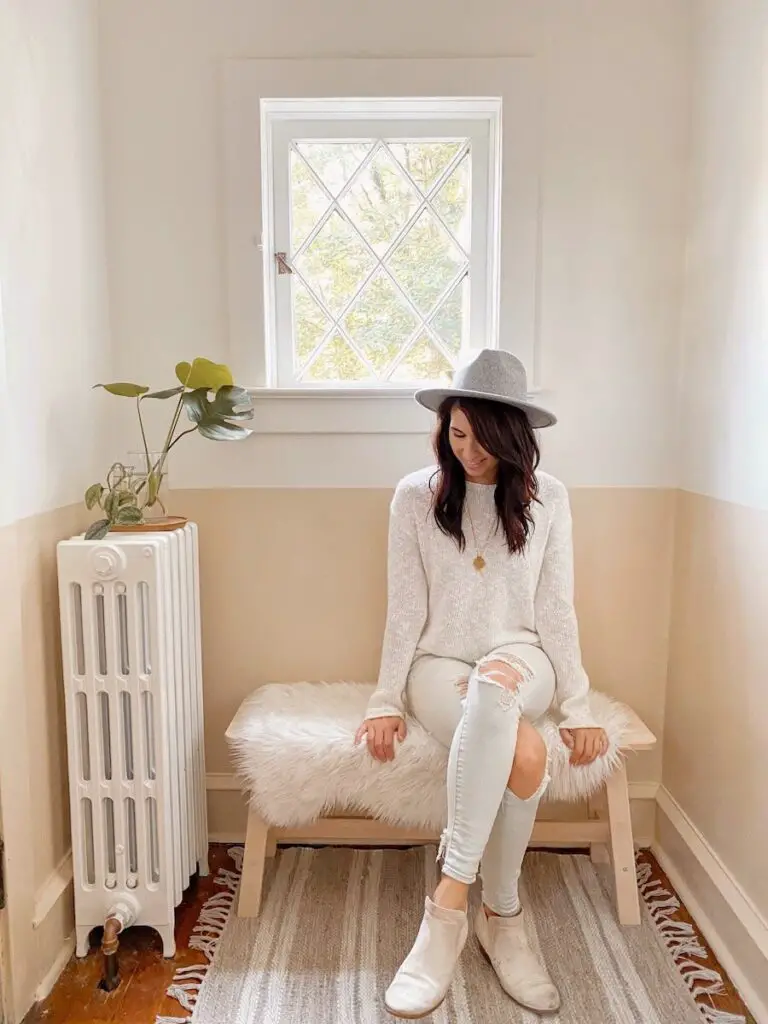
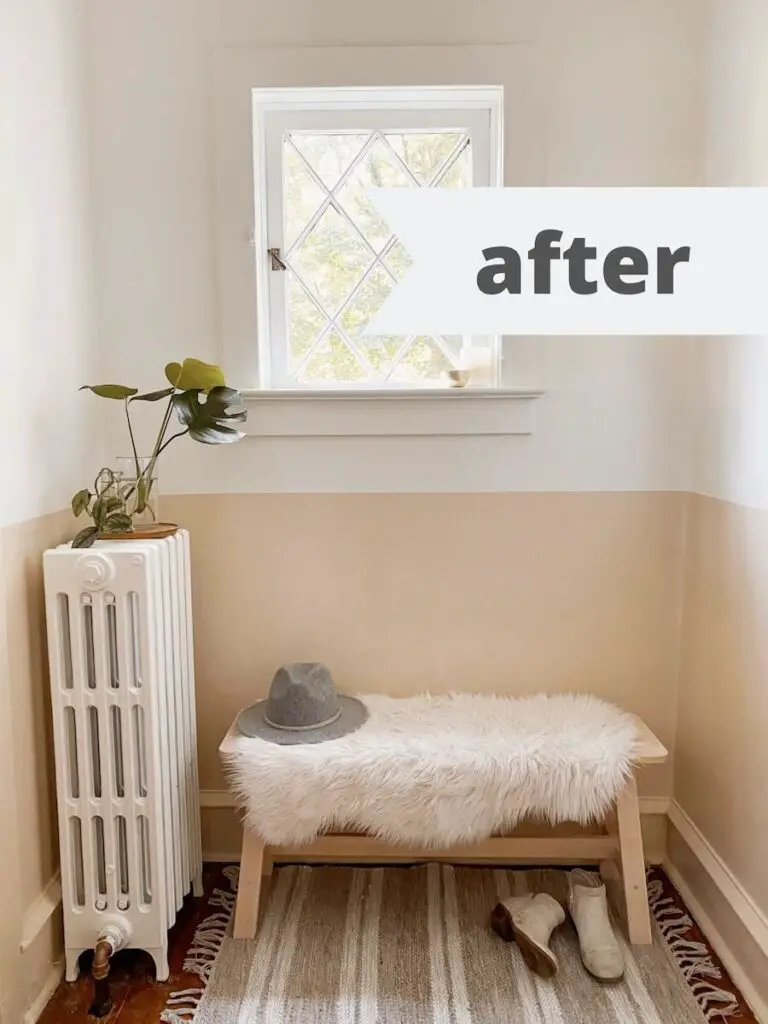
Wowza. I can hardly believe it’s our house when I step into our entry anymore! On a whim a few weeks ago I decided to redo the entryway at the same time as the bonus room, and it’s crazy to think I waited so long to tackle this project – it makes such a huge difference!
I shared some inspiration a little while ago that I was looking at for this space that was mostly bright and white. I got the entryway all painted and then it felt too white. That sterile kind of white. I thought about changing the white on the walls to a softer, creamier white, but then something hit me – color blocking!
Color block walls weren’t ever really on my plan for this house, but something just spoke to me and I decided to just go for it, and I’m so glad I did! It was a simple change and adds such a fun element without being over the top or too flashy. I just dove right in without even testing out samples, and am happy to say it all worked out.
Color blocking is a super easy way to add some interest to any room. I especially love it for a smaller space like this, but I’ve seen it in larger rooms looking pretty snazzy too. Here’s how I did it.
Disclosure – This post contains affiliate links that I may earn a small commission on with no additional cost to you.
How To Create a Color Block Wall
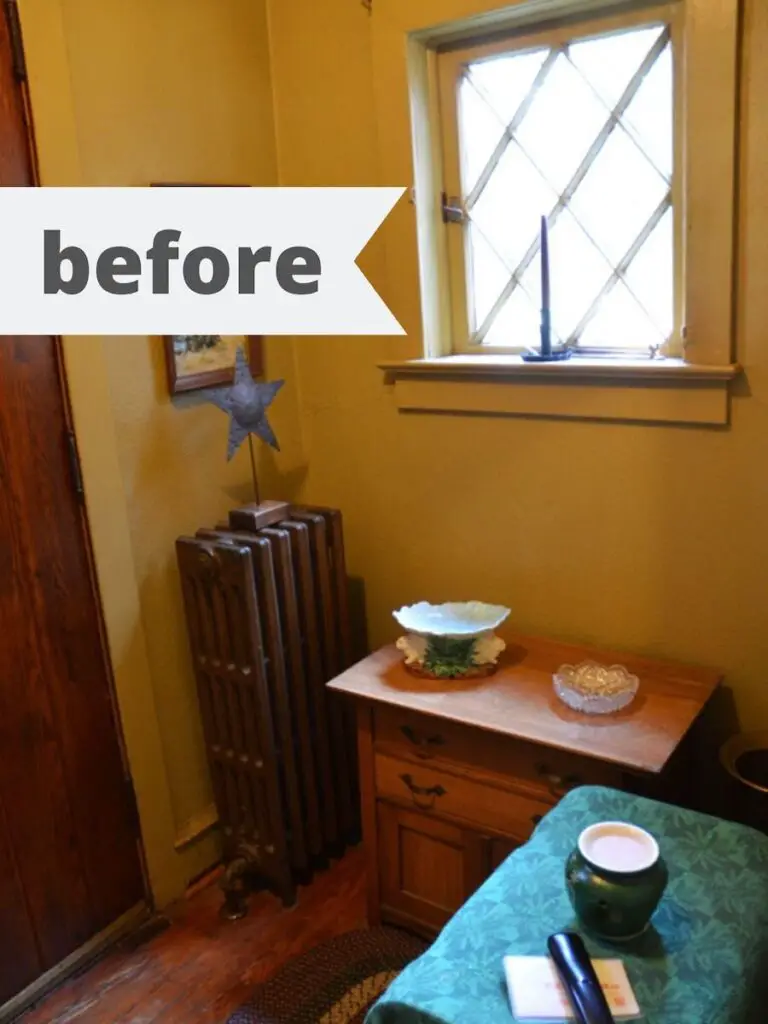
Paint all walls and trim in white
(I used high-gloss paint on the trim and semi-gloss paint on the walls – our plaster walls do better in a semi gloss, but many newer walls do well in satin. Go with whatever works best for your house!) .
Decide the height you want your color blocking to be.
I wanted ours to hit somewhere between the top of the radiator and the bottom of the window trim, so I just used a tape measure to played around to figure out the height that felt best to me.
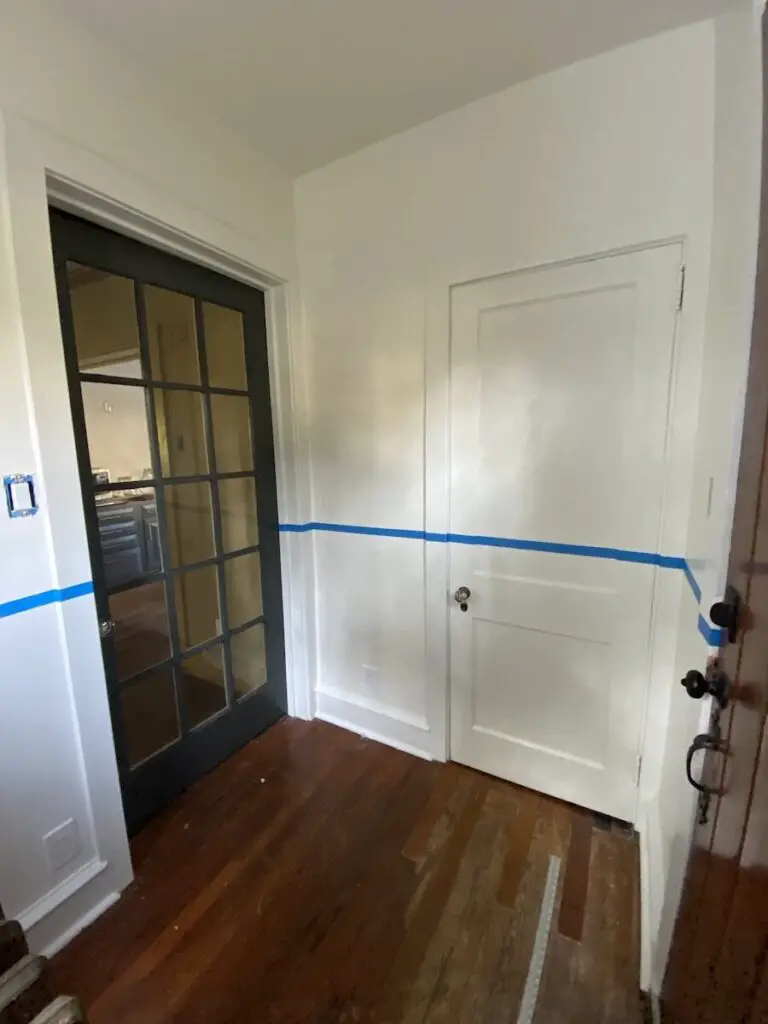
Use a pencil to mark the height every foot or so around the room.
This will help you guide the tape into place. You will also want to decide at this point whether you will be continuing the color blocking over doors. I left our front door unpainted, but decided to include the bathroom door in the color blocking party and love how it turned out.
Use pencil marks to guide your painters tape placement.
I highly recommend using a really good painters tape to ensure you get crisp lines. I used this sharp edge painters tape and it worked perfectly for me.
Paint!
My color took two good coats, but depending on how start a contrast the color is to the one underneath you may need more.
Wait to remove the tape until the paint it dry.
I know some people swear by removing the tape while it’s wet. I did some digging since I’ve had trouble with painters tape before and was curious what the “right” call is. If you’re using a high quality tape you should let the paint dry completely (I left mine overnight) before removing the tape. I went this route and it came out perfect!
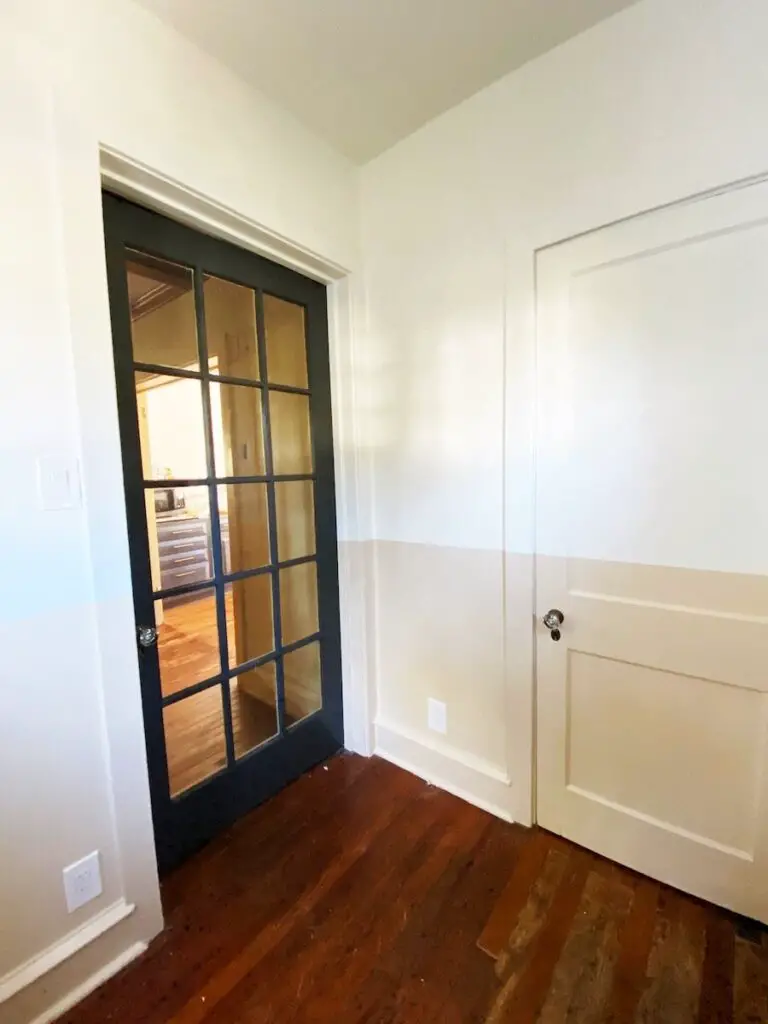
Paint colors used:
Sherwin Williams Alabaster White for walls and trim
Benjamin Moore Everlasting for color blocking
Quick tip
I took in the Benjamin Moore Everlasting paint chip to Lowes and they were able to mix it up for me. Benjamin Moore can be expensive and not everyone has a store close by, so it’s nice to have the option to get those same nice colors!
Links
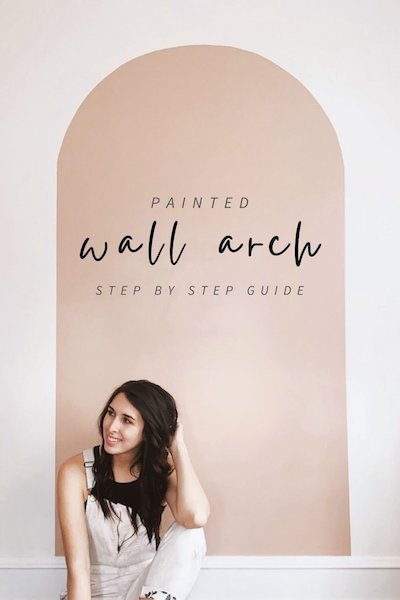
Painted Wall Arch DIY
If you’re wanting to try a painted arch accent wall in your home decor, I highly recommend you take the plunge! It’s such a fun and easy project. I did the whole thing in under 2 hours, and it was less than $20 to do. I was able to use a sample size of paint for my arch, but if you’re doing a big arch you may need a little more paint.
Let’s get social.

COMMENTS