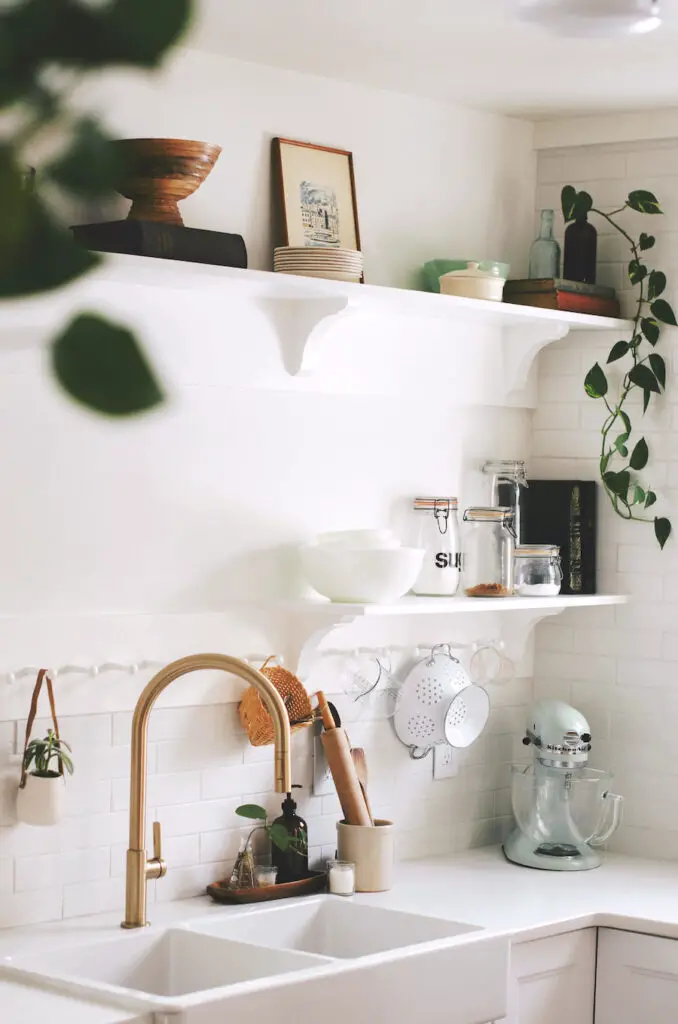
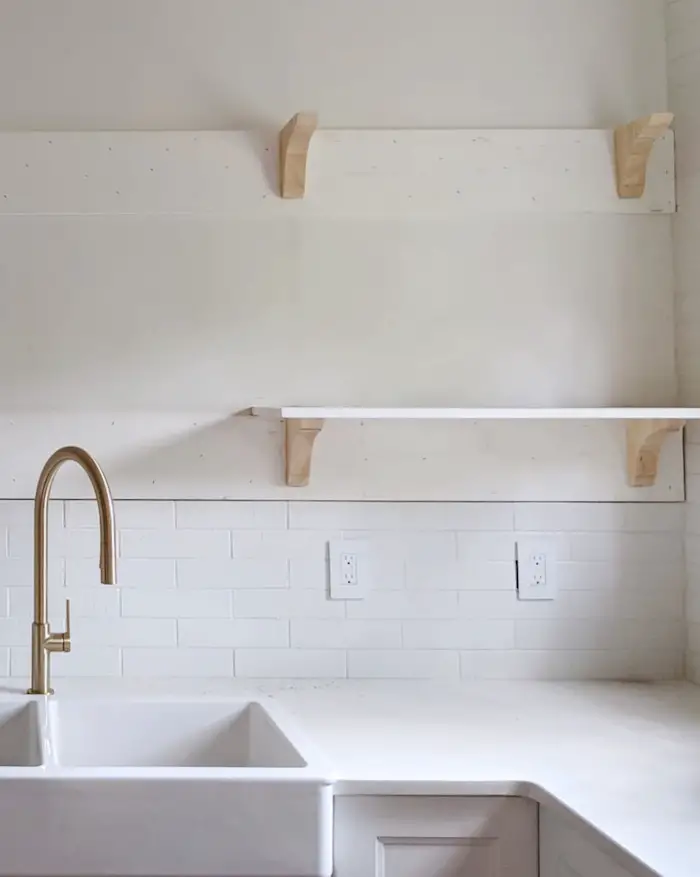
If you’ve ever considered adding open shelving to your kitchen, but want something more than the plain minimalist floating shelves, shaker peg rail shelves might be perfect for you.
When we started our Kitchen renovations we knew open shelving was in our future. Largely in part because we just didn’t have enough depth from the window to the walls for upper cabinets. But also, we love open shelving.
As we came to the end of renovations and it was time to add the shelves I was afraid they might be just a little too plain. The typically floating shelf might feel too modern in our older home. I always like to try to balance new additions with intentional choices that are a nod to the age of our house. Something clicked one day and I thought “shaker pegs!”.
Disclosure – This post contains affiliate links that I may earn a small commission on with no additional cost to you.
What’s a Shaker Peg Rail?
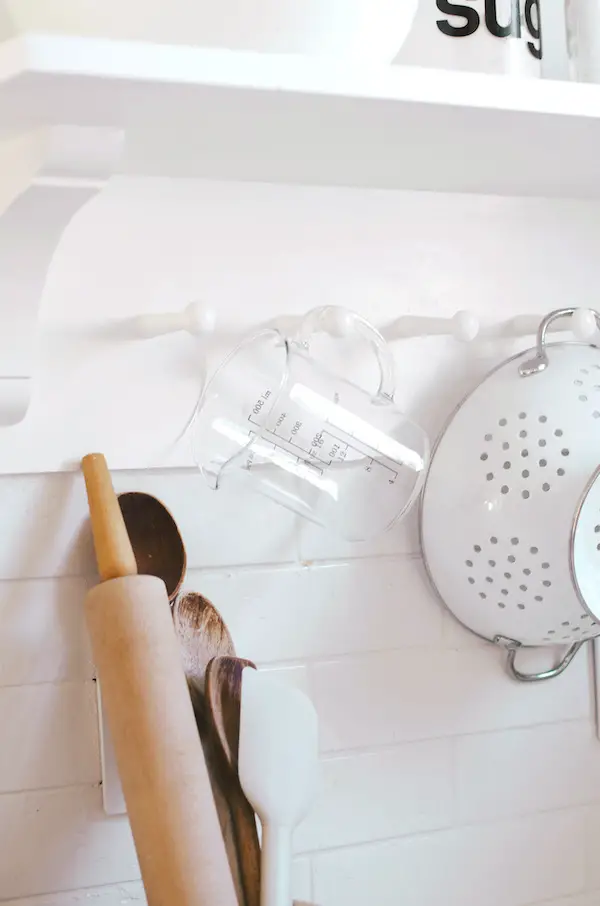
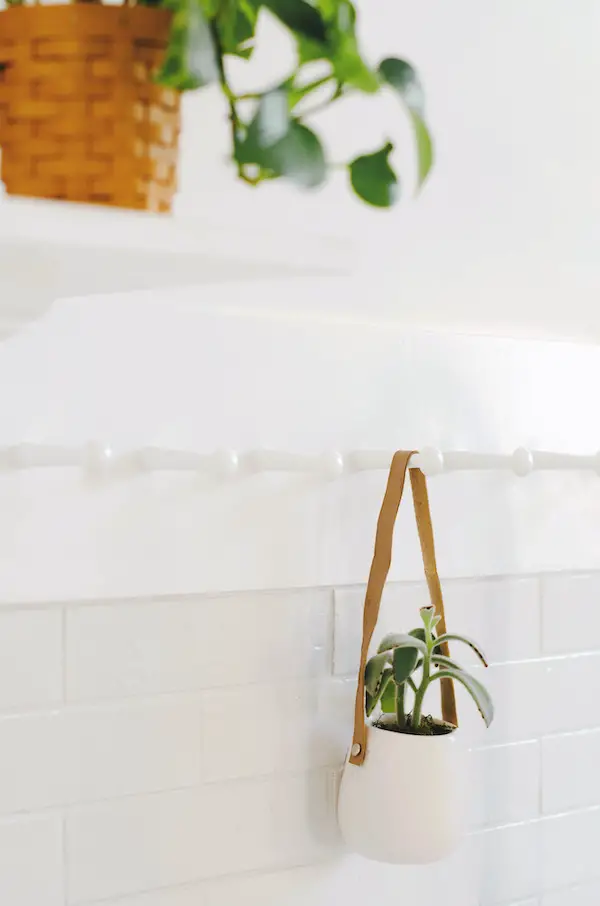
Simply put, a shaker peg rail is a length of wood with wooden pegs every few inches. Traditionally the pegs would be 6″ apart. They often cover the full length of a wall and served as the main way to hang and store items in older homes.
My husband and I love visit historic house tours when we travel. We’ve seen these shaker style peg rails in a lot of old kitchens. Even in incredibly ornate victorian homes, you often see them in the much more bare-bones kitchen that only staff spent time in. Bringing them into our kitchen felt like a way to tie our fully new kitchen back to that more traditional look.
How to Build Peg Rail Shelves
We wanted our shaker peg rail shelves to be super sturdy since we’d be using them for all sorts of heavier kitchen items. For that reason we went with higher quality and durable wood. If you’re making these for lighter use you may be able to use lower quality and save a bit of money.
For our peg rail we used two 16ft boards and cut them to the length of our wall. For our shelves we used one 16ft board for the length of the wall, and one 8ft board cut to size for either of the small bottom shelves.
Materials
Length of your boards, number of pegs, and number of brackets will depend on your specific needs. See above for lengths we used, but you will want to tailor yours to your space.
1 x 8 Primed Pine Finger-Joint Board
1 x 12 Primed Pine Finger-Joint Board
Building the Shelves
Start by cutting your 1 x 8 Board to length, this will be the backing for the pegs. Secure it to your wall. Make sure you’re attaching to studs or something stable.
For ours, we face mounted it to the wall with a combination of finish nails, construction adhesive, and deck screws. We knew we were doing open shelving during construction so we built our wall with 3/4″ plywood directly behind the drywall to ensure the shelves would have plenty of support.
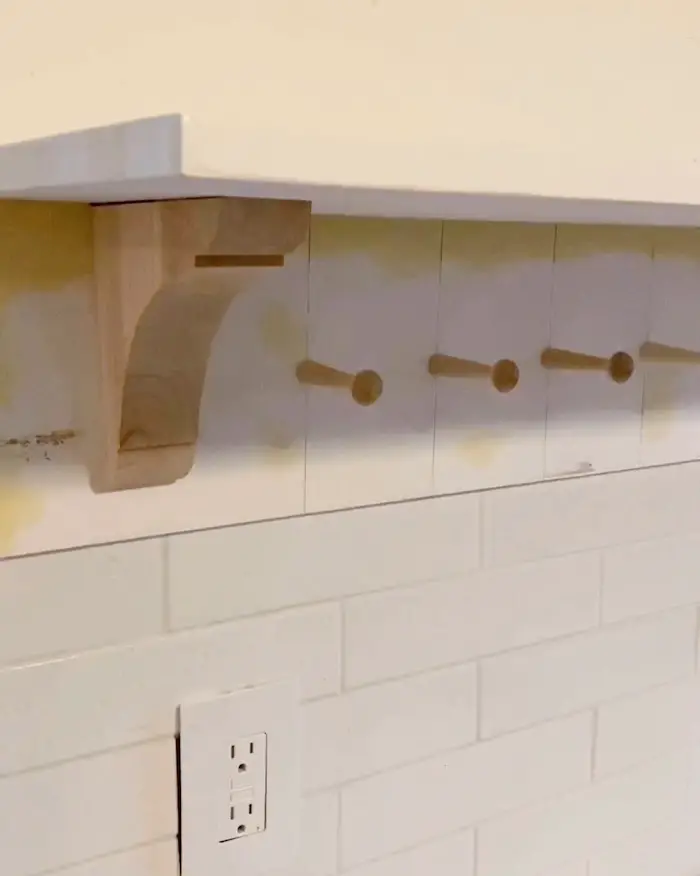
Next, mount the shelf brackets to the 1×8 board. You’ll want the top of the brackets to be flush with the top of that board. We used a combination of finish nails, construction adhesive, and hanging anchors to secure the brackets.
After that cut your 1×12 board to length. Mount on top of the 1×8 and brackets. For this we used a combination of finishing nails, deck screws, and construction adhesive all along the length of the shelf.
Add weight to the shelf while construction adhesive dries. We placed dumbbells on top above the shelf supports overnight to hold everything down tight to the backing and brackets.
Finishing and Adding the Pegs
At this point you likely have plenty of nail holes. I went over the shelves and filled in nail holes with wood filler. Once dried I sanded it down with medium and fine sandpaper to get a smooth finish.
Figuring out the best distance for the pegs will require a little math. Since we had brackets every few feet I knew I didn’t want any butting right up against those. I measured the distance between each bracket, and calculated how many could fit within that. Ours ended up being 4″ apart. If you’re planning on hanging bigger items you will likely want a wider distance than mine.
Once you have your peg distance, take a pencil and measuring tape and mark where all of your pegs will go. This is a little tedious, but nothing’s worse than finishing it, standing back, and realizing they’re way off!
From there, it’s as simple as drilling the hole for each and screwing the pegs in! Traditional pegs are all wood, but I highly recommend the ones that screw in (linked above). You can’t tell once they’re in and they are incredibly sturdy!
The last step is paint! Using pre-primed fingerboard makes this a little bit easier. I flirted with the idea of using a bold color on ours, but I just loved the more traditional feel of all white for us.
Tips for Styling a Peg Rail Shelf
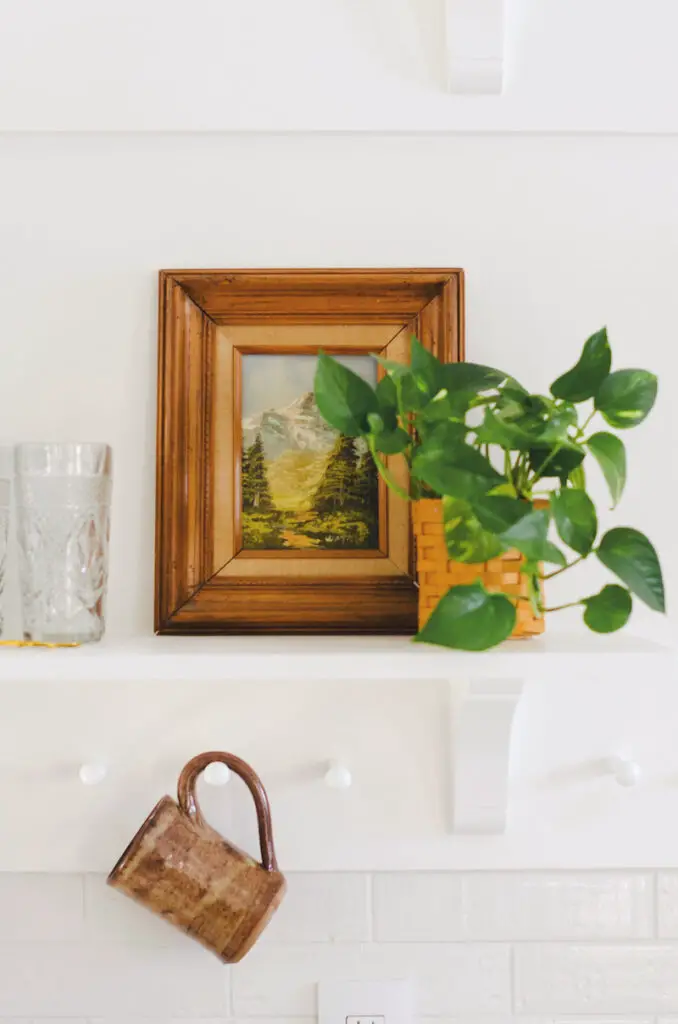
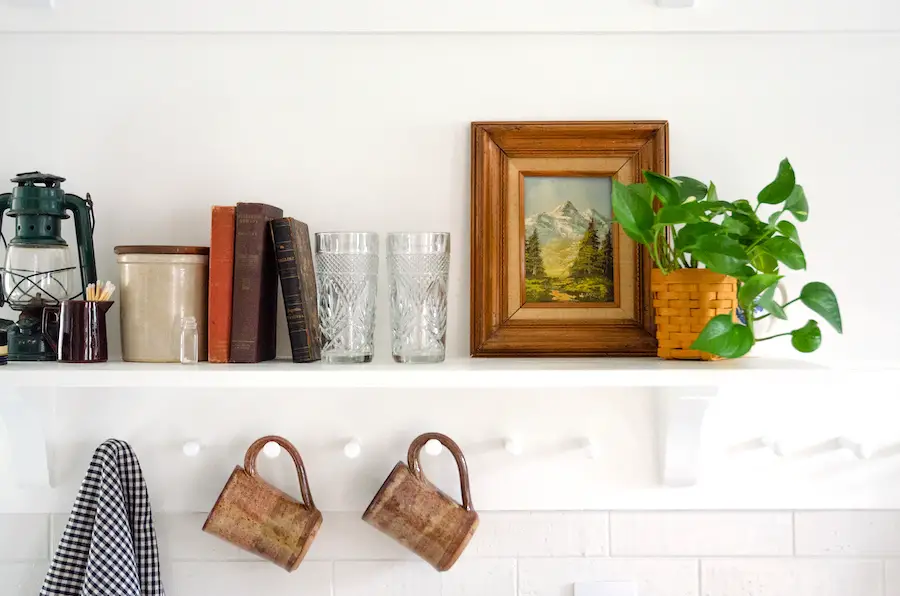
Not only do shaker peg rail shelves add some architectural details to otherwise simple open shelving, but they give you even more styling options. The pegs turn everyday items into little pieces of art.
A few of my favorite ways to style peg rails:
- Coffee Mug and Tea Cups
- Hanging Plants
- Cute Dish Towels
- Ornaments at Christmas
- Measuring Cups
- Strainers and Colanders
- Small baskets for a little storage
I love hanging our coffee mugs from the pegs and changing them out with each season! It’s a simple and easy way to update your space regularly without needing to completely redecorate!

[…] went from years without a proper kitchen, to having a full kitchen with open shelving that I was exited to fill, and the majority of it got filled with thrifted goodies! I’ve spent most of my life […]
[…] DIY Shaker Peg Kitchen Shelves […]