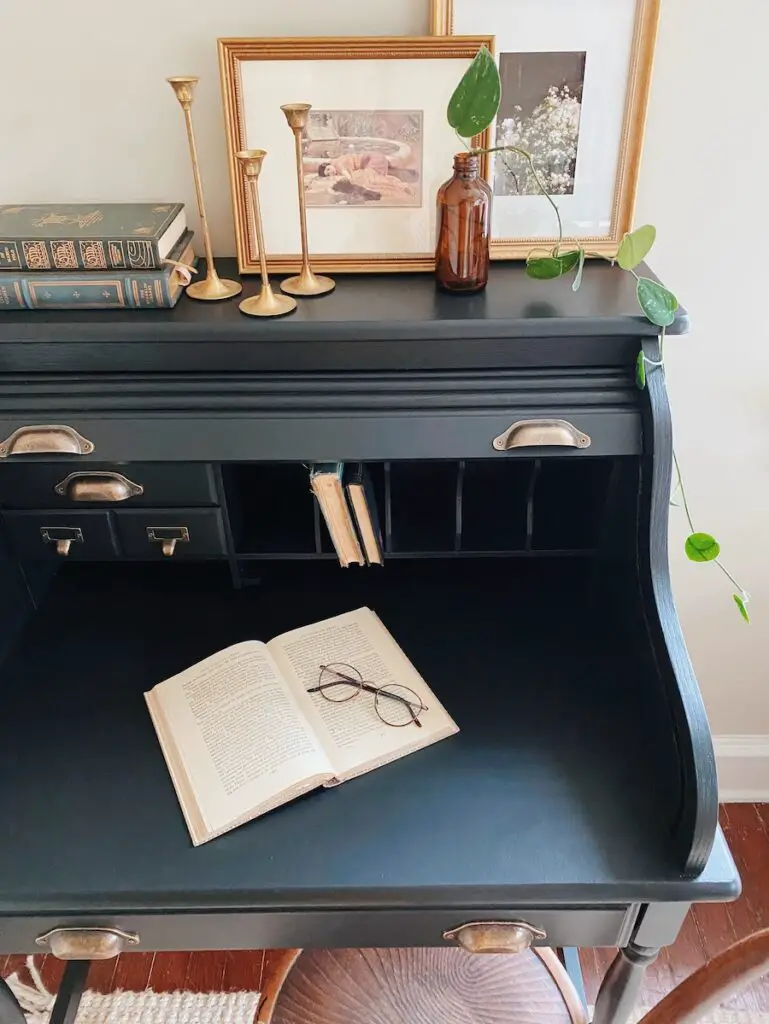
After almost two years in my home office I had some thoughts. I had thrown it together in a little bit of a hurry and certain things just weren’t working, the biggest being my desk. I remember picking it out, honestly having no idea what I wanted or needed at the time, but just needing something.
It was essentially just a table. Wide, but with no storage, this meant that junk just sort of took over the top of it on a regular basis. Even when I cleared it off there just wasn’t even anywhere for that junk to go. So I sold it. Thankfully I was able to get $100 for it on FB Marketplace and turn right around and find a new (to me) desk – a 90’s roll top Secretary desk I could give a little love to!
Disclosure – This post contains affiliate links that I may earn a small commission on with no additional cost to you.
Why get a roll top desk?
I remember as a kid in the 90’s my parents had a big bulky roll top desk with (seemingly) thousands of drawers and nooks. The organizational possibilities are endless! My office isn’t huge, so I knew I wanted a much more petite version to the one my parents had.
I wont lie, it was also a bit of an aesthetic decision. There’s something romantic about the idea of writing letters on a roll top desk. It’s hard for me to resist making aesthetic decisions, but I balanced that with the functionality of the organizational possibilities. I wanted to share why and how I found my desk, as well as how I gave it a full makeover! If you’re looking for the DIY tutorial, skip a few paragraphs down.
Picking the Perfect Desk for your Home Office
If you’re on the hunt for a new desk too, there’s a few questions you may want to ask yourself. First, what size do you need? This will depend on your space. When I purchased my first desk I honestly didn’t think I needed the storage, but I was wrong. While I do love a purely beautiful piece of furniture, desks (especially if you work from home) should be functional. Take time to think about how you work from home and what you’ll actually need.
Roll top desks tend to be bulky pieces. If you’re trying to figure out the right size for you, you may even want to go a bit smaller than you initially might think so it doesn’t overcrowd your space. Some roll top desks have high backs with 20+ little drawers, as well as drawers down the legs of the desk. I knew I wanted my leg space open, but definitely wanted a large pull out drawer and just a few little ones up top. Look online at different sizes and options and try to figure out what you specifically need.
Buying Second Hand
You can save a ton by buying second hand. I was surprised at how many roll top desks were listed on our area’s FB Marketplace. That said, it still took me a month or two of scouting to find the perfect one for me. If you’re not in a big rush you can likely score a good deal second hand.
Because these were fairly popular in the 90’s fo you can also check out thrift store and Habitat Resale stores. Some thrift stores limit how much, or the size of the furniture they take, so some may simply not carry them. You can typically ask those working whether they often get that style of desk or not.
Roll Top Desk Makeover Step-by-Step
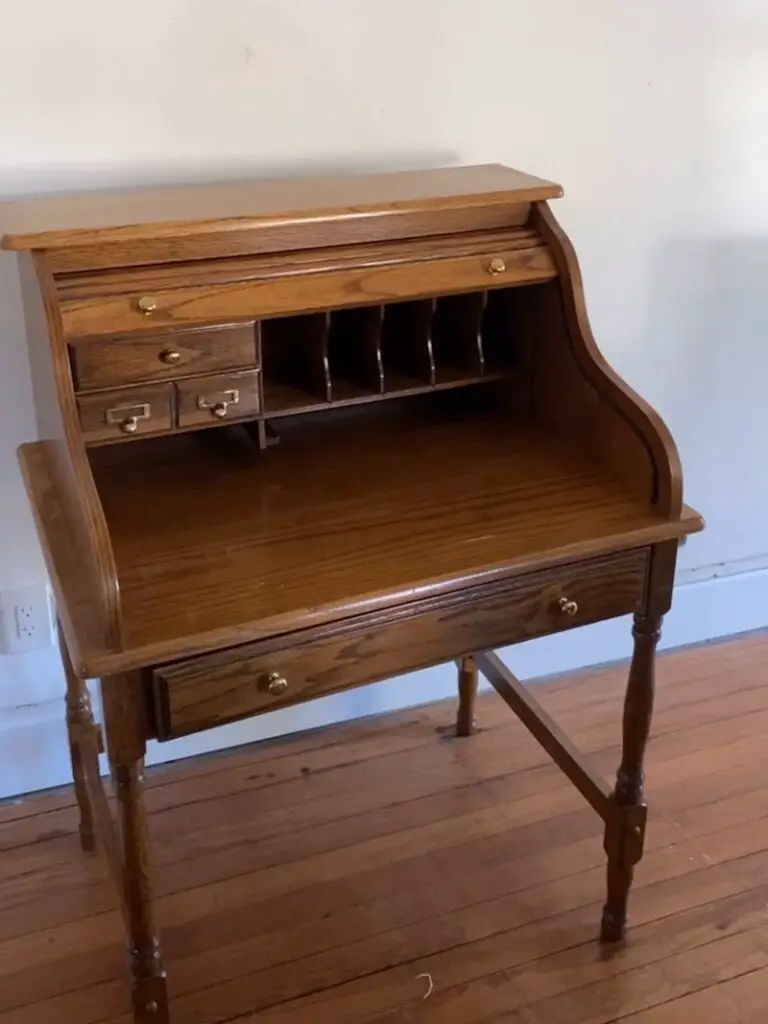
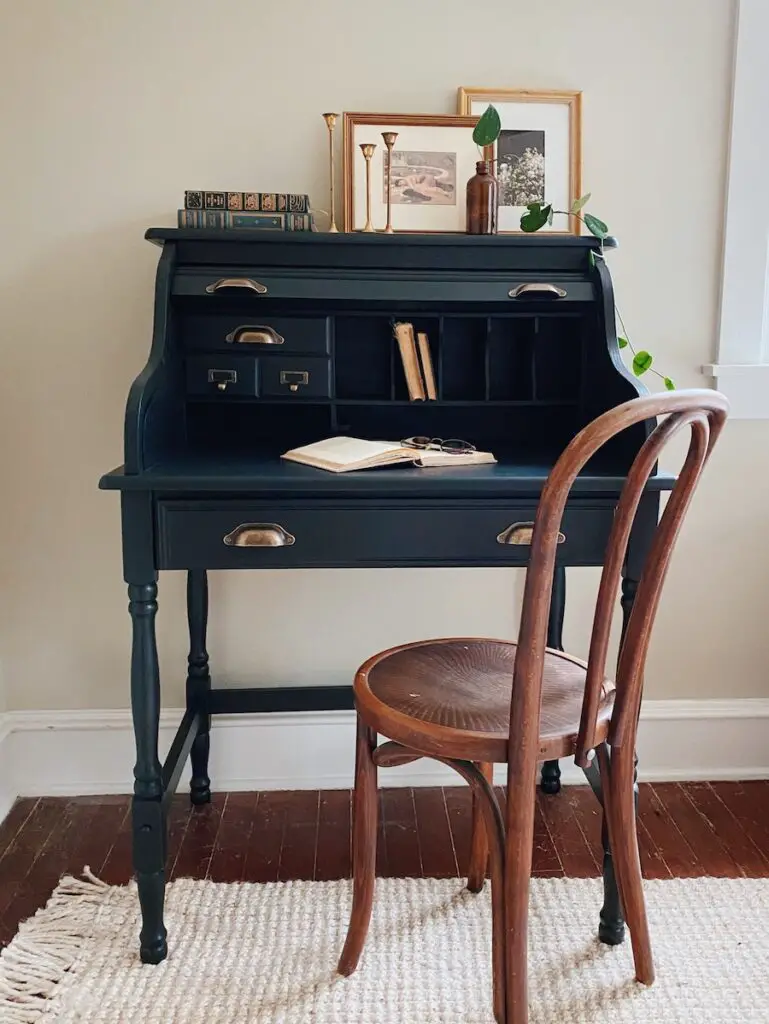
When I finally found my perfect desk I knew I didn’t need to worry about the specific color. I had been wanting to paint it something a little dramatic anyway. The 90’s roll tops are often not made from high-quality wood like antique desks are. Often they even have particle board pieces in spots you don’t see. For me, I felt a-okay with painting this lower quality wood.
Prepping and Priming
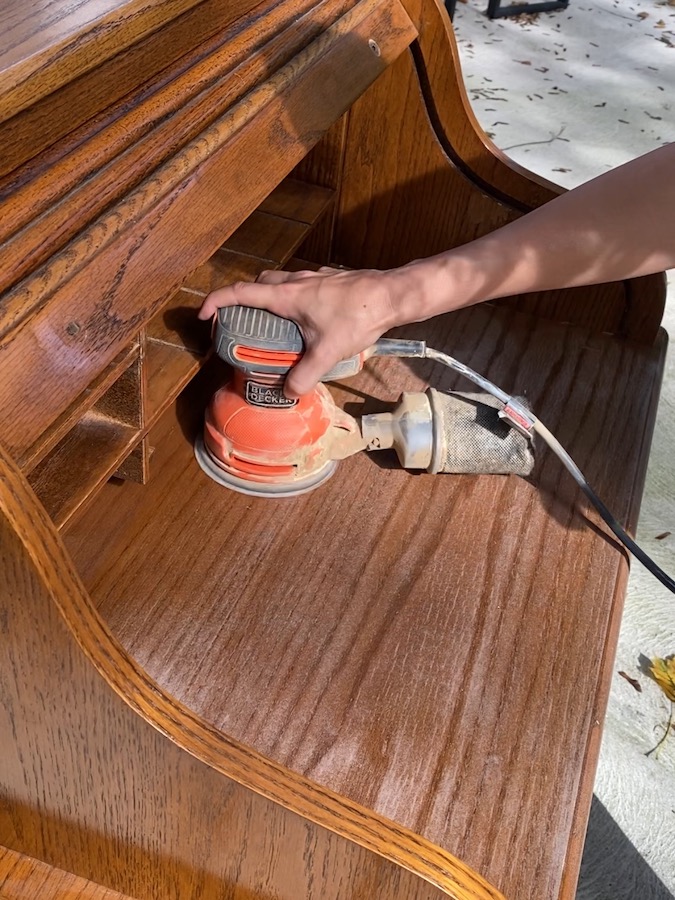
If your desk has a high gloss finish like mine, you may want to give it a sanding before jumping into paint. I used both my electric sander and sanding sponges to knock down the finish just a bit. It doesn’t need to be stripped, just sanded enough that the paint will grab. I used 100 (or medium) grit sandpaper for this and then cleaned it thoroughly using a TSP Cleaner.
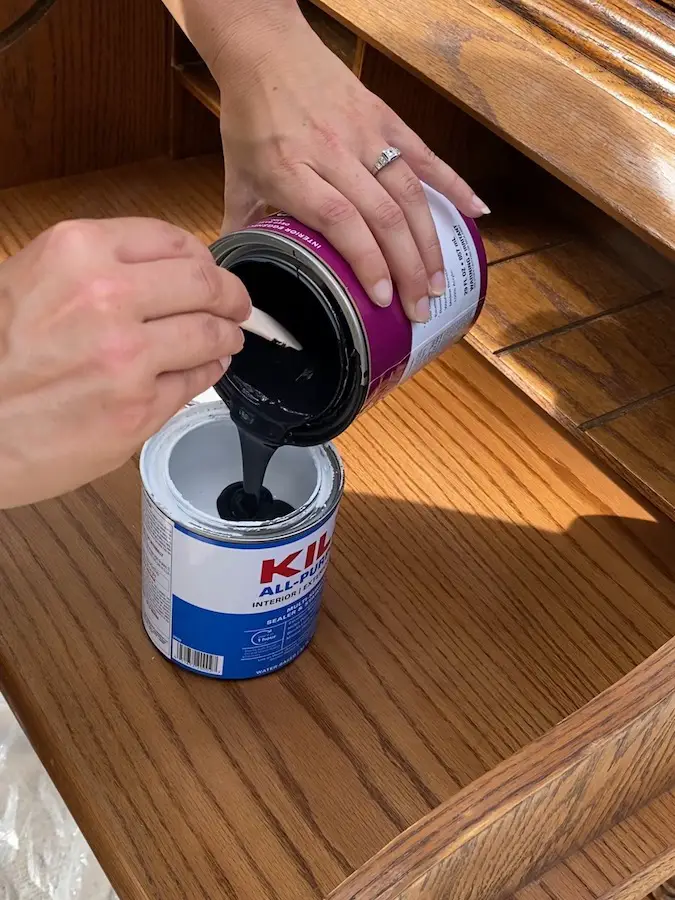
Once clean I primed the whole desk using Kilz with a small amount of my finish paint color mixed in. You can also just use the Kilz primer on its own. When going dark I like to mix a little into the primer to make the transition a little easier.
Picking Paint
The biggest question you’ll want to decide is what color and what finish. I knew I wanted a dark, almost black, for my desk. I also knew I wanted the finish to look a little more antique instead of a “new furniture” look.
Unfortunately, I let myself get talked into a glossy pre-mixed paint, even though I know better. I did one coat and knew it wasn’t for me. There is definitely a benefit to using glossy paints on furniture – they clean easier. However, to me high gloss paints have a very distinct “brand new” or obviously “freshly painted” look to them. If that’s what you’re looking for, great!
If you’re looking for a more antique’d finish, but don’t want the chalk paint finish (I’m personally not a fan of chalk paint), than you may want to try an eggshell. It doesn’t wipe down quite as easy as a high-gloss paint, but I haven’t had any trouble cleaning my desk, and the look was exactly what I wanted.
Paint used: “Twilight Zone” by Benjamin Moore in Eggshell
Painting a Roll Top Desk
Painting a roll top desk can be a little tricky, only because there’s so many nooks and crannies. Having all the drawers and dividers pulled out and painting them separately is the way to go. You’ll want to have a mix of larger brushes and tiny ones with longer handles to get in all the small spaces. Wearing gloves will also make it easier to get into all those little spots without worrying about being covered in paint.
For all the wider flat surfaces I used a cabinet foam roller. I like the smooth finish it gives versus a brush, so wherever I could use it I did.
Swapping out the hardware
Another great way to update your desk is to swap the hardware. A lot of 90’s roll tops have super bright gold hardware that are distinctively 90’s. I was going for a more antique look, so I wanted something with a little more patina.
I got these drawer knobs, and these label pulls. I had to drill a few new holes, but overall it was a really easy swap.

COMMENTS