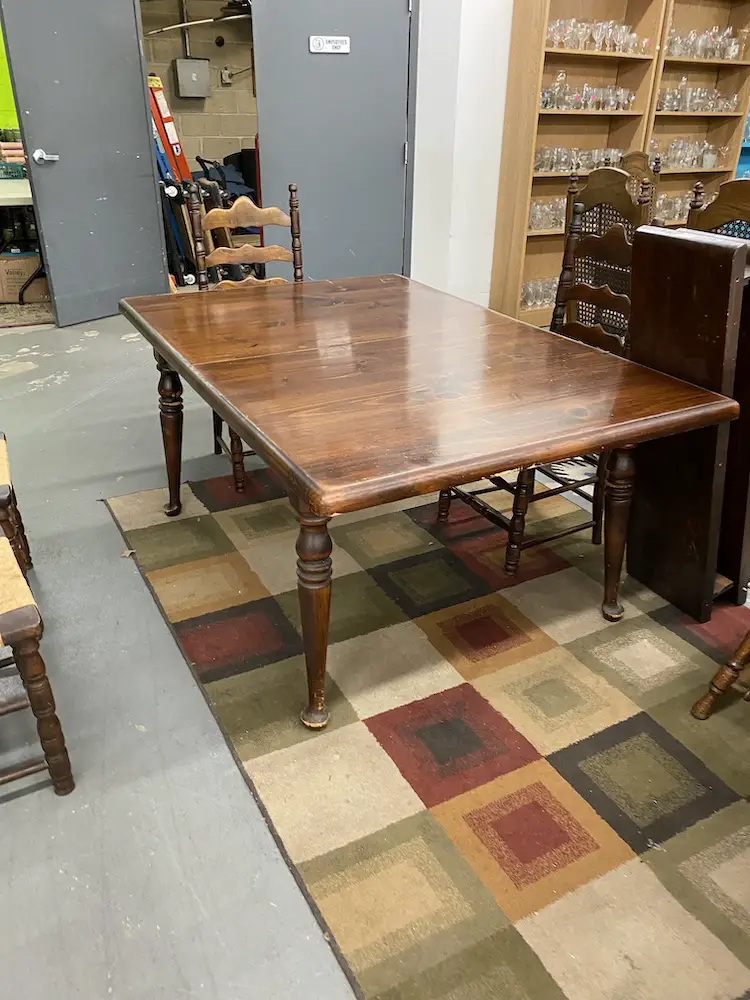
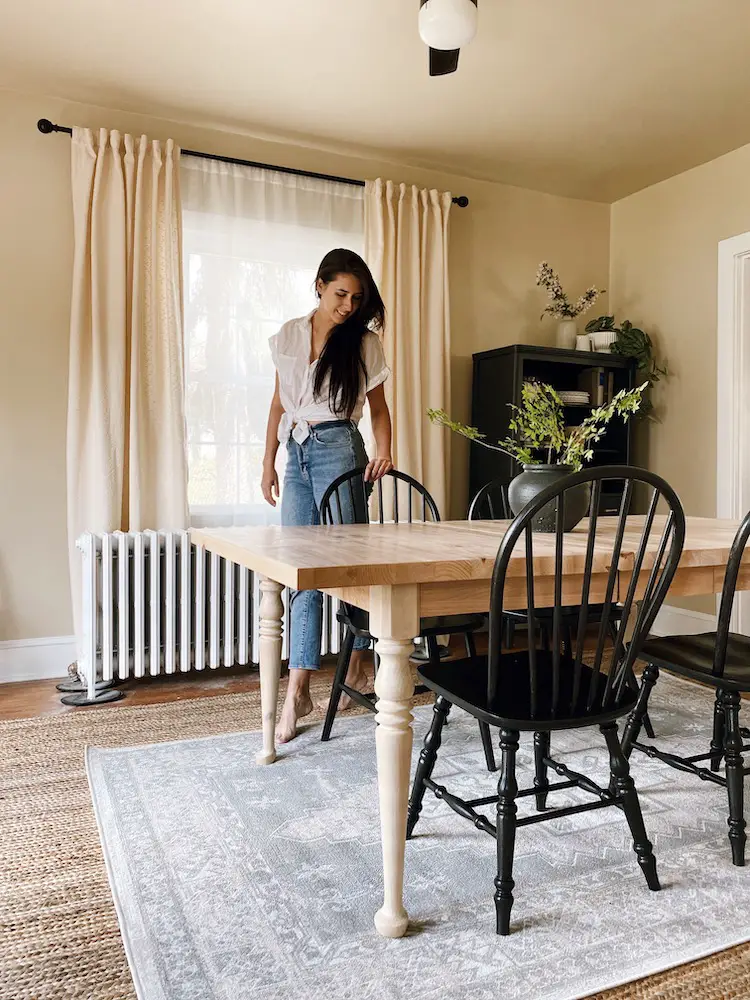
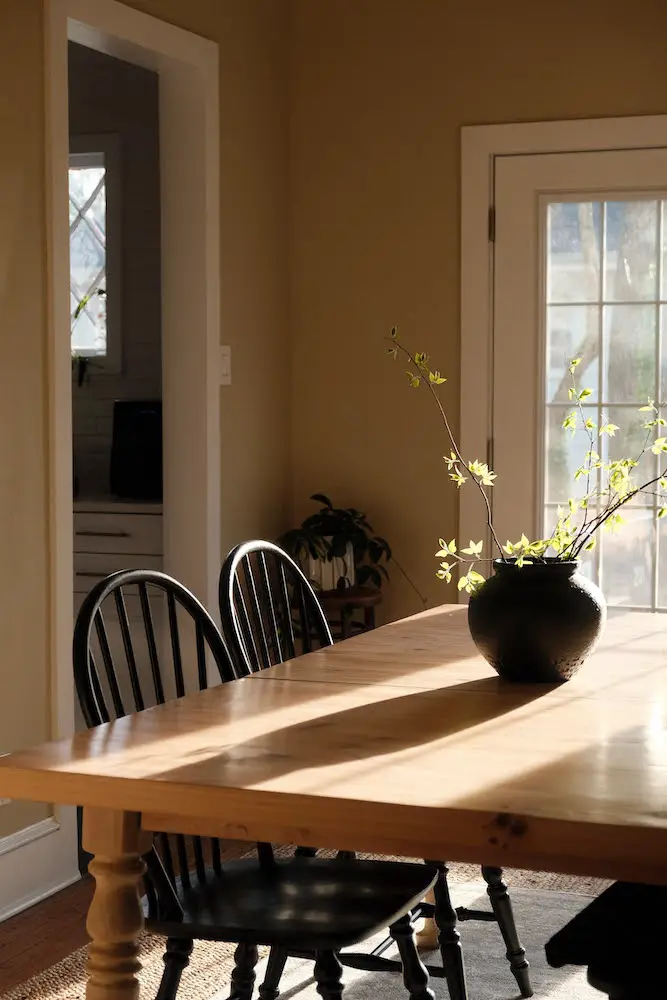
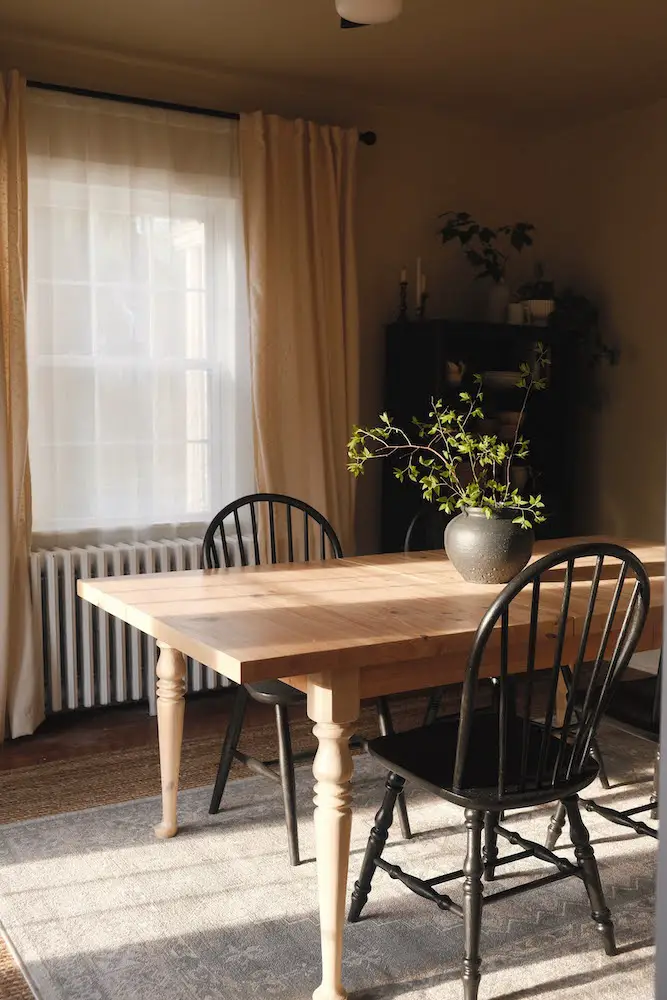
After spending months looking for the right table for our dining room, I decided it was time to DIY. My dream table was something that had European farmhouse vibes. I found a 1980’s table with turned legs and all hard wood. it wasn’t perfect, but I could tell it had potential. Keep scrolling to read through the full process, or check out my YouTube video below to watch the Dining Table Makeover Before and After video!


Farmhouse Dining Table Makeover Before and After
Sanding and Trimming
Thankfully, the table legs were detachable. I took the whole table apart and started working on those. I’ve had quite a few people ask how to sand down turned table legs. Unfortunately, I don’t have any quick or easy tips and tricks – I just sanded them down by hand. In order to get in all the grooves and not risk damaging the curves I spend hours sanding them with just some plain sandpaper. I would fold the sandpaper to help get it in the tight crevices.
Next, my husband ran the table top and apron through the table saw for me. The table apron had a very 80’s scalloped edge, and I knew I wanted just a plain straight cut to not distract from the table legs. The table top itself had a dramatic curved edge, and he straight cut that as well to give it a more butcher-block look.
Then we re-assembled the entire table and took it outside to sand down the rest of it. For both the legs and the table top I started with 80 Grit sandpaper and worked my way up to 220 so I wasn’t too rough. For the table top I used an orbital sander, and for the apron I used a detail (or “mouse”) sander so I could get in the corners.
Paint Washing Wood
After a good cleaning I realized the legs were still a bit darker than the top. Likely because I just couldn’t sand them down by hand as well as an orbital sander got the top. I did attempt to sand them down further but just couldn’t get them to the same color. Then I decided to try giving them a paint wash.
Using some leftover paint I already had that was a creamy white color, I watered down the paint (approximately 50/50 mix for the legs). Then I brushed on the paint in small sections, then immediately wipe it off with a clean rag. If I was doing it again I would water down the paint just a little more. They came out just a little too white in comparison to the rest of the table.
After my first coat of poly I also decided to give the table top a super light paint wash as well. The wood of the table was turning very yellow with the poly, so I sanded the poly off, mixed a very light paint wash (approximately 20% paint / 80% water) and repeated the same process I used on the legs to the top of the table and let dry fully.
Sealing the Table
I used a water based Matte Poly sealer to seal the table. I ended up doing two coats of the poly. The matte finish does have just a little sheen to it in certain lighting, so in the future if I need to reseal it I was try the super-flat finish instead. So far the poly I used has help up really well. I never think to use coasters, and am always leaving cold drinks directly on the table top, but it just beads up and I’m able to wipe the whole table down really easily.
Dining Table Makeover Supply List
- LOTS of Sandpaper (I used grits 80-220)
- Orbital Sander+ Disks
- Detail Sander + Disks
- Paint (I used Farrow and Ball “Clunch” color matched at Lowes)
- Paint Brush
- Water-based Matte Poly Sealer


Tips for Thrifting a Dining Table
- Look for solid wood. If you’re considering doing any DIY or updates to a table, solid wood is the easiest to alter. Take a peek under the table – if it’s particle board with a wood veneer you’ll be able to tell from looking at the underside.
- Widen your search radius. A good table can be tricky to find. I kept my eyes out at my usual thrift stores, as well at Habitat ReStore’s, yard sales, FB Marketplace, and antique stores. It took me a good month of looking before I found mine. Give yourself plenty of time if you can!
- Look for shapes. It can be hard to always see the potential, but if you pay more attention to the overall shape of the table than the color or specific details then you can likely alter it to fit your needs (if it’s solid wood that is!).
Love DIYs and Thrift Flips? Check out more here!


COMMENTS