Thrift stores are almost over-flowing with seasonal decor, which is why I try my best to resist the urge to fill up my Target shopping cart with new fall goodies each year. There are plenty of perfectly pieces that need a home sitting down the street at Goodwill for a small fraction of the price. Typically the biggest turn off from buying seasonal decor second-hand is that it’s not “on-trend” or simply, for me, doesn’t go with the rest of my aesthetic. But truthfully, that’s a pretty easy obstacle to overcome most of the time.
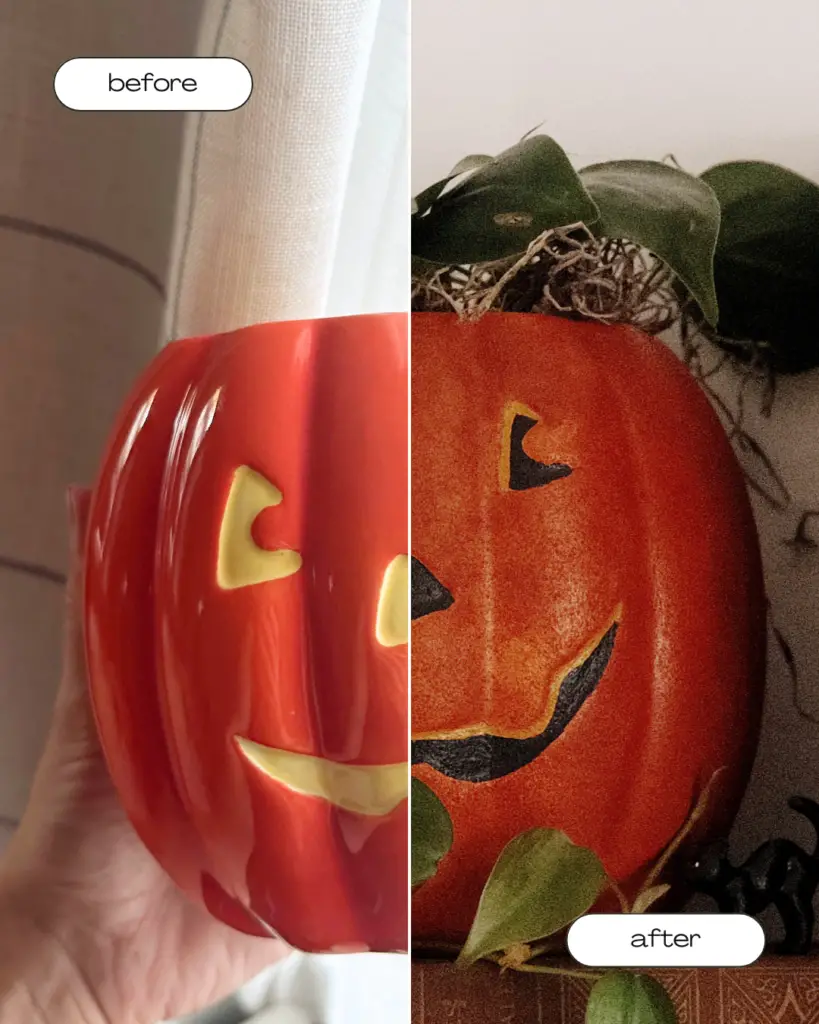
I thrifted this adorable pumpkin jar for just a few bucks. I liked the shape, size, and overall look, but the colors would stick out like a neon sign against the rest of my more subdued vintage-inspired fall decor. So I gave him a quick makeover to take him from the 2010’s to looking like a vintage jack-o-lantern from the 30’s. You can watch my youtube video to see the process in full, or keep reading for the step by step!
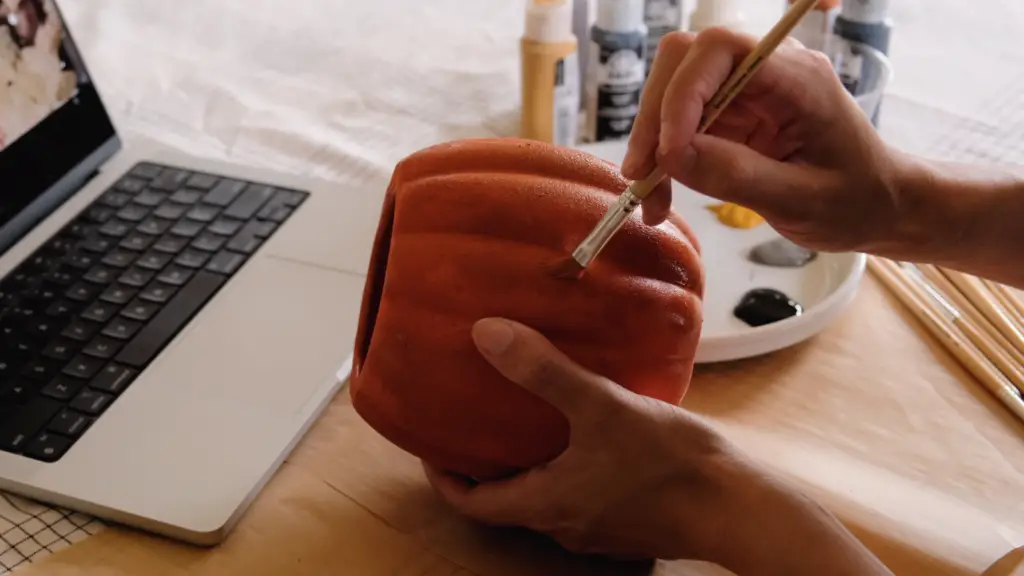
Step by Step
- Primer – Anytime I plan on painting ceramics, I always start with a strong primer. Otherwise any additional paint you add may chip off over time. I used Bullseye Primer Spraypaint and let it fully dry.
- Base Coat and Texture – As a base coat I covered the entire jar with Rustoleum’s Rustic Orange. For a more “vintage” look I wanted to add some texture to the super smooth finish. While the paint was still wet I brushed on baking soda to give the paint texture. I would occasionally spray on a little more paint if it was getting to dry for the baking soda to stick. Once the texture was looking the way I wanted, I sprayed just a tiny bit more paint on to even out the paint.
- Second Coat – Often what makes a piece feel older is a patina, or a variation in paint color instead of the perfectly even coloring most modern pieces have. In order to give my pumpkin that color variation I used a craft paint in “Cinnamon Stick” color. I watered this paint down quick a bit and stippled it on. If you’re not sure what I mean I would definitely recommend watching the youtube video, since I have a few close up shots on how I applied this coat of paint all over.
- Features – For the eyes, nose, and mouth I really wanted to get that shadowed look you see on a lot of antique jack-o-lanterns. I started with a layer of Yellow Ochre craft paint, full filling in the features and then let it dry (well, technically I used my hair dryer on cool and sped this process up:). Once dry I mixed a black paint with just a little of a more “muddy” brown color to dull the black just a bit and painted that in, leaving a the yellow peaking through on the left side. This was just a bit of experimenting with how much to add and how much yellow to leave and I kept adding until I felt happy with it!
- Clear Coat – To seal all the paints together I finished it off with a clear coat of Rustoleum’s Crystal Clear Enamel. I already had this on hand, which is why I used it, but you could probably use just about any clear coat spray paint you can find at the craft or home supply store.
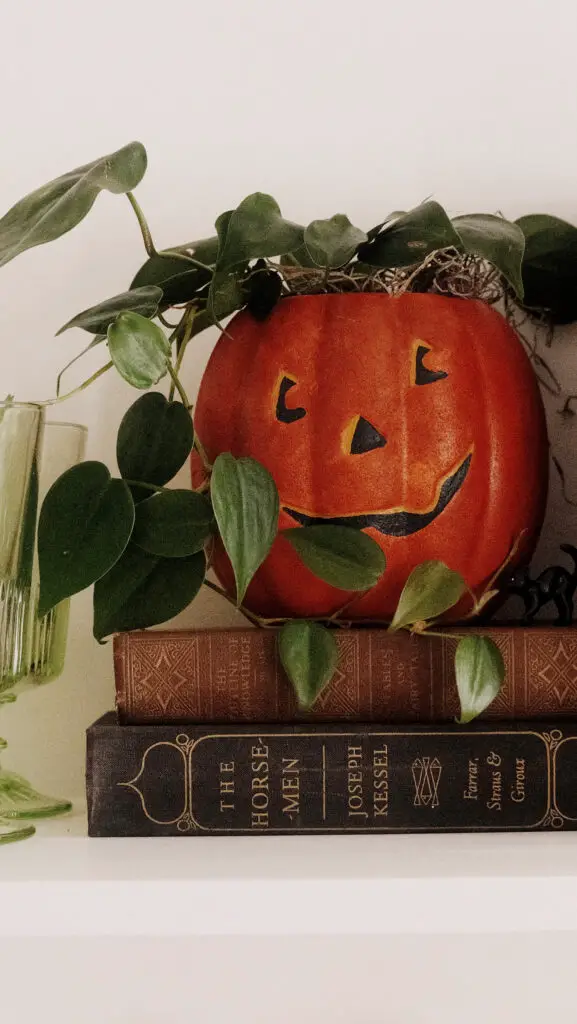
I am really pleased with how it came out in the end! It was also a really fun process, and I enjoyed the excuse to sit down on a rainy fall day and get a little crafty. Each year I’ve added more thrifted pieces to my seasonal decor and usually give at least a few a little makeover. Now when I pull out my decor each autumn I love looking back through all these little projects and also feeling like I have some decor that’s completely unique to my collection!
COMMENTS