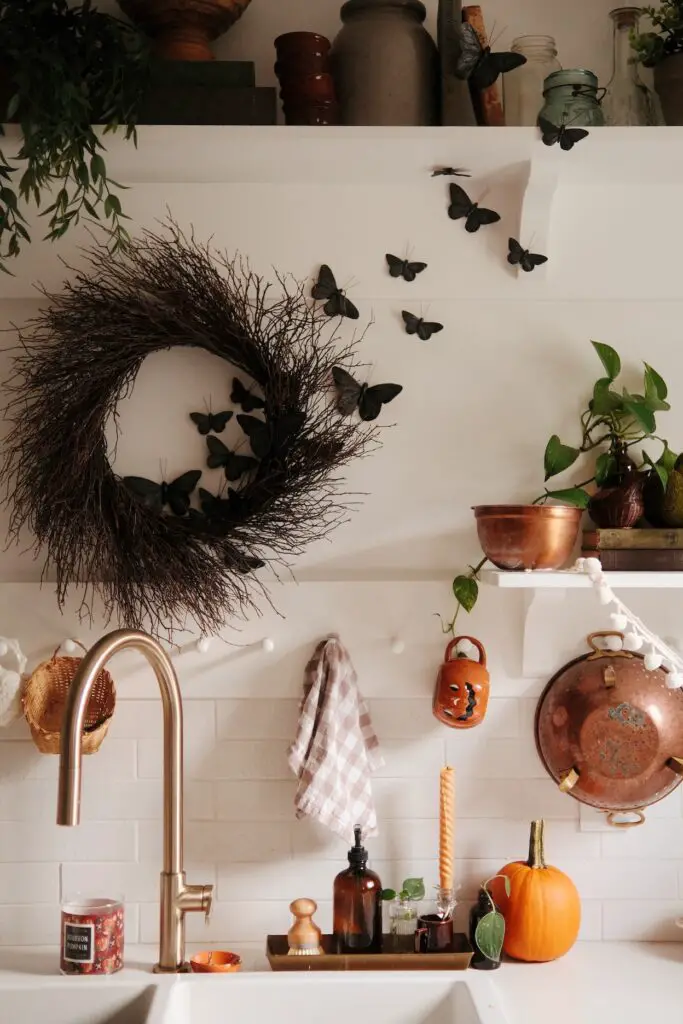
I love bats when it comes to spooky decor, but this year I’ve been craving a change to my Halloween decor. I wanted something a bit more ethereal for this halloween season. I started off specifically looking for faux moths and was surprised to find that they weren’t as readily available as a I assumed they would be (although preserved real moths were – I just personally couldn’t see myself using those as decor).
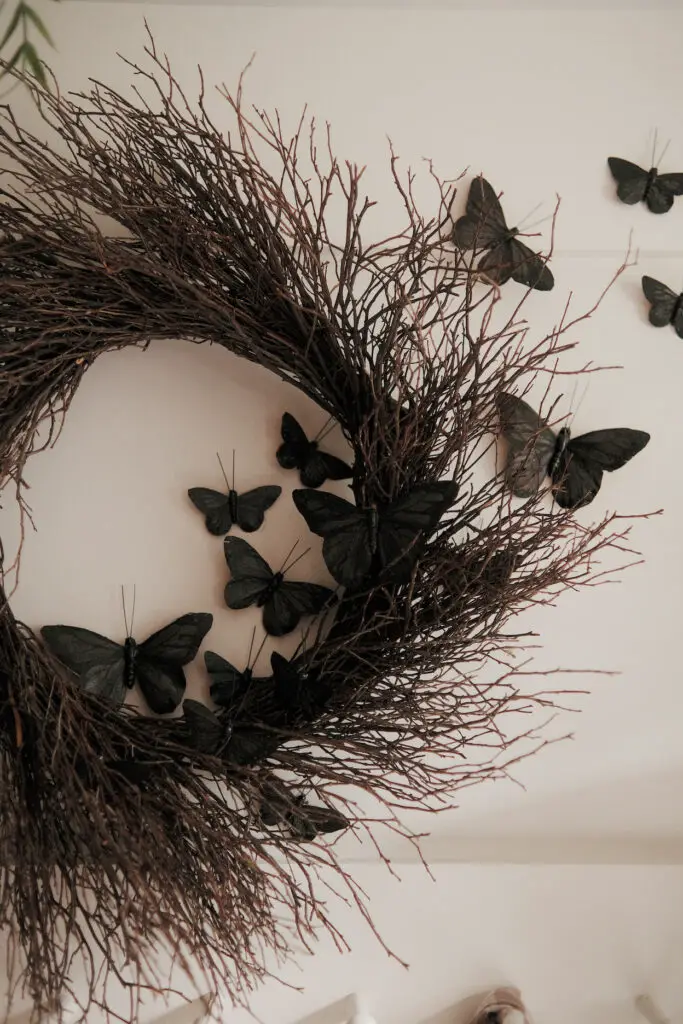
After coming up short on faux moths I figured, why not whip up my own? Faux butterflies were a dime a dozen and I found a nice big multi-pack on Amazon I figured would work well enough. A little spray paint later and they were exactly what I had been looking for to change up my halloween decor.
I’m hesitant to even call this a “DIY” as it’s essentially one step – just painting them. But we’ll run through the process real quick anyway!
Disclosure – This post contains affiliate links that, at no additional cost to you, I may earn a small commission from.
Supplies
- Mixed sizes of Faux Butterflies
- Rustoleum Metallic Spray Paint in Oil-Rubbed Bronze
- Double sided (or doubled up) tape
- Recycled Cardboard, or something else you can paint on
- Sticky Tack
Process
- Lay out your cardboard outside, or somewhere well ventilated.
- Lay down strips of tape, a few inches between each row
- Place butterflies on the strips of tape to hold them in place
- Spray paint all of the butterflies until fully coated and allow to dry full before removing from tape.
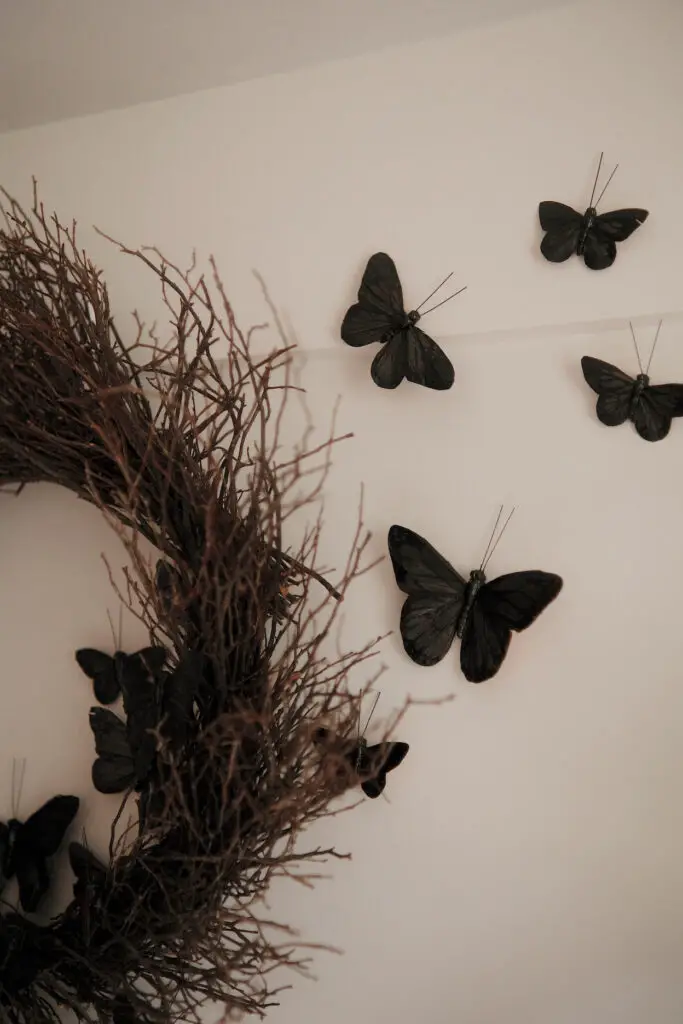
- Use sticky tack to decorate walls with your butterflies!
Like I said, it’s certainly not ground braking, but I really love how these came out! I highly recommend using the Rustoleum Metallic Spray Paint in Oil-Rubbed Bronze. It has a beautiful shimmer to it that I personally think adds a lot to the spooky quality of them that you simply wouldn’t get from a plain black spray paint.
COMMENTS