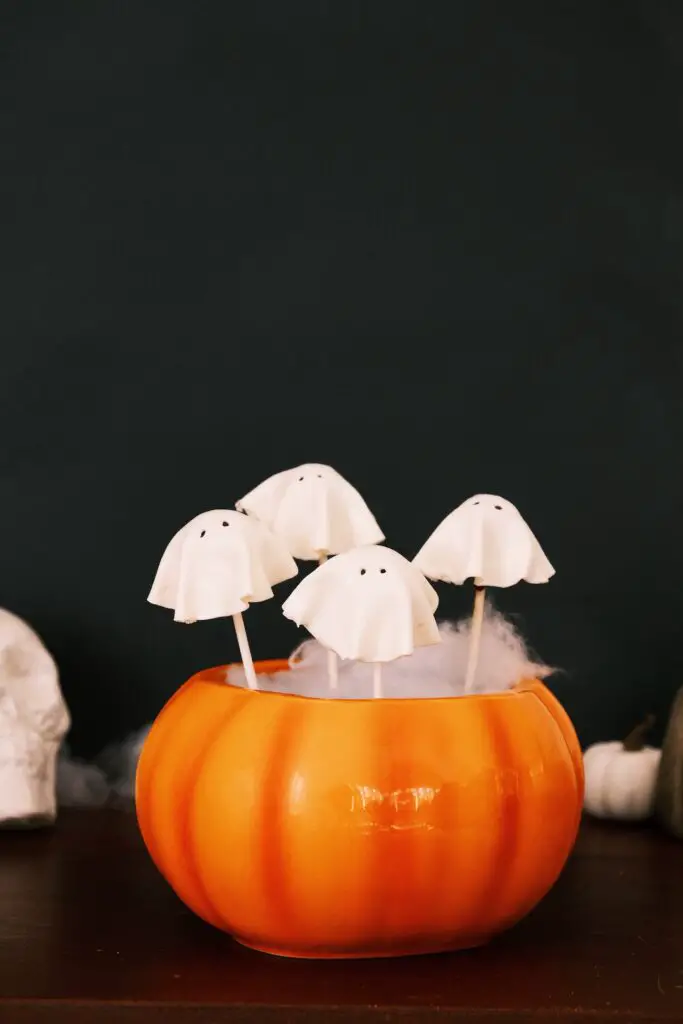
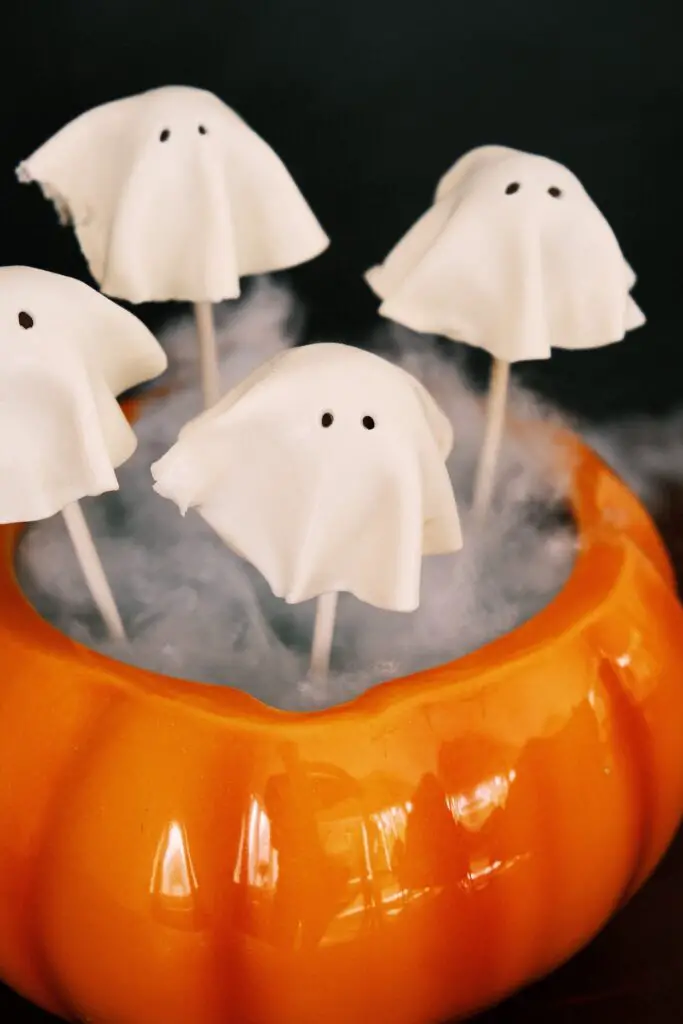
Happy start or Spooky Season! Who doesn’t love a little fall baking project? I got the idea in my head to make these Ghost Cake Pops and after a bit of trial and error – here’s the tutorial!
Click below to jump right to the recipe! 👇
Jump to RecipeDisclosure – this page contains affiliate links that, at no additional cost to you, I may earn a small commission from. As an Amazon Influencer, I earn from qualifying purchases.

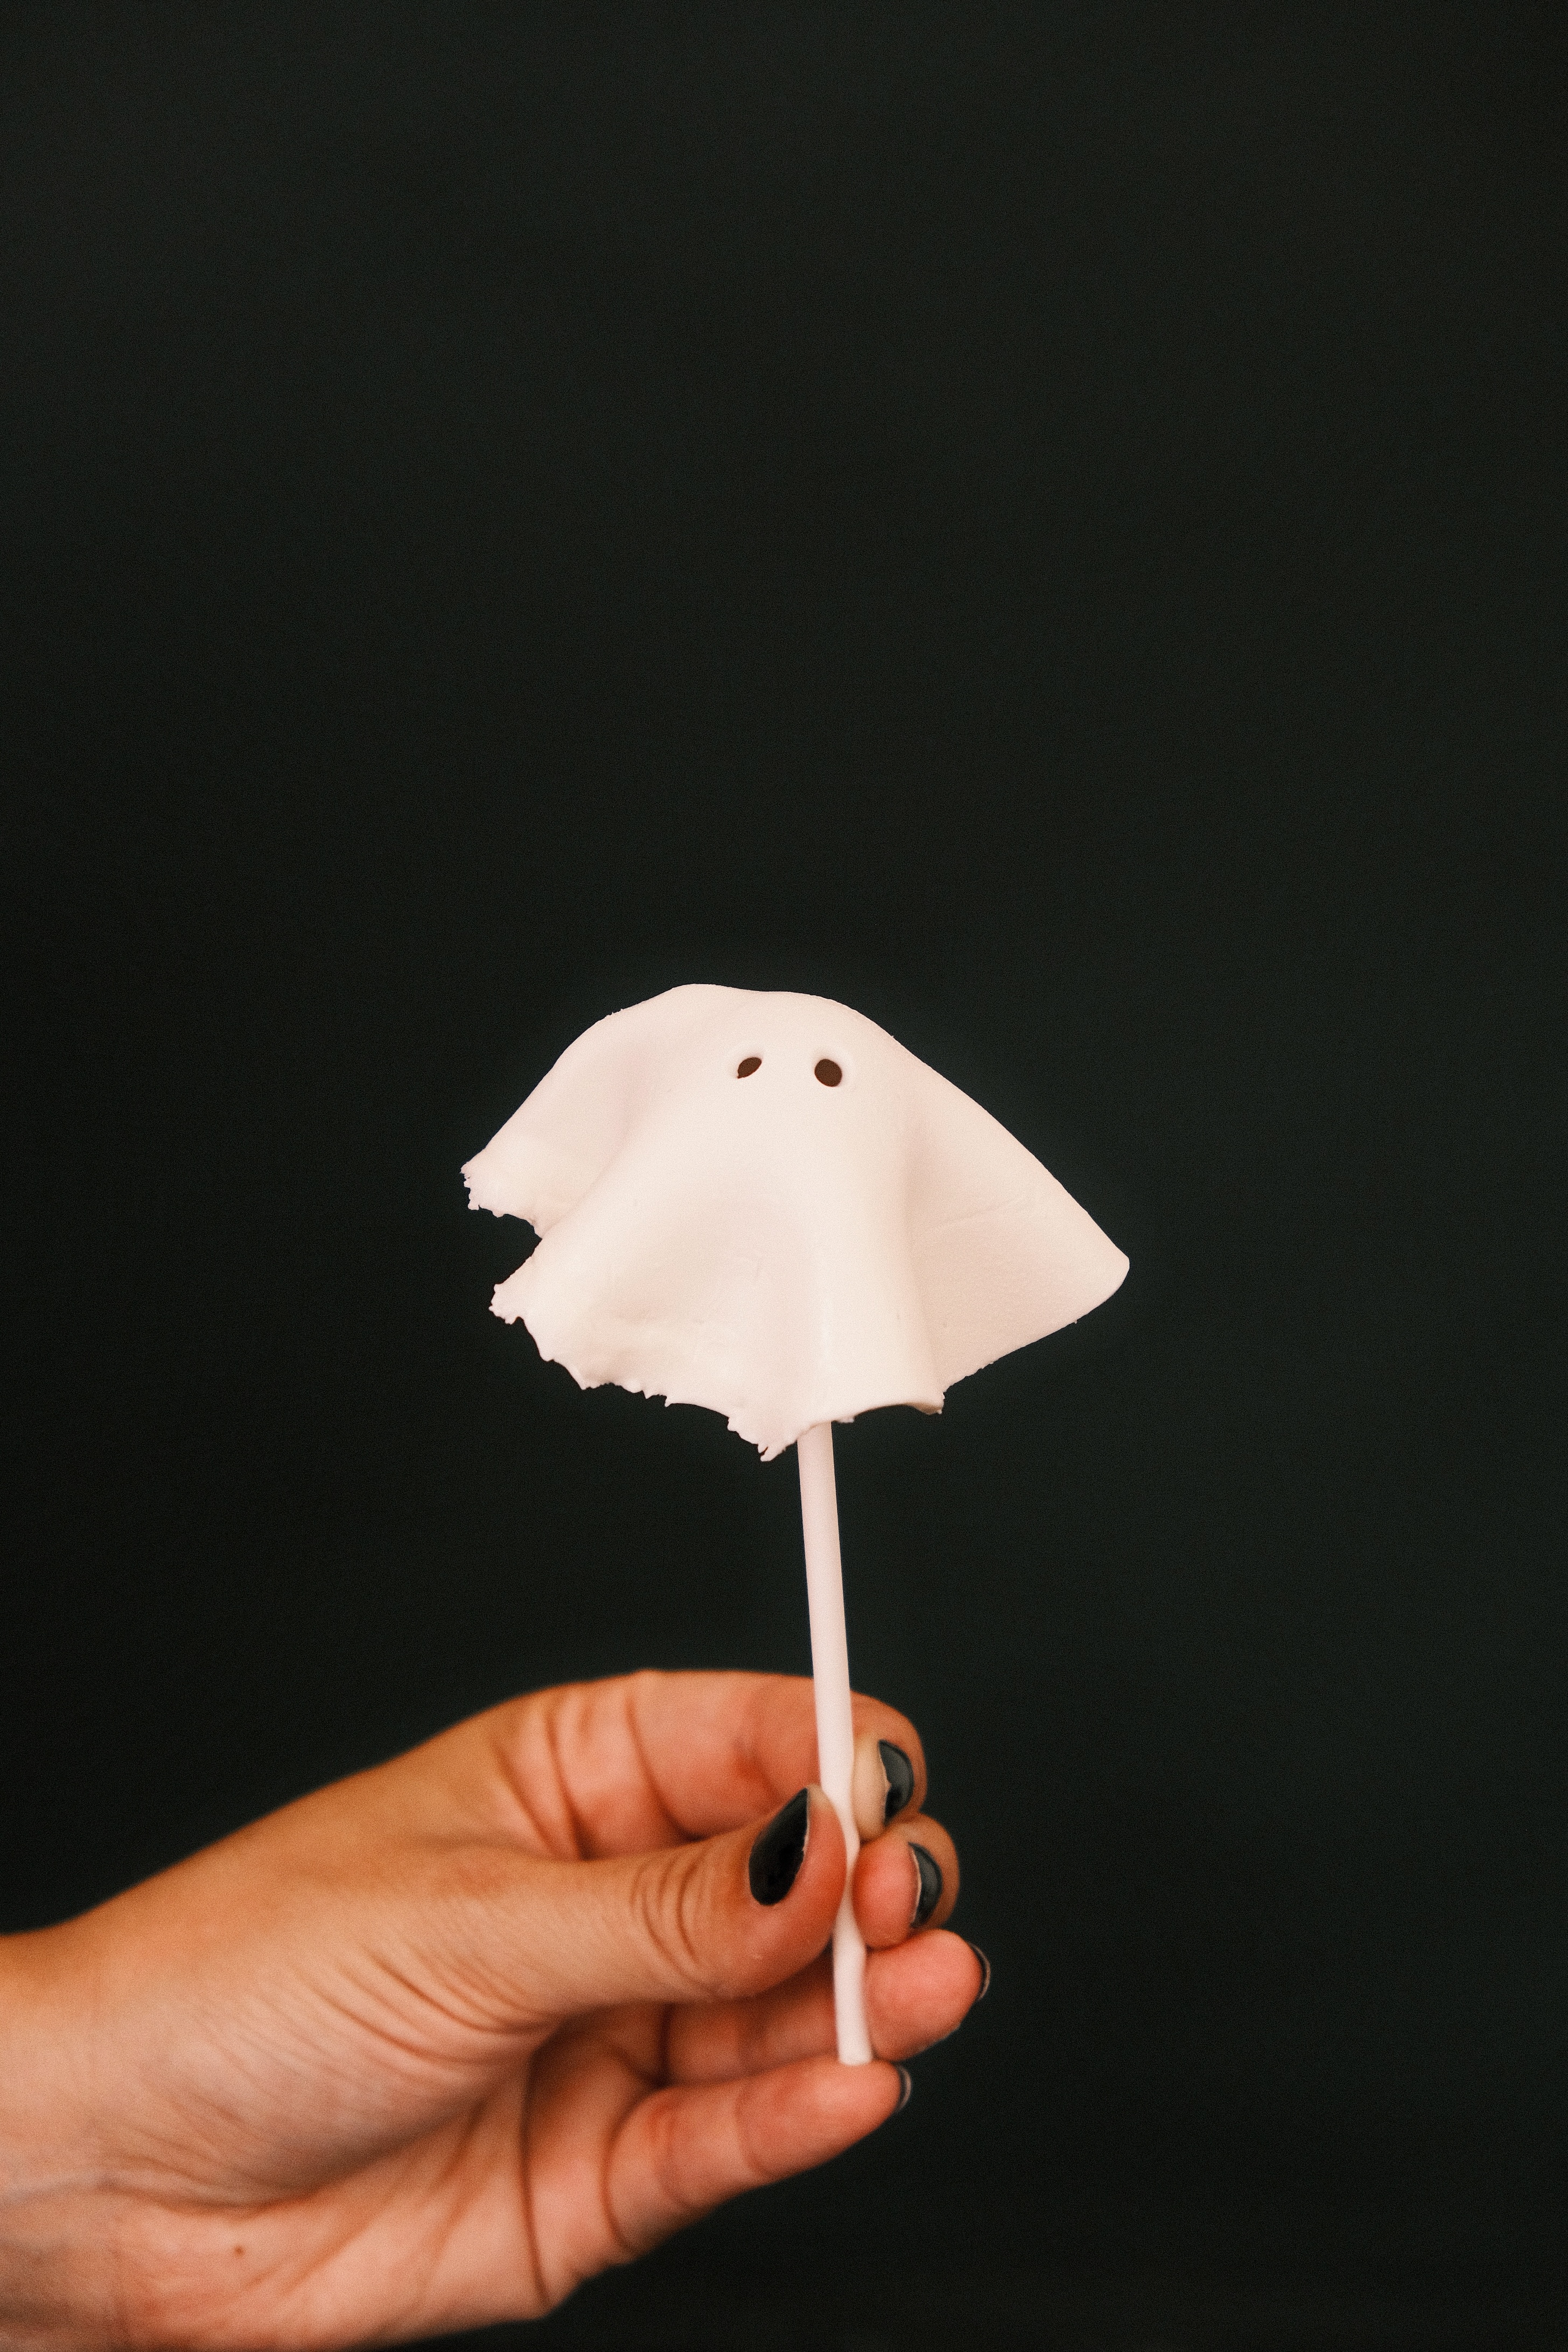
Admittedly, these are a little more involved then your typical cake pops, but once I got the idea in my head I just knew I had to make them. These come out best when you have plenty of time and patience. Trying to rush through them in a time crunch will likely leave you wanting to throw them out the window. I used Modeling Chocolate to get the ghostly sheet look, which can be a little finicky to work with at times (especially if you’re new to it!), but with patience it’s really quite simple once you get the hang of it.
What is Modeling Chocolate?
Modeling Chocolate is a flexible and moldable chocolate that can hold it’s shape. It’s similar to fondant in it’s ability to be used to create shapes and be smoothed out. In my opinion however, it does taste quite a bit better than fondant. You can buy it from most craft or baking supply stores. There are also recipes to make your own that you can find online. If you’ve never worked with it before though it might be best to start with pre-made modeling chocolate so you can get a sense of how it should feel and how to work with it.
Tips for working with Modeling Chocolate
Modeling Chocolate adapts quickly to the temperature in a room, making it easy to re-work and smooth out, but it also can be challenging if you’re trying to create specific shapes, especially in warmer climates . Patience is your friend when working with it. If you try to rush it, you’ll likely find yourself getting quickly frustrated. Take your time, and regularly return your chocolate to the fridge or freezer whenever it starts to get sticky or give you trouble. It typically only needs to be in the freezer a minute or two to return to a workable state.
Also keep in mind that you can often fix mistakes down the road. When cutting out the circles for the ghost sheets they may not cut out perfectly, and that’s okay! You can always smooth out lines later (or leave them be to give your ghosts a ripped-sheet look)
Where to buy Modeling Chocolate
You can find Modeling Chocolate at most craft and baking supply stores. I used Satin Ice ChocoPan Modeling Chocolate in Bright White for this project that I was able to get at my local Michaels. The same brand is also available on Amazon for a little bit more. You can also try your hand at making your own, although I would suggest starting with pre-made Modeling Chocolate if you’ve never worked with it before.
Ghost Cake Pops
Ingredients
- 1 Box Cake Mix (or your favorite cake recipe)
- 1 Tub Cake Frosting (or your favorite recipe)
- 1 Bag Chocolate Candy Melts
- Neutral oil (vegetable or coconut) (as needed for thinning candy melts)
- 1 Tub (1lb) White Modeling Chocolate
Instructions
Assemble the cake pop base
- Bake the cake per box instructions and let fully cool. Crumble cake in a bowl, then add the frosting and mix until thoroughly combined. Roll mixture into approximately 1-1½ inch balls. Freeze to set the shape (about 1 hour).
Prep the Modeling Chocolate
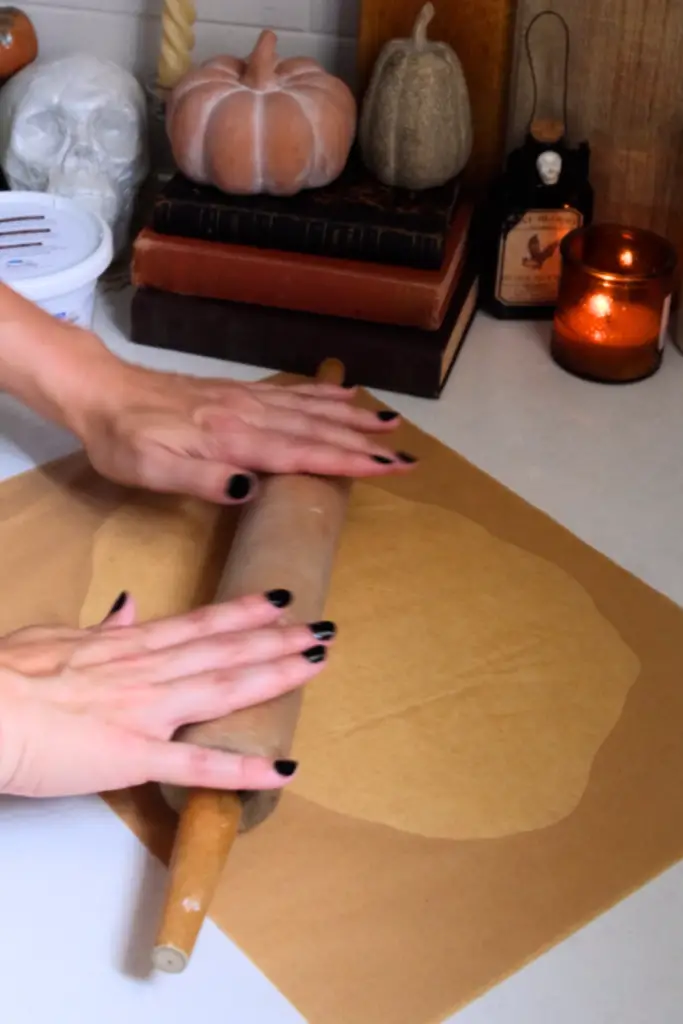
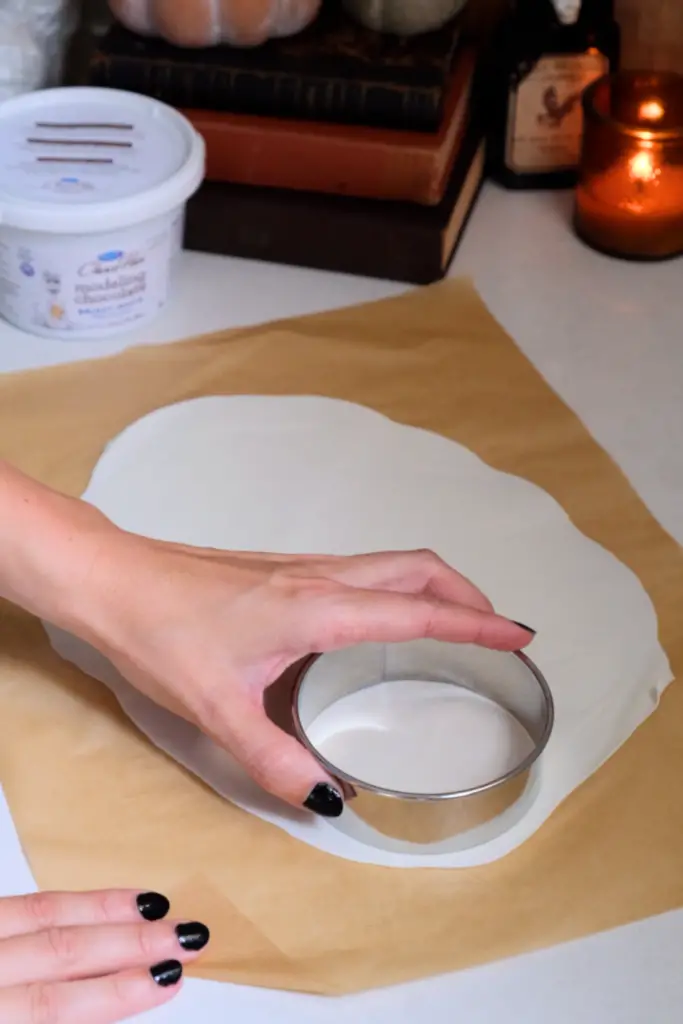
- Working in batches, remove a chunk of modeling chocolate from the tub at a time. Lightly knead if stiff (be sure not to over-knead). Sandwich between two sheets of wax paper and use a rolling pin to roll out. You want it to be pretty thin so it doesn't weight down your cake pops too much. Freeze for 5-10 minutes until stiff (don't skip this step, otherwise modeling chocolate won't cut easily)
- Once modeling chocolate is stiff, use a 4" circle cookie cutter to cut out circles (If chocolate starts to get too sticky, return to freezer to stiffen again). Once all of your circles are cut out, return them to the freezer once again to stiffen.
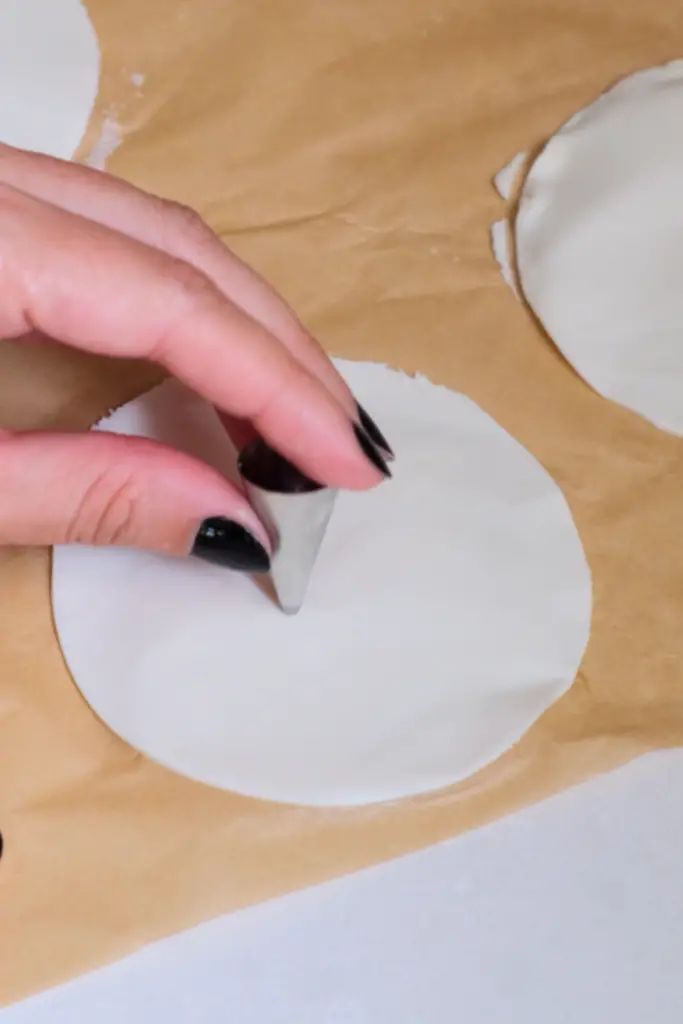
- Use a small circle piping tip, or anything with a small tip (like the end of a chopstick) to poke eyes out. They should be slightly lower than center. Return to freezer until just ready to assemble.
Assemble Cake Pops
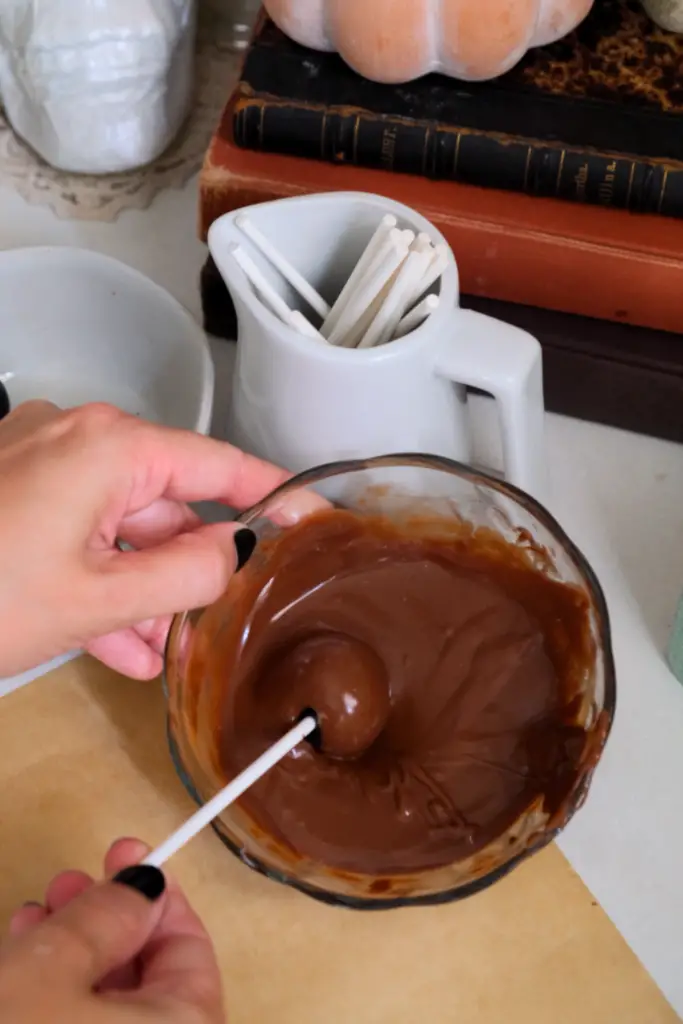
- Work in small batches (2-3 pops at a time is best – keeping the rest in the fridge or freezer as you work). Dip the end of a lollipop stick about 1/2 inch into the candy melts, then insert the coated end into the center of the cake ball. Only push it about halfway through the cake ball. Dip the cake ball into the coating until it is completely covered. Make sure the coating covers the base of the cake ball where it meets the lollipop stick. Very gently tap the stick against the edge of the measuring cup to allow excess coating to drip off. Place upright into a styrofoam block.
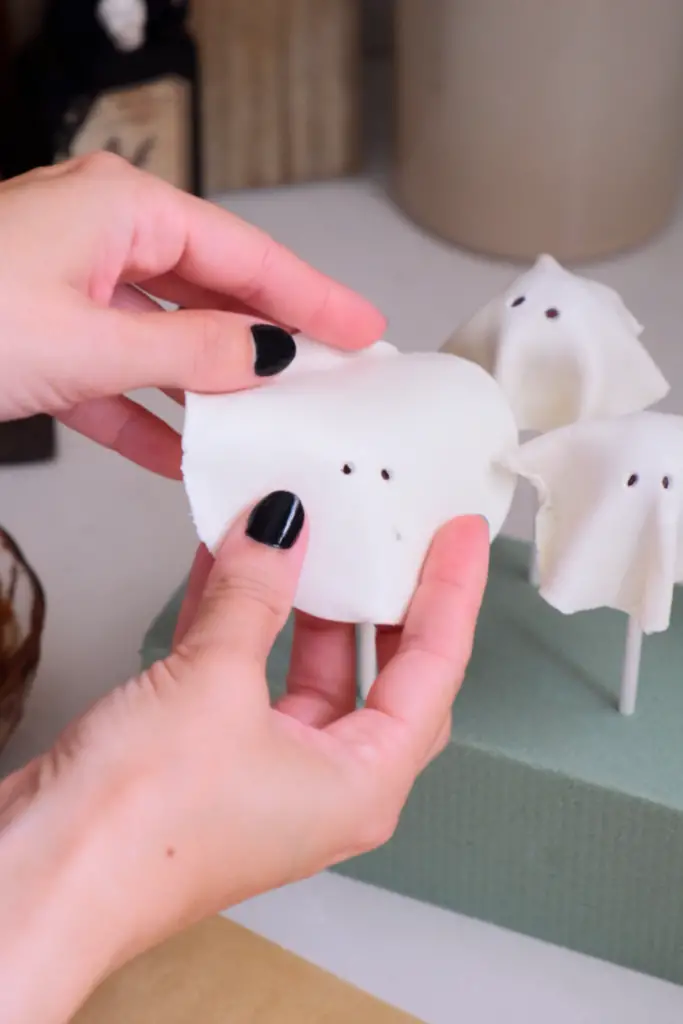
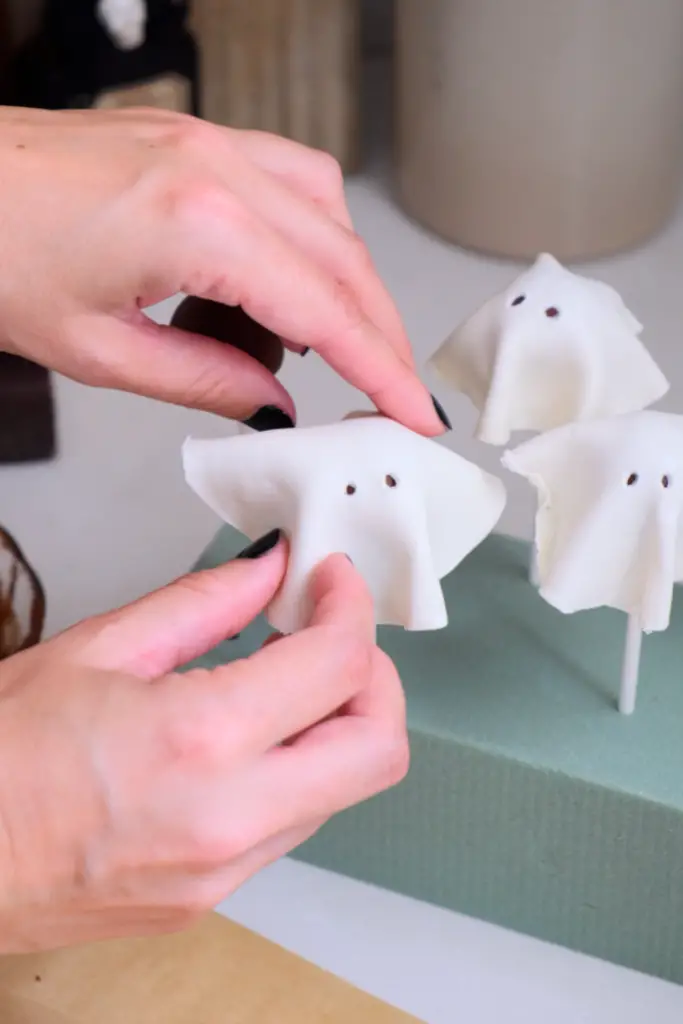
- Remove cut-out modeling chocolates from freezer (still working in small batches). They will be stiff but after handling for a few second it will loosen up. Drape over cake pop. Use your fingers to gently shape the bottom to look like draped blanket. Once set move cake pops to fridge or freezer to set the modeling chocolate.
Note
- Keep finished pops cold in fridge or freezer until ready to serve to retain shape.
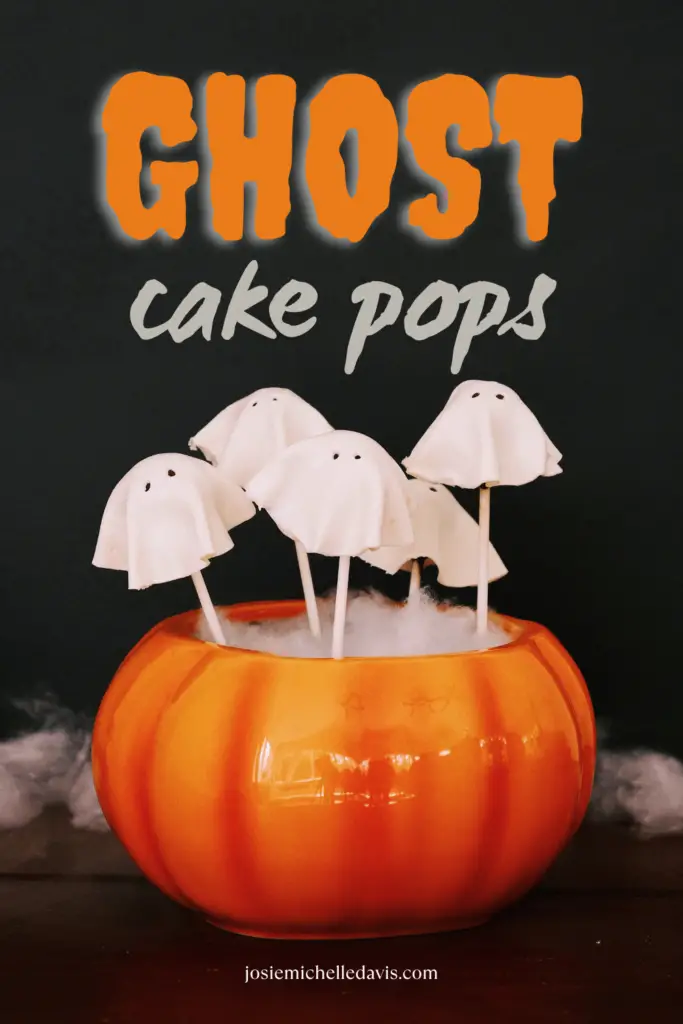
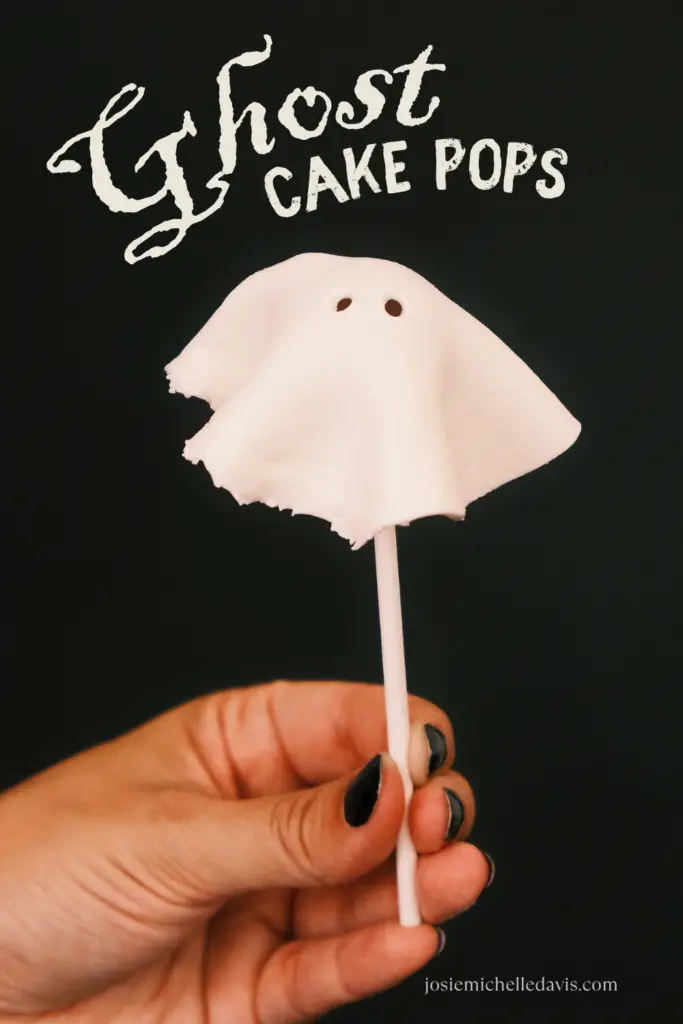
Pin this tutorial for later

You can also check out my Pumpkin Cake Pop tutorial
COMMENTS