If you’re looking for ways to bring a cottagecore inspired feeling to your fall decor, these DIY Botanical Pumpkins are such a lovely way to do it! They’re also a really fun craft that doesn’t take long, but adds a hand-made and unique touch to your autumn decorations. To make these DIY Botanical Pumpkins you only need a few supplies that are pretty easy to source. It’s a project that’s easy enough even for kids to help with it!
Disclosure – this page contains affiliate links that, at no additional cost to you, I may earn a small commission from. As an Amazon Influencer, I earn from qualifying purchases.

What You’ll Need to Make Botanical Pumpkins
- Faux Pumpkins (you could also do this on real pumpkins, but obviously you won’t be able to reused them year-after-year in that case)
- Dried Leaves and Flowers (you can make these yourself by drying out leaves, or get them from a craft store)
- Mod Podge
- Craft Paint Brushes
- Newspaper and Wax Paper
- Clear Coat Spray Paint (optional)
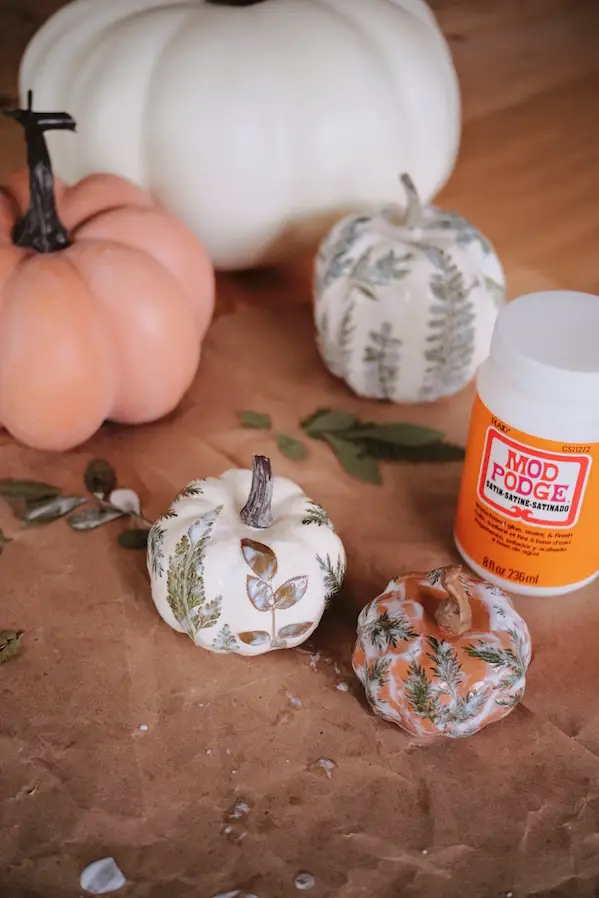
How to Make Botanical Pumpkins
- Cover your work space with newspaper to protect it, then use a sheet of wax paper underneath your pumpkin (this will keep it from sticking as the glue dries!).
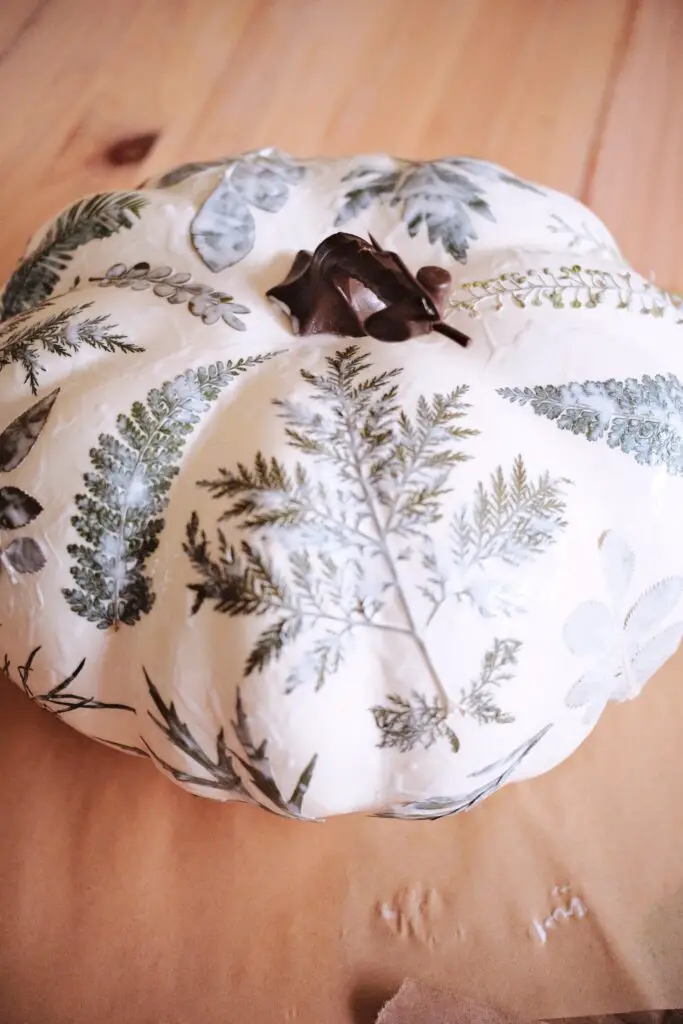
- Work in small sections of your pumpkin at a time, covering the section with mod podge by painting it on, then laying on your dried leaves in a design you like. Once you like the placement of your leaf, paint more mod podge on top of the leaf to secure it in place. Be generous with your mod podge.
- Repeat all over your pumpkin until it’s covered in leaves to your liking, then allow to dry fully overnight on the wax paper.
- Optional (but recommended): once your pumpkin is completely dried, in a well ventilated area coat the pumpkin with a clear coat spray paint. This evens out the finish as well as ensures your leaves don’t easily peel up later on. Allow to fully dry before using as decor.
COMMENTS