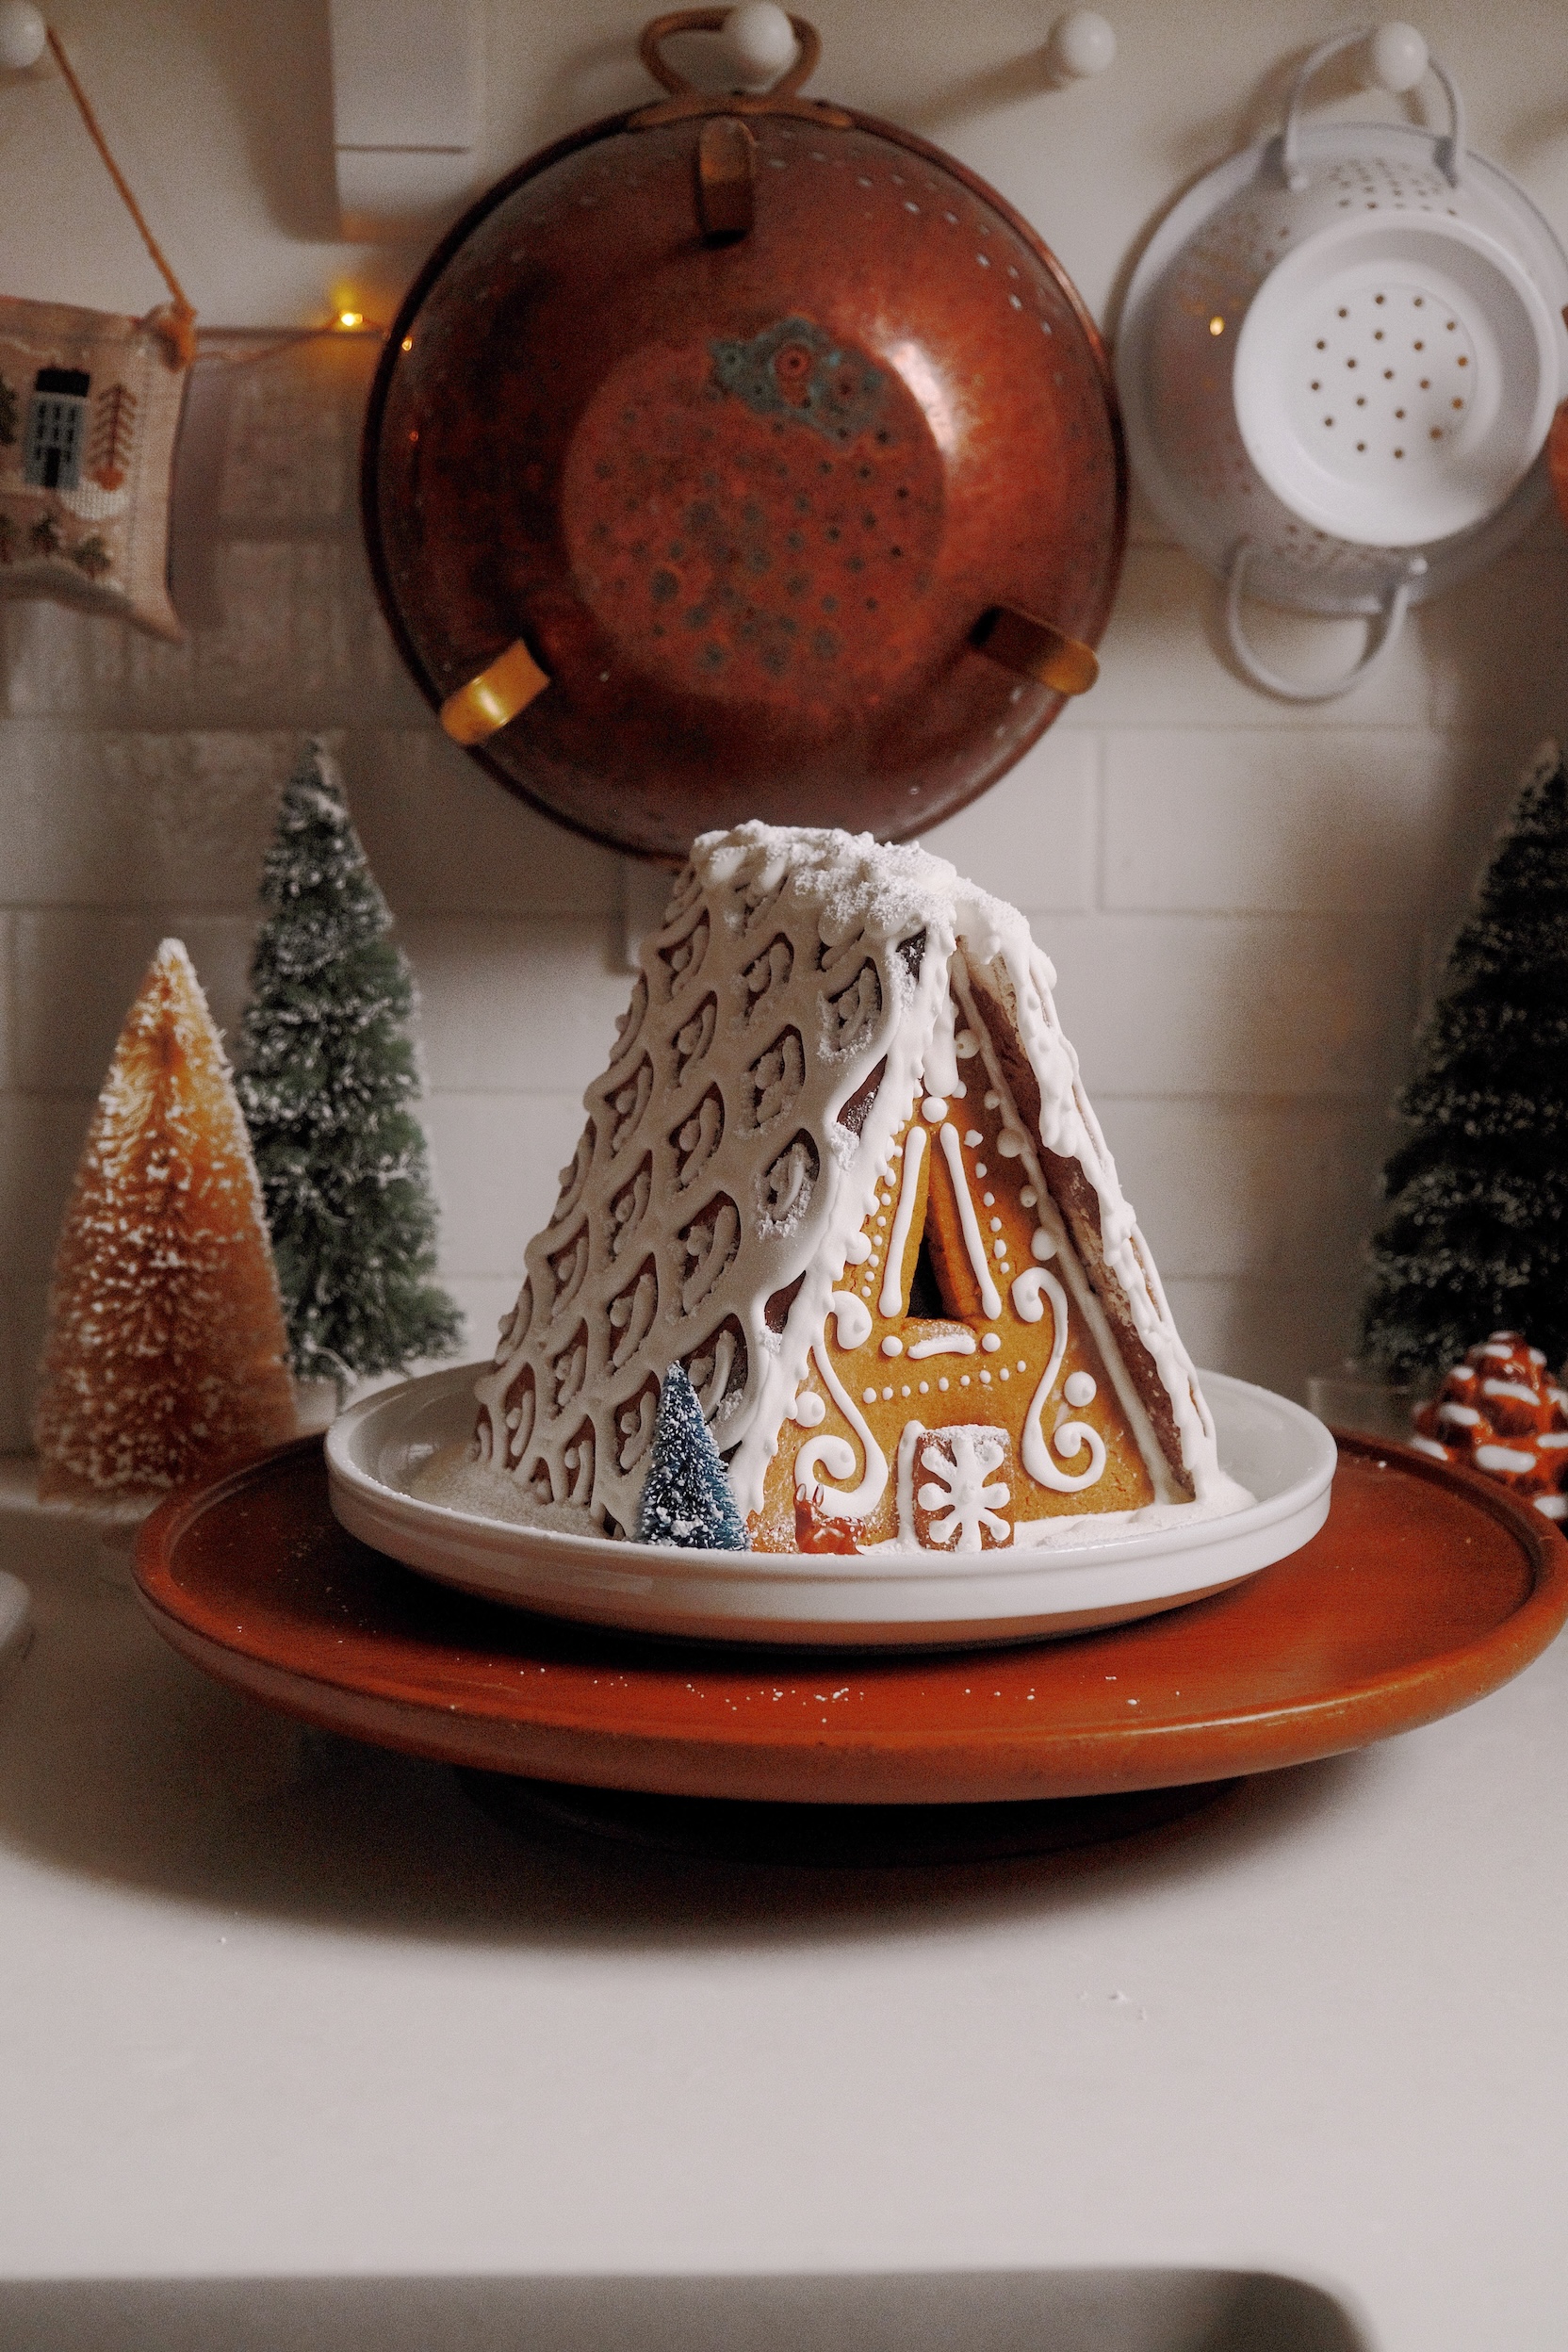
There’s something so magical about making gingerbread houses. The smell of cinnamon a molasses. The excuse to slow down and get a little messy. It has the power to instantly transport you back to being a little kid.
I’ve made it a yearly tradition to make my own gingerbread house from scratch. Part of that tradition each year is to up the ante just a little. Learn something new, try a new technique, and hopefully have some fun along the way. While many of us have used kits (or graham crackers for us 80s and 90s kids!) making a gingerbread house from scratch for the first time can be a little intimidating, so I’ve put together this guide to try to make it as easy as possible to get started.
Jump to Recipe
How to Make a Gingerbread A-Frame House From Scratch
The first gingerbread house I made from scratch was a classic A-frame, and I highly recommend it! With just 4 simple pieces you can get a feel for the process and construction without being completely overwhelmed and wanting to give up. Not to mention, A-Frame’s are just the cutest, don’t you think?
You want your gingerbread to be sturdy. That means you need a dough that creates a nice firm cookie. My recipe will do just that, but also has the added benefit of plenty of cinnamon which makes your house smell incredible. It also is still plenty tasty in case you get a bit peckish during your building.
When it comes to baking I tend to lean on over-done than risk an undercooked cookie that may give out half-way through the construction process. You don’t want to burn it to a crisp, but feel free to leave it in the oven a minute or two more than you might for cookies you plan to eat. This should help ensure your pieces will stay solid throughout.
Step-by-Step Process for Making a Gingerbread House
While I truly believe there’s no wrong way to make a gingerbread house if your goal is simply to have fun, if your aiming for something a little more impressive to show off, you will want to plan your steps a little more carefully. After much trial and error, here is my personal step by step guide to how I make and assemble my gingerbread houses:
- Plan and template: Just like the best real houses, the best gingerbread houses start with a plan. Sit down and decide what you want you house to look like. Both style and decoration. There’s a lot that can go into making even a simple one. You’ll want a template to make sure your gingerbread actually turns into something usable, not just a pile of pieces that don’t fit together. You can download my free A-frame gingerbread house template here.
- Baking your Gingerbread: seems simple enough, but you’ll also want to make sure you leave plenty of time for your dough to chill a while. Chilling is an important part of the process and can help ensure your gingerbread will retain it’s proper shape when baking. Personally, I like to chill all the dough together, and then chill the individual pieces after I cut them out and before I bake.
When it’s time to roll out you’ll want to have all of your template pieces ready and within reach to use to cut out your dough. Depending on the size of your house you may have to bake several batches to finish all of your pieces. Another important part of the baking process is cooling. You don’t want to try to build your house with still-warm gingerbread. I recommend baking your gingerbread the day before you plan to build you house. Giving your pieces the whole night to cool off and dry out a little bit. - Make your icing: Icing is just as important as the cookies, since your icing will be acting as the glue that will hold everything together. Don’t skimp or rush on making your icing. I use and would recommend Sally’s Royal Icing. It’s easy to make and she even has a video tutorial that can be really helpful to watch if you’re new and still learning how to get the correct consistency.
Icing is easy to make, but very difficult to get the perfect consistency with. It’s a learning process to figure out how to get the right consistencies for you. I like to have a few different consistencies on hang for decorating (stiff, semi-stiff, and flood). Also, make sure you keep your extra icing well-covered with a damp paper towel when it’s not in use, otherwise you’ll come back to a bowl of dried cement! - Decorating your Gingerbread house: That’s right, we’re not putting it together yet! It’s way easier to decorate your house when it’s laying down flat, opposed to try to ice a cookie that’s standing up. Now, you can always add little bits of decoration once it’s all together, but you want to do the bulk of your decorating now.
Make sure you remind yourself what where each piece will go so your designs line up. I accidentally had my “roof tiles” going the wrong way because I forgot what direction they would be when standing up. While it still looked cute (what doesn’t look cute on gingerbread?) it would have been an easy mistake to catch if I had slowed down and double checked before I started decorating.
Royal icing tends to dry quite fast, but you’ll still want to make sure your decorated pieces are fully dry before you move onto to the next phase! - Assembling your House: It’s finally time to put it all together! This part of the process is the most important to be patient with. Nobody wants their walls to cave in, but if you take your time and don’t rush, you should be just fine!
When assembling an A frame I like to start with the walls first. Make sure you lay out how far apart your walls should be for your roof to fit correctly. Once you have the figured out you can use your icing to glue them down to your surface. You’ll want to have some sturdy objects near by to help your walls stand up straight as they dry. You can use cans or jars or anything that’s small, but will be able to take the weight. Once the icing holding your walls has completely dried (the icing should be able to hold them up all on it’s own!) you can attach the roof by adding icing up and down the sides of each wall and laying each roof on top. Any small gap at the top where the roof connects you can add icing to. I love my roofs to feel “snowy” so I add plenty to the top!
Click here to download my free a-frame gingerbread house template
Gingerbread for House Building
Ingredients
- 2 Sticks Butter at room temperature
- 298 Grams brown sugar
- 824 Grams all-purpose flour plus more for dusting
- 1 Tbsp ground ginger
- 1 Tbsp ground cinnamon
- 3/4 tsp baking soda
- 1/4 tsp baking powder
- 1/4 tsp salt
- 2 Eggs at room temperature
- 1 Cup molasses
Instructions
Make Dough
- In a mixer fitted with the paddle attachment, cream together the butter (2 sticks) and sugar (298 grams) until fluffy (about 5 minutes). Scraping down sides as needed.
- In a separate bowl, sift together the dry ingredients (824 grams flour, 1Tbsp ginger, 1 Tbsp cinnamon, 3/4 tsp baking soda, 1/4 tsp baking powder, 1/4 tsp salt) and set aside half.
- With mixer running at low speed, add eggs (2), one at a time. Mix in molasses (1 cup). Scraping down the bowl as needed.
- Next add half the dry ingredients In 3 batches, mixing just to combine. Do this very slowly to avoid flour flying out at you. You can drape a towel over it when mixing to help keep it in.
- Wrap dough in plastic wrap and refrigerate at least 2 hours, but overnight if possible.
Bake
- Preheat the oven to 350 degrees.
- Roll out dough: You’ll have quite a bit of dough, so you’ll want to cut off smaller pieces at a time to work with. I usually cut off 1/3 of the dough to work with at a time.
- Lightly dust a large piece of parchment paper with flour. Place your piece of chilled dough on top. Roll side to side and up and down to make a rough square shape. While you roll, make frequent quarter-turns so that the dough remains even and prevent sticking to your surface.
- Roll until dough is about ¼-inch thick. Transfer to a baking sheet lined with parchment paper. Use your paper templates to cut out your pieces. You’ll likely need to roll out several pieces of your remaining dough to get all of the pieces cut out.
- Bake for 15 to 25 minutes, or until even and firmly set. Allow to fully cool before assembling your gingerbread house.


COMMENTS