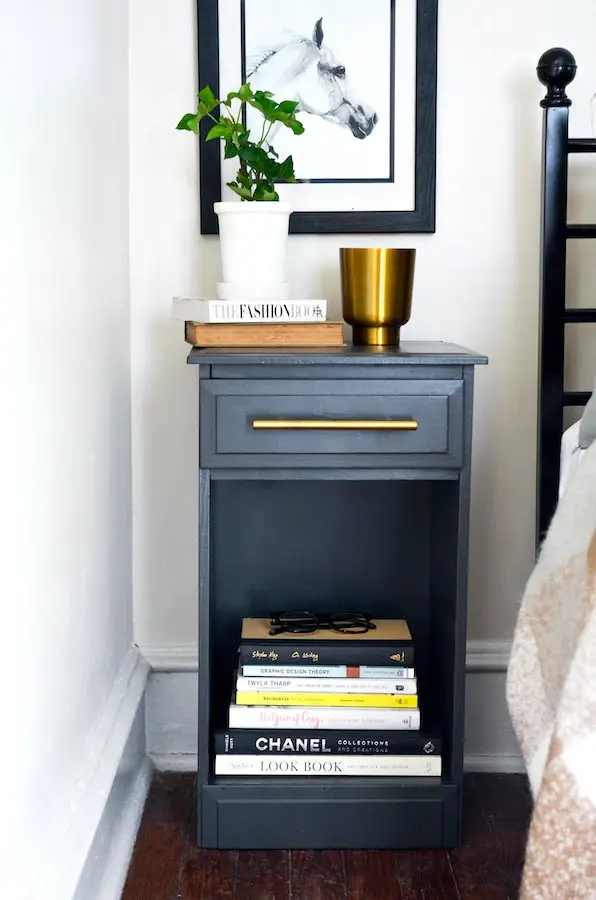
Before and After:
Bedside Table Makeover
Sometimes when you’re deep into a long home reno and have about twenty different big projects going at once, you hit these points where you think, “I just want to finish SOMETHING!” Well that’s where I’ve been at. Should I be scraping wallpaper from the hall instead of worried about how ugly our bedside table is? Yep. But here I am.
I grabbed this not-so-pretty table from a thrift store after being on the hunt for something for a few months and coming up empty (we only have about a foot from our bed to the wall, and I really wanted something with a little drawer to hide all of my junk). So when I came across this for $5 I just grabbed it, still hoping I might find something a little cuter in the future.
But I didn’t. And now that our bedroom is finished it really felt like it was sticking out like a sore thumb, so I thought I might as well try to give it a little makeover. Honestly though, I can’t believe how cute it turned out! I actually love it now and have officially stopped the hunt for a replacement.
The best part is I spent less than an hour in total working on it.
Disclosure – This post contains affiliate links that, at no additional cost to you, I may earn a small commission.
BEFORE & AFTER
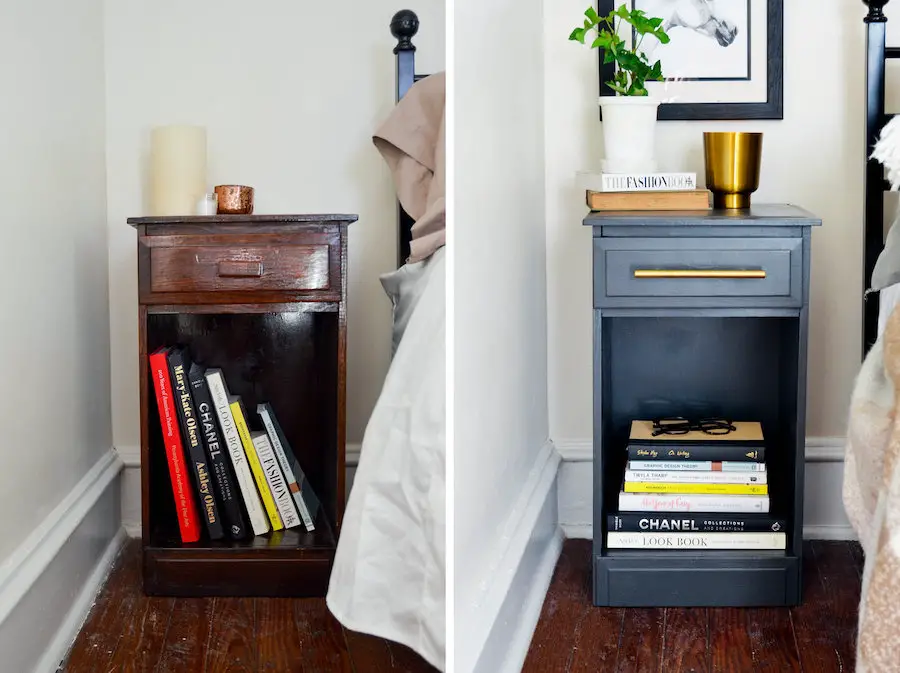
Isn’t it crazy what a little paint and a new handle can do? We actually had these pulls left over from redoing our kitchen cabinets, so I really only had to buy a little paint! Everything else we had one hand, but if you’re looking to give a piece of furniture a little facelift you can easily grab everything you need at Lowes or Home Depot. This night table makeover was seriously a breeze.
Bedside Table Makeover Step by Step Guide
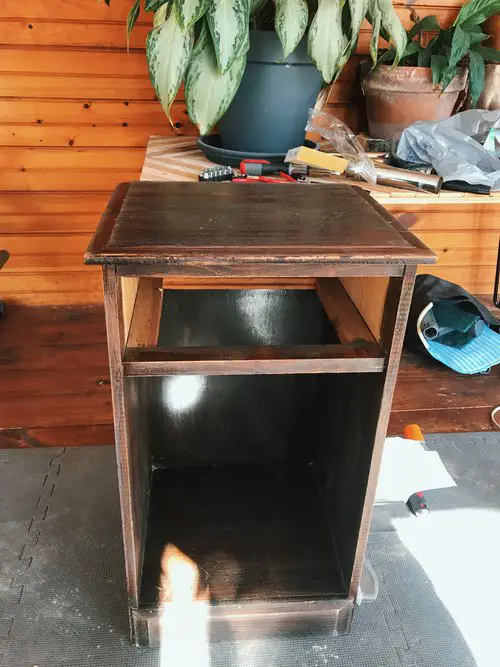
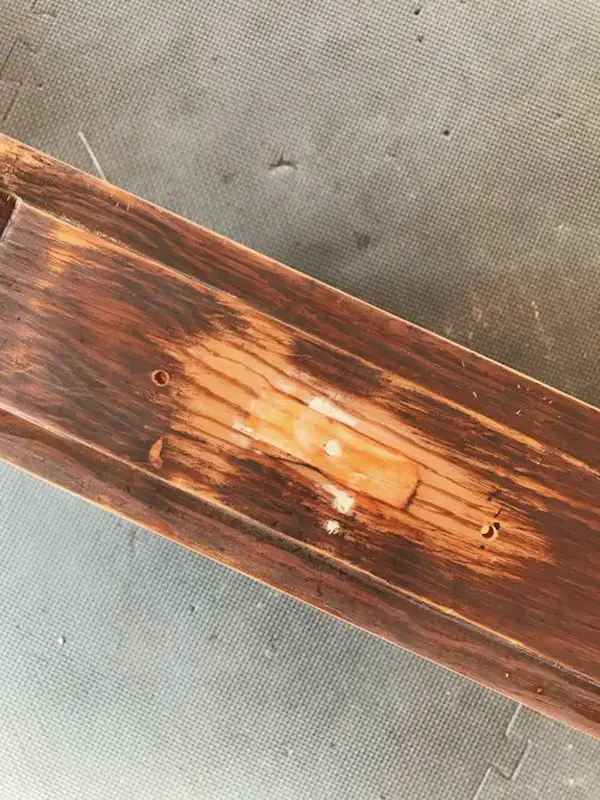
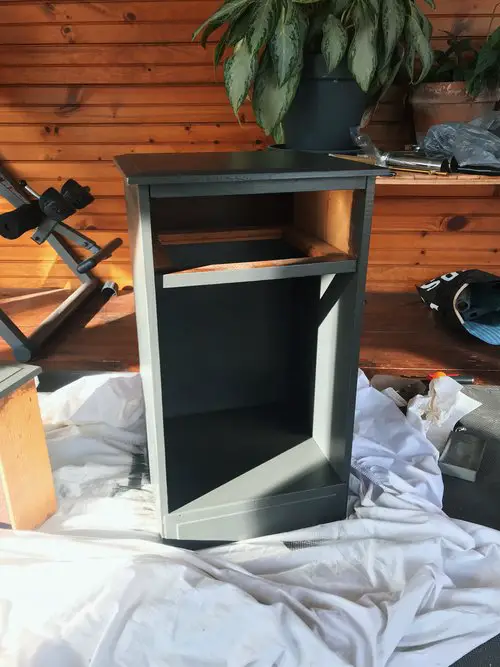
The hardest part (and I use that term lightly, as it was a breeze) of this bedside table makeover was changing out the pull on the drawer. If you’re looking to do the same you could opt to go with a pull that fits in the hole from the original hardware, in which case you can skip the wood filler and drilling new holes!
- I started by removing the old pull, filling in the hole with wood filler, and letting it dry overnight.
- Then I sanded the wood filled hole, drawer, and entire table down. I started with a very coarse sanding sponge and worked my way down to a fine one.
- For the hardware: My new pulls were 5″ so I found the center of the drawer and then made marks 2 1/2″ out from the middle on either side, being careful to keep them straight. I then sat the new hardware on my drill marks to make sure they lined up and everything looked good before drilling. Then I went ahead drilled the holes using the marks I made. Easy peasy.
- Clean Clean Clean! I always make sure everything is super clean before I paint.
- I used just a basic paint brush on all of the edges and corners, and then used a mini roller to go over everything (these are my go to for cabinets). The paint I went with is Sherwin Williams Carbonized, and I ended up absolutely loving it. It’s a nice deep grey. I did about 3 coats of paint and used about a half of a quart of paint in all.
- Once completely dry I attached the hardware (This is the pull I used in the 5″ size). And that’s it!
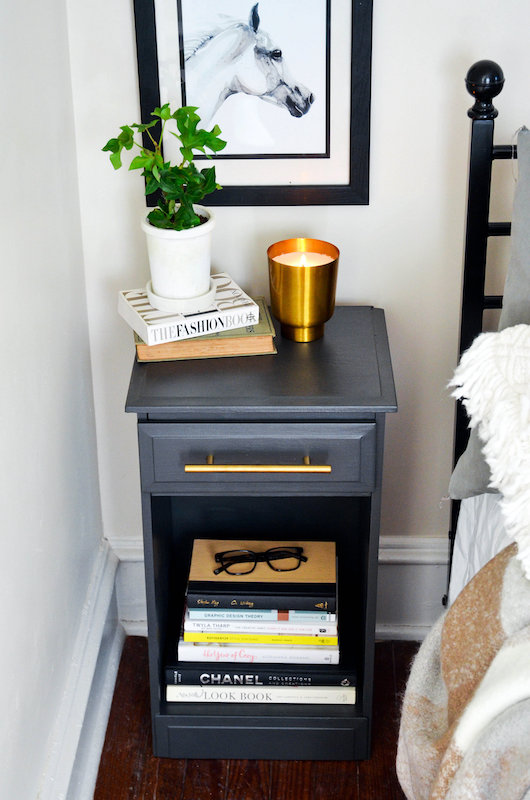
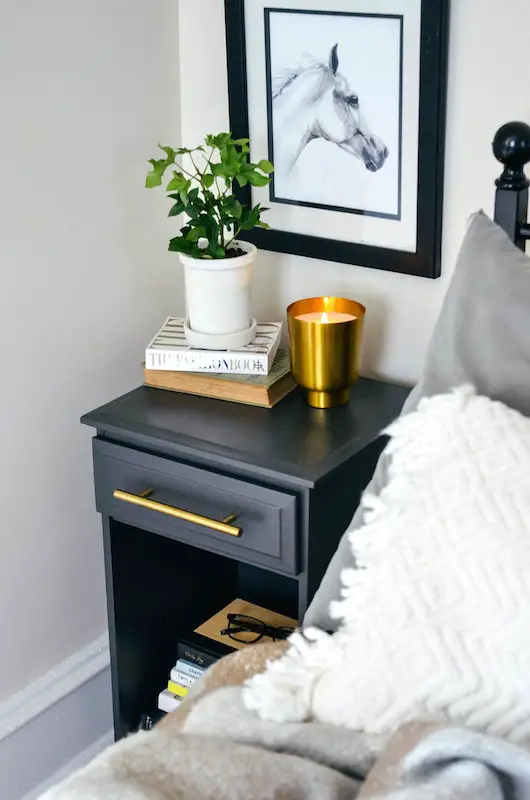
Finishing Touches
I’m telling you, it’s a breeze. So if you have a piece of furniture you’ve been feeling a little so-so about, try and give it a quick makeover! A lot of 80’s and 90’s wood furniture may be super ugly, but are usually so easy to quickly update.
Of course, once it was looking so cute I couldn’t resist adding some artwork to this corner and a plant, because I truly believe every surface in our house probably needs a plant on it – and boom! It’s done. A perfect little nightstand for our bed. With limited room next to our bed it worked out perfectly.

Beautiful makeover, modern look, if you ever do a transformation project again check our range of handles for inspiration https://ironmongeryexperts.co.uk/