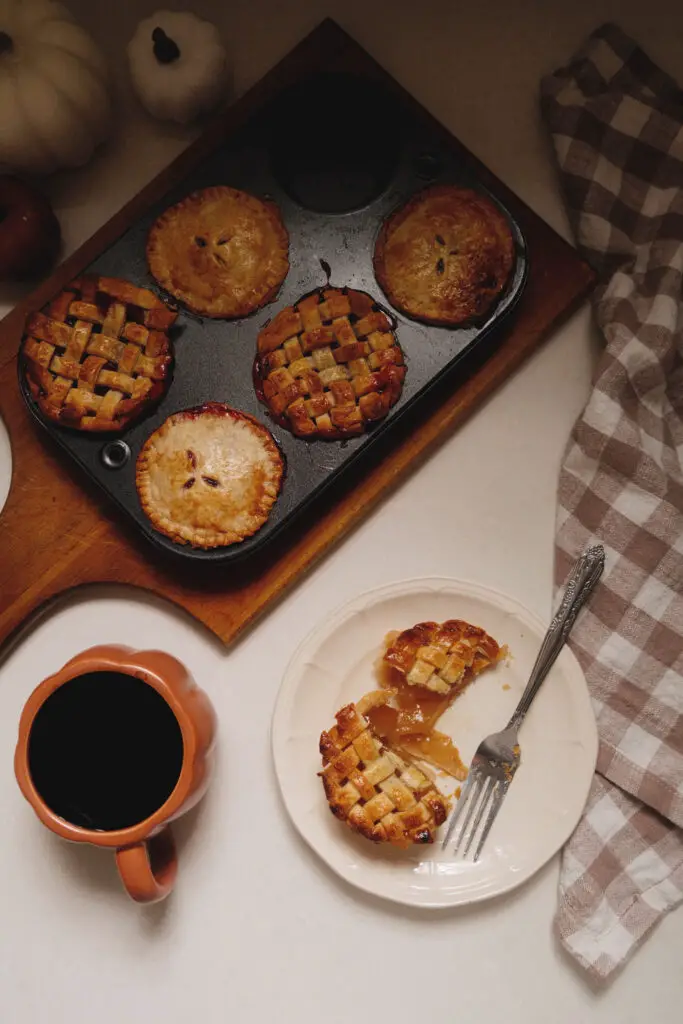
Cup-Pies have been on my list to make for years – since I first head the adorable idea on Pushing Daisies. While I could easily chew your ear off and write a masters thesis on why it’s such a tragedy that the run of such a magical show was cut short (and still so few people have even heard of it) I will resist the urge and stay focused on the perfection of this little dessert.
While I do love to go from-scratch when it comes to making pies, Cup-Pies are a little more labor intensive. I do think they especially benefit from using pre-made ingredients, specifically when it comes to the crust. The great thing about that store bought pie crust is that is holds together really well, which you definitely want when making cup-pies. If you already have a tried and true crust recipe you feel confident will hold it’s shape, go ahead and feel free to sub that in. Otherwise though I would suggest sticking to the reliable dough boy. The filling would be much easier to make from scratch if you want to experiment with that!
Since these are mostly pre-made ingredients, this is more of a how-to for assembling and less of a traditional ‘recipe’, but you can always swap in with your favorite home-made recipes for the ingredients!
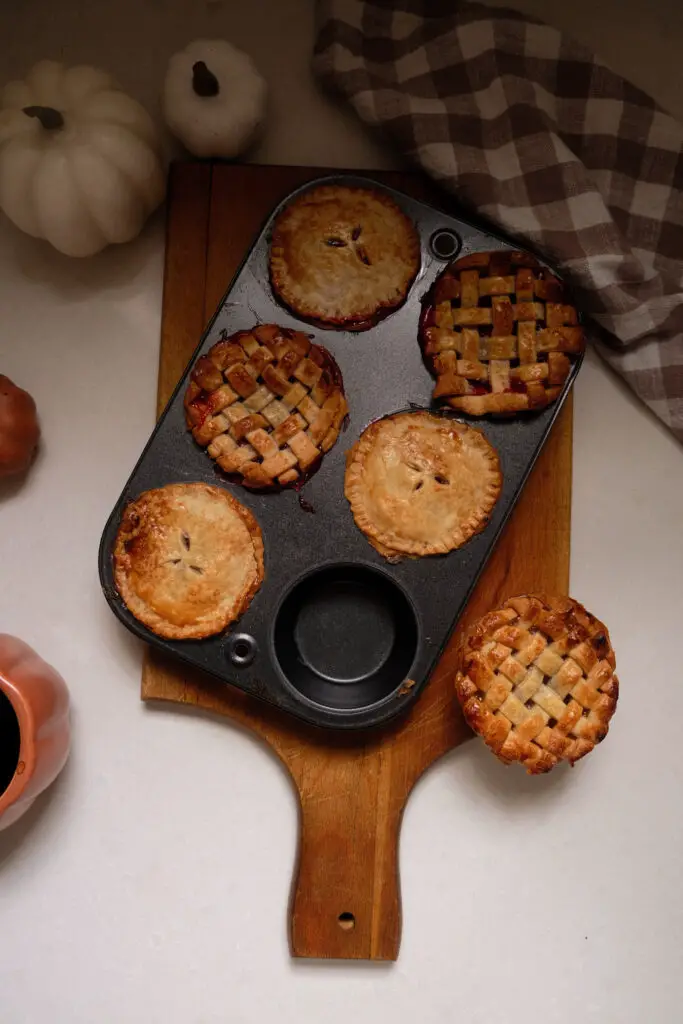
Apple and Cherry Cup-Pies
Ingredients
- 1 Package Pie Crust (package of 2)*
- 1 Can Apple Pie Filling
- 1 Can Cherry Pie Filling
- 1 Egg
- 1 Tsp Granulated Sugar
Instructions
Assembling the Base
- Pre-heat your oven to 450° and coat a 6 cupcake pan with non-stick spray.
- Roll out one of your pie crusts (you may need to let it sit at room temperature for a few minutes to loosen up). Using a 4" round cookie cutter (or anything round of about that size you can use as a template) cut out 6 bottom crusts. Push each into the cupcake tins, using your fingers to push them into the corners fully, and leaving just a little overlap of the edges (so you can marry the bottom and top crusts together)
- Fill each tin about 3/4 full with the filling (filling 3 with the apple filling, and 3 with the cherry filling).
Topping the Pies
- The top crusts are where you can have a little fun, or you can keep things really simple. Any method from creating a top crust on a full sized pie you can just make smaller for topping your cup-pies.
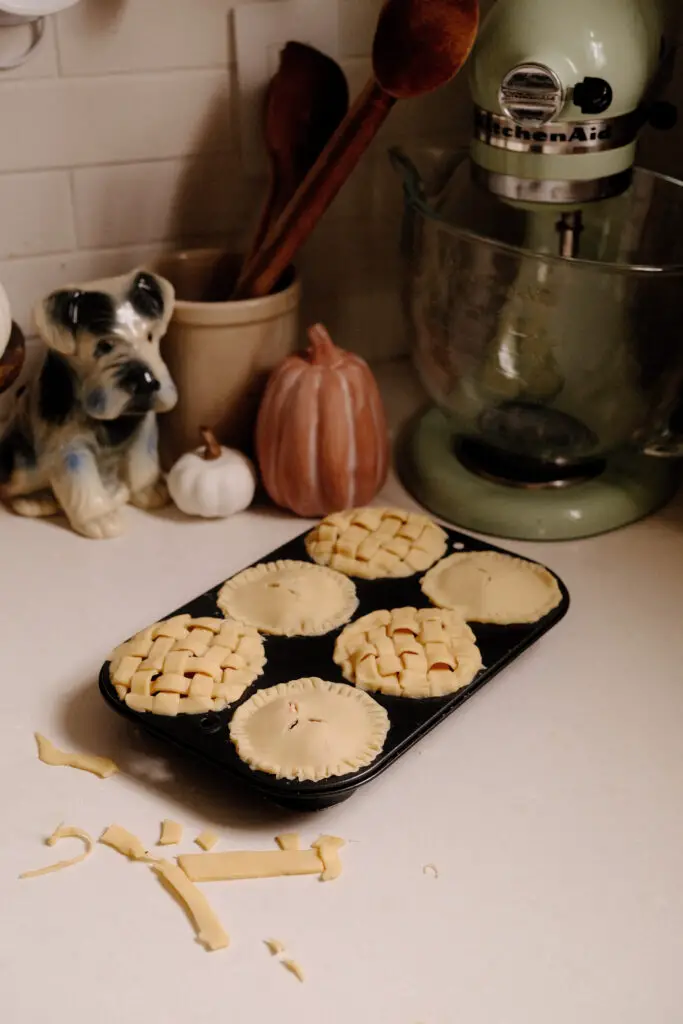
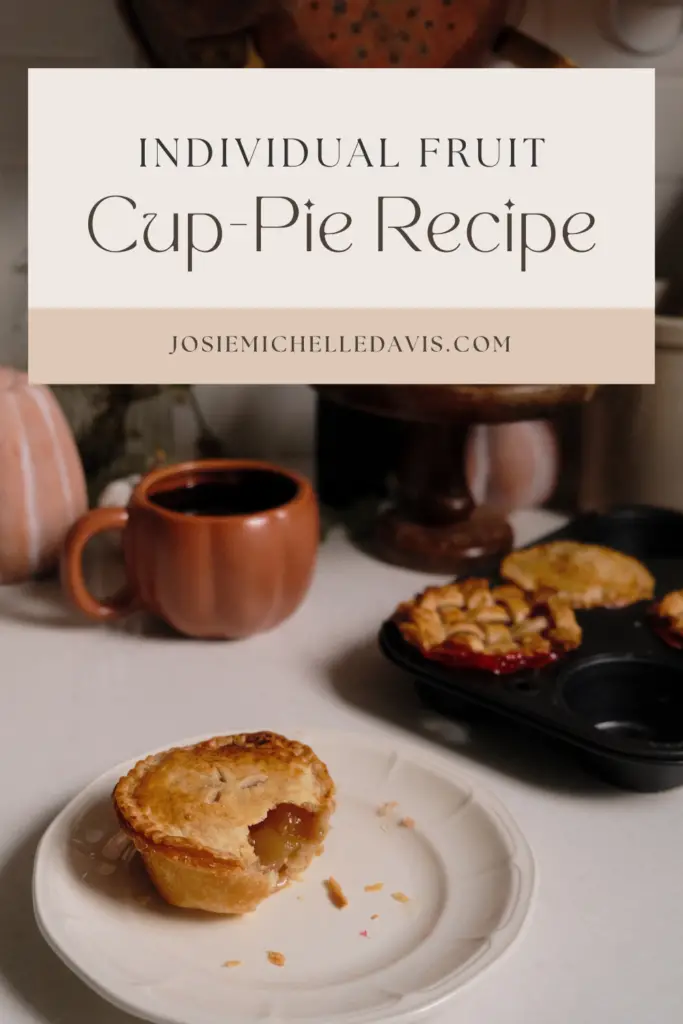
- For a simple top: Cut out 3" rounds from your pie dough. Create vent holes by cutting several slits in the middle of the dough. Place your dough on top of the filled tins. Use a fork to crimp the edges together with the bottom crust.
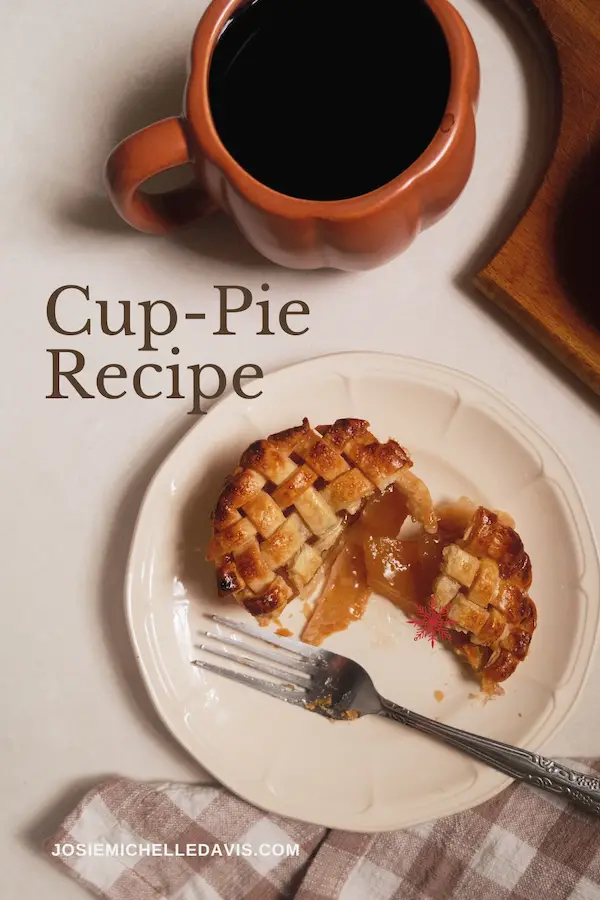
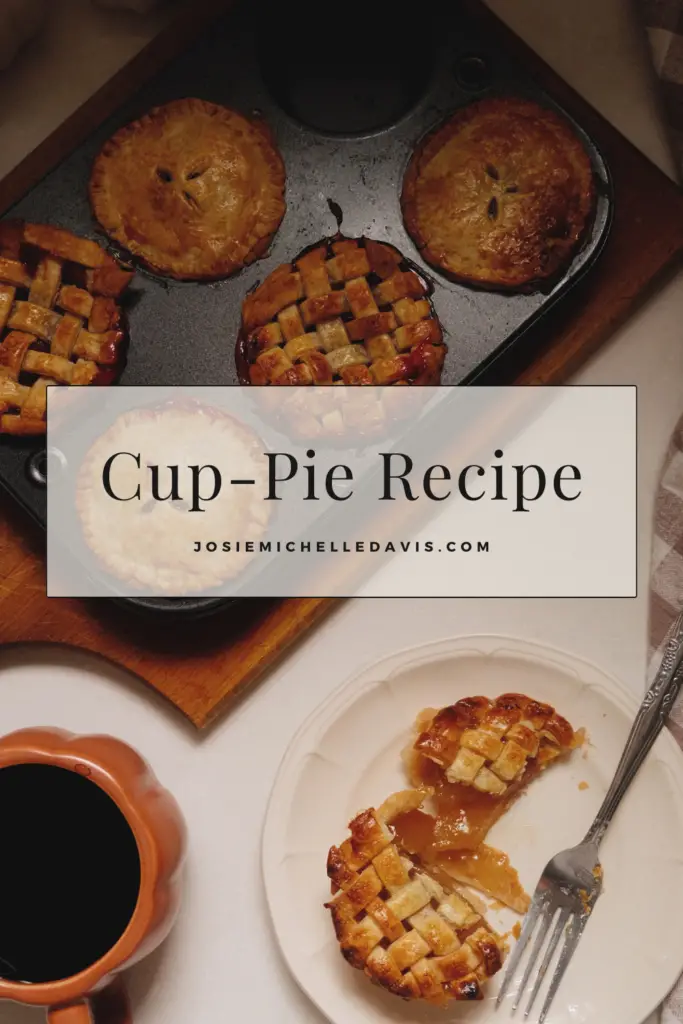
- For a lattice crust: On a lightly floured surface, cut several long strips of dough out roughly the same size. Create a lattice pattern by weaving every other piece over every other piece. Once your pattern is complete, use a 3" cookie cutter to cut out the tops. Moving them over to the tin can be a little tricky, but I found using a metal pastry scraper to be the best way to scoop each top up and gently place it on top of each pie (as long as your surface was floured you should be able to do this fairly easily!). Once placed, gently crimp together the edges with the bottom crust.
Baking
- Once pies are fully assembled, put them in the fridge for at least 10 minutes. Don't skip this step. The colder the crust is before going in the oven, the better they'll hold their shape!
- Wisk egg with a Tbsp of water. Lightly brush the egg wash onto the top of each pie. Lightly sprinkle with sugar.
- Bake for 20-30 minutes. Keep a close eye on them – if the crust starts to brown before the filling bubbles you can lightly covered the entire cupcake tin with tin foil to prevent burning (typically this is around the 15 minute mark, but keep a close eye on yours)
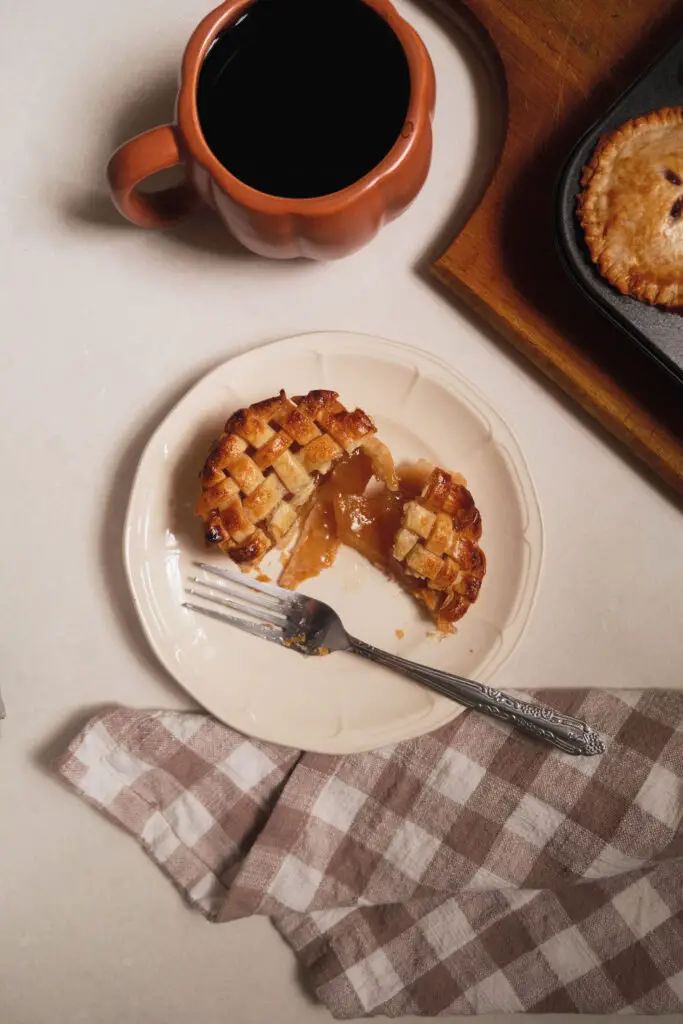
- Allow to cool before serving. (I found using a fork was the easiest way to pull them out of each tin)
Notes
Watch me make them! Check out the Reel or Tiktok videos
Pin for Later


COMMENTS