My Step by Step Guide to Refinishing Wood Furniture
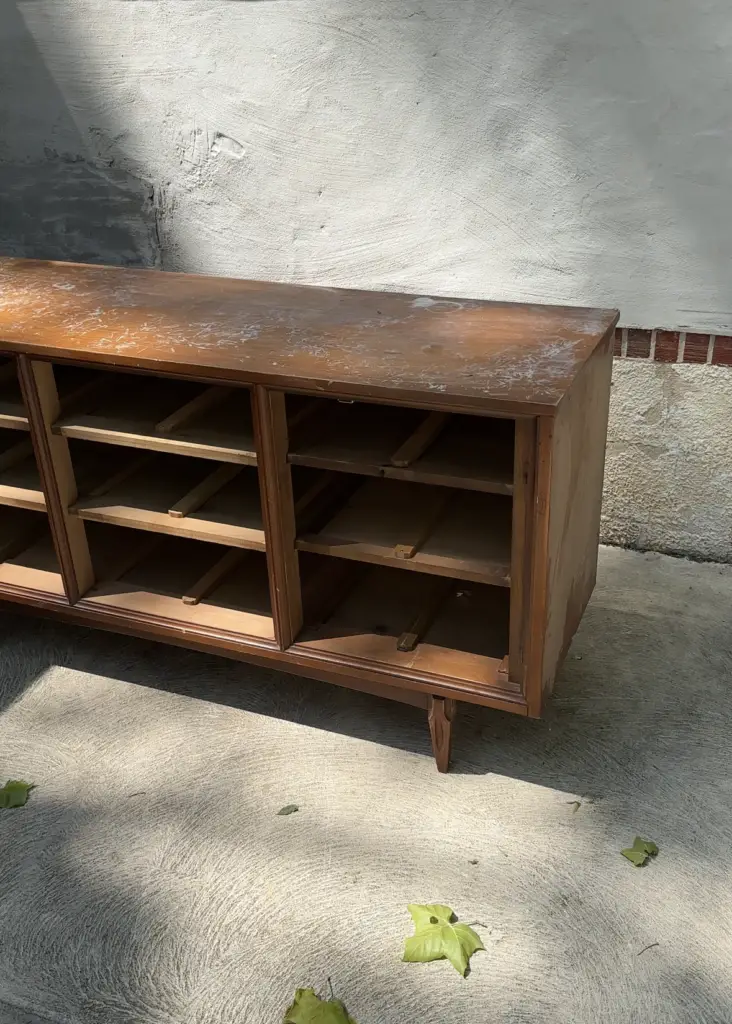
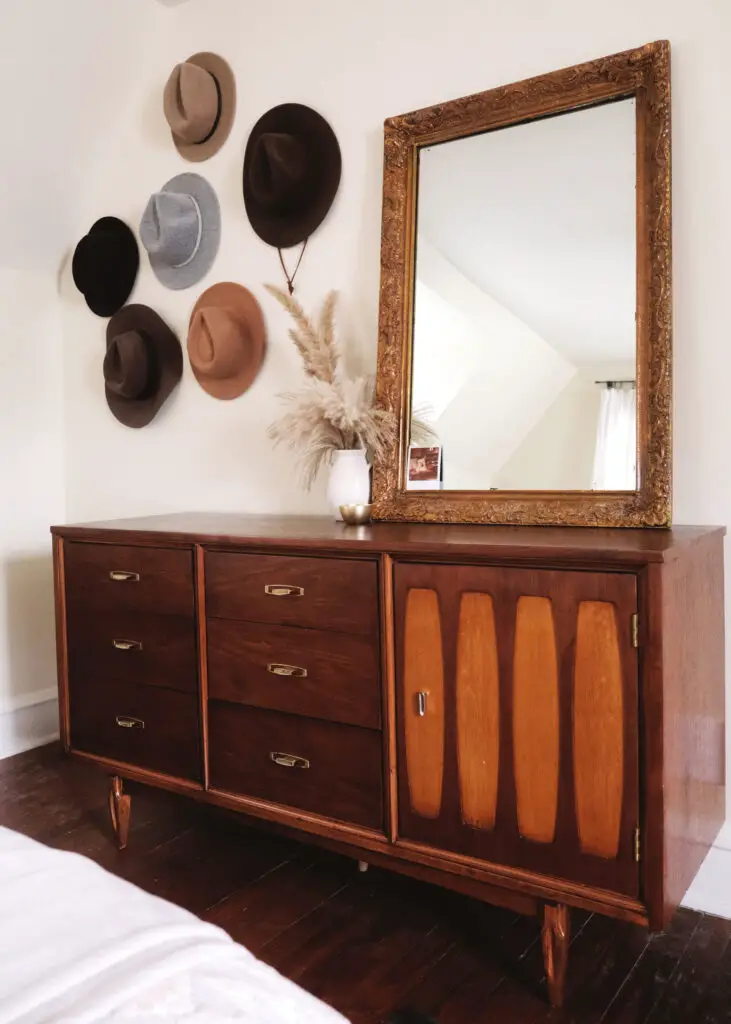
What’s more exciting than finding a new piece of furniture that’s bursting with potential? Over the years I’ve thrifted most of our furniture, which has often meant they needed a little love and TLC to get them looking their best again. Sometimes paint is a great option, especially if a piece has already been painted at some point, or maybe if the finish is just too far gone. But when possible, there’s few things more satisfying than refinishing a beautiful piece of wood furniture. SO REWARDING, but not quick or easy.
It can also be really intimidating if you’ve never done it before, but it doesn’t need to be — Here is my step-by-step guide to how I refinish furniture!
Disclosure – This post contains affiliate links that, at no additional cost to you, I may earn a small commission from.
Tools and Materials
- Orbital Sander
- Detail “Mouse” Sander (optional) — this is nice to have but you can also get away without it!
- Gator Micro Zip Sander
- Sandpaper — Grits 80, 120. 220
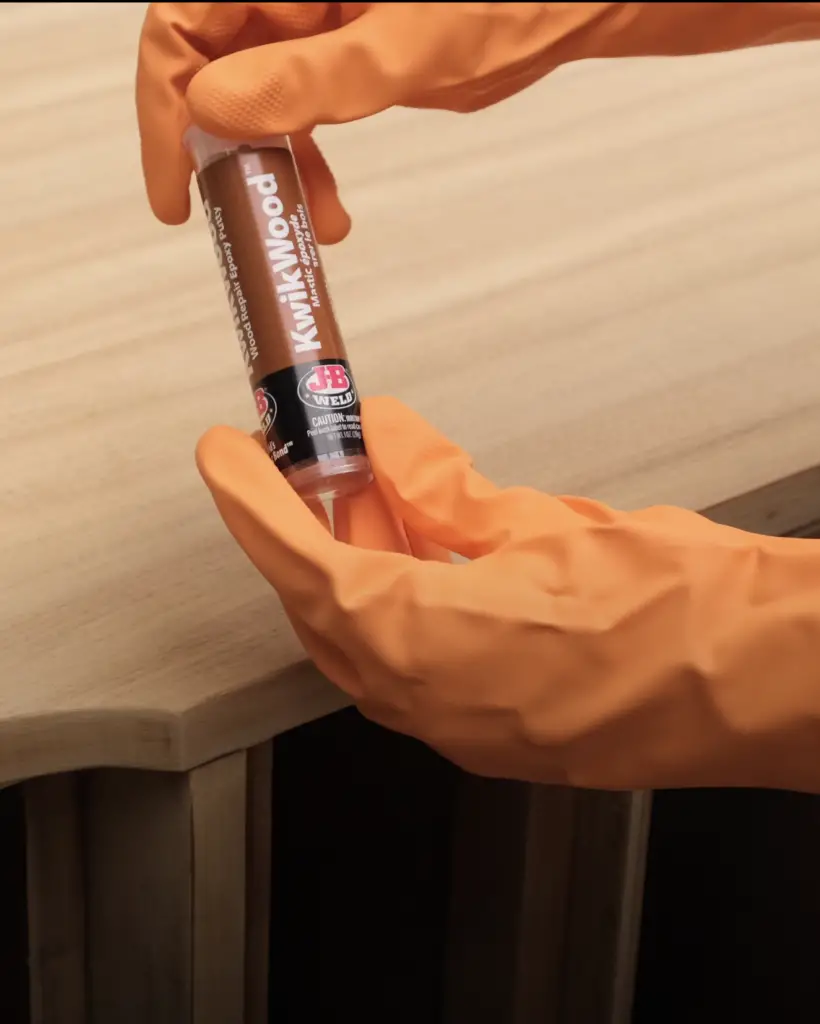
- Kwikwood Epoxy (only if you need to patch spots)
- Mineral Spirits
- Clean Rags
- Fine Steel Wool
- Wood Conditioner
- Stain (I used Minwax English Chestnut)
- Polycrylic
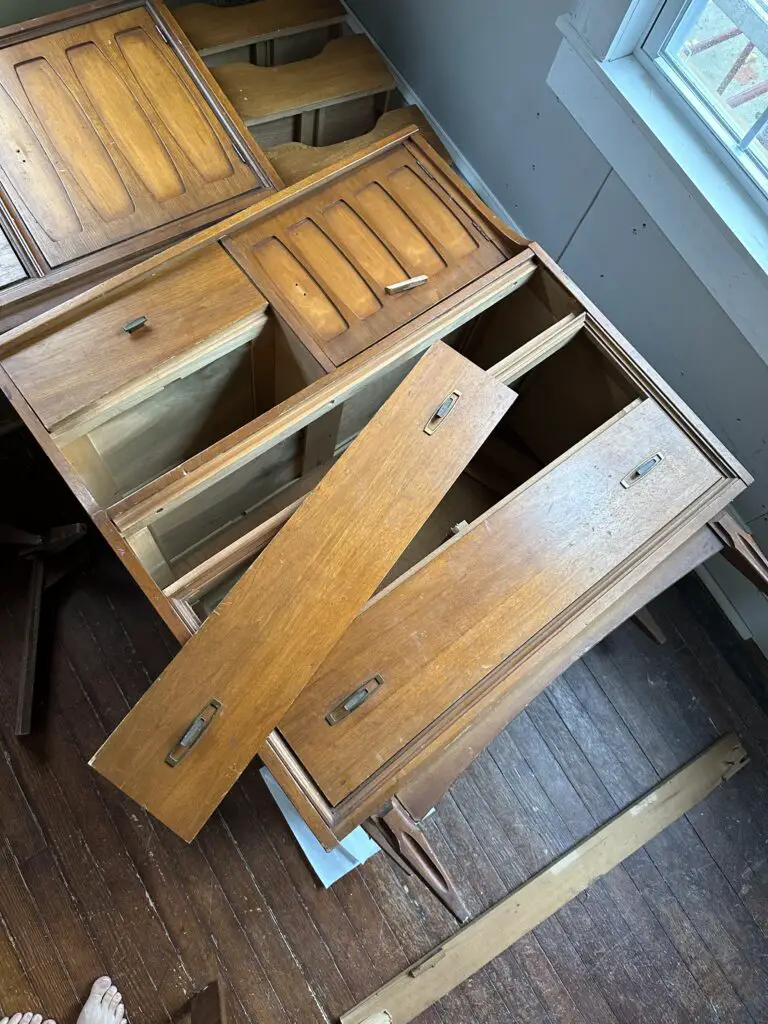
Fix any major issues. The dressers I found needed a little structural work before refinishing. We had to rebuild the legs on one of the pieces, and several of the drawers needed to be put back together and re-glued. You always want to make sure the furniture you’re working on is structurally sound before you start refinishing.
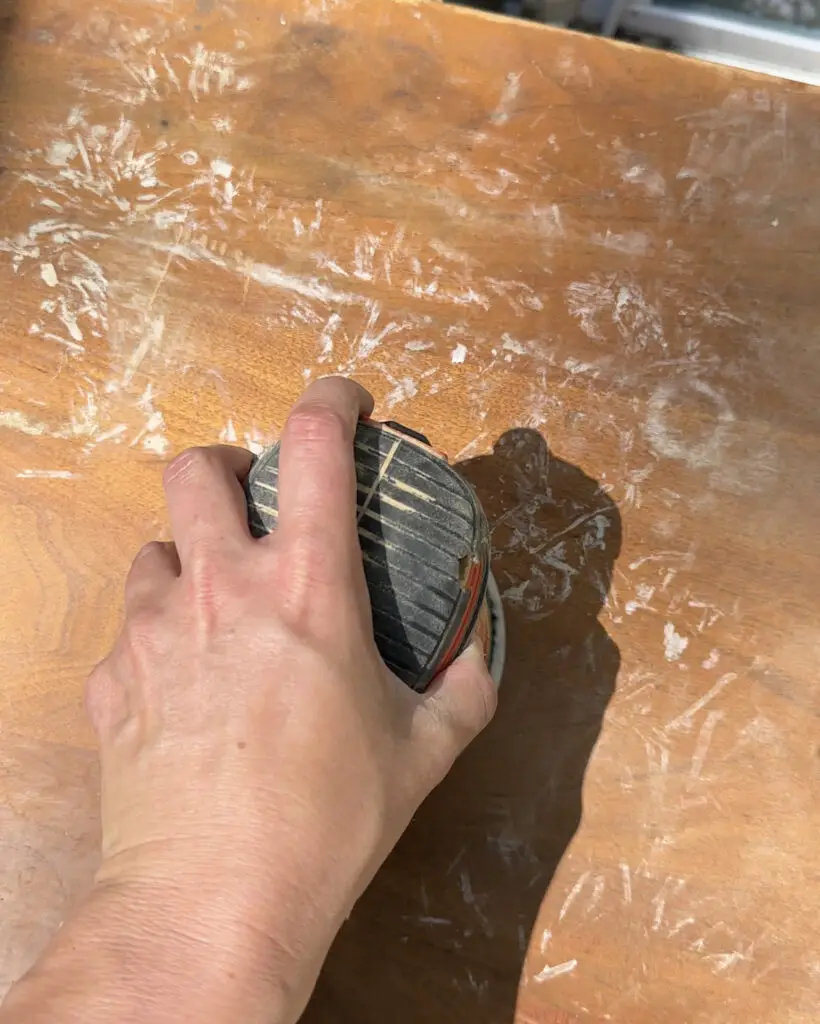
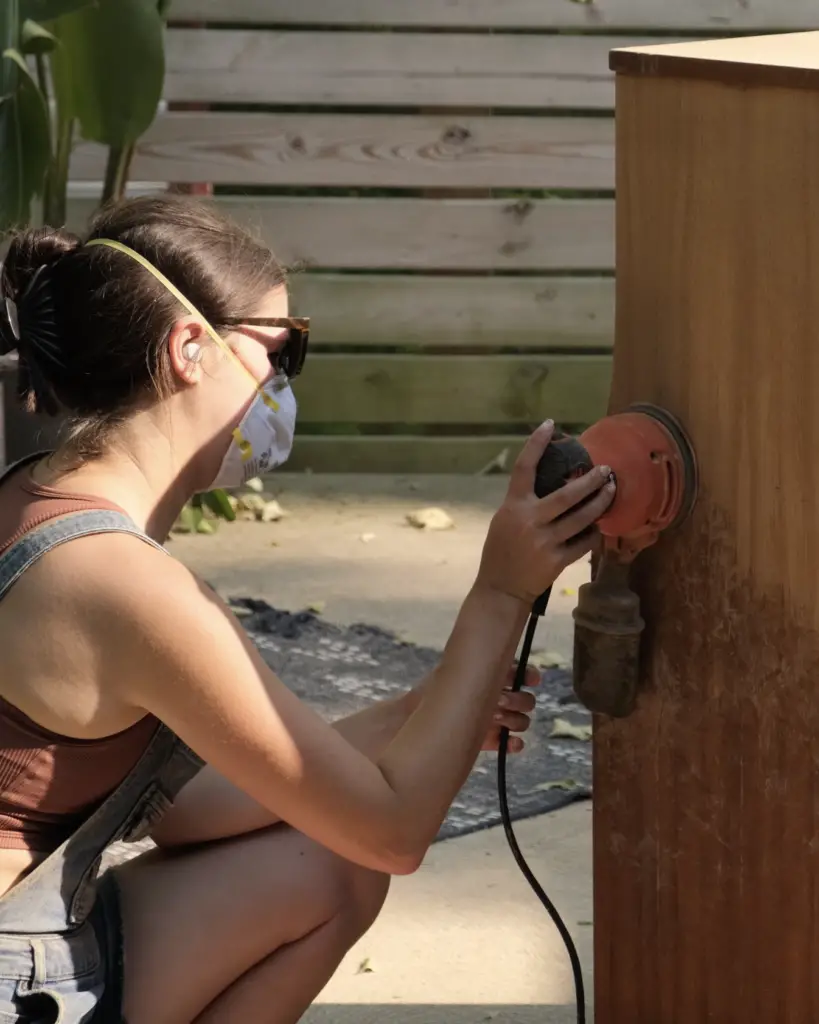
Strip off any old finish. My furniture didn’t have any paint on it, but in the past when I need to remove paint from a piece, I use Citristrip to get the majority of it off first. Once that’s done, or if you didn’t have any paint to worry about, you can start sanding. Using my orbital sander and 80 grit sandpaper I remove the finish. You could use a 40 grit if the old finish is really thick, but I’ve found it can be too rough for a lot of furniture — especially if your piece is wood veneered you will want to be just a little more careful! For tight spots I use either my detail sander or the Gator Micro Zip (this is especially helpful on carved feet!
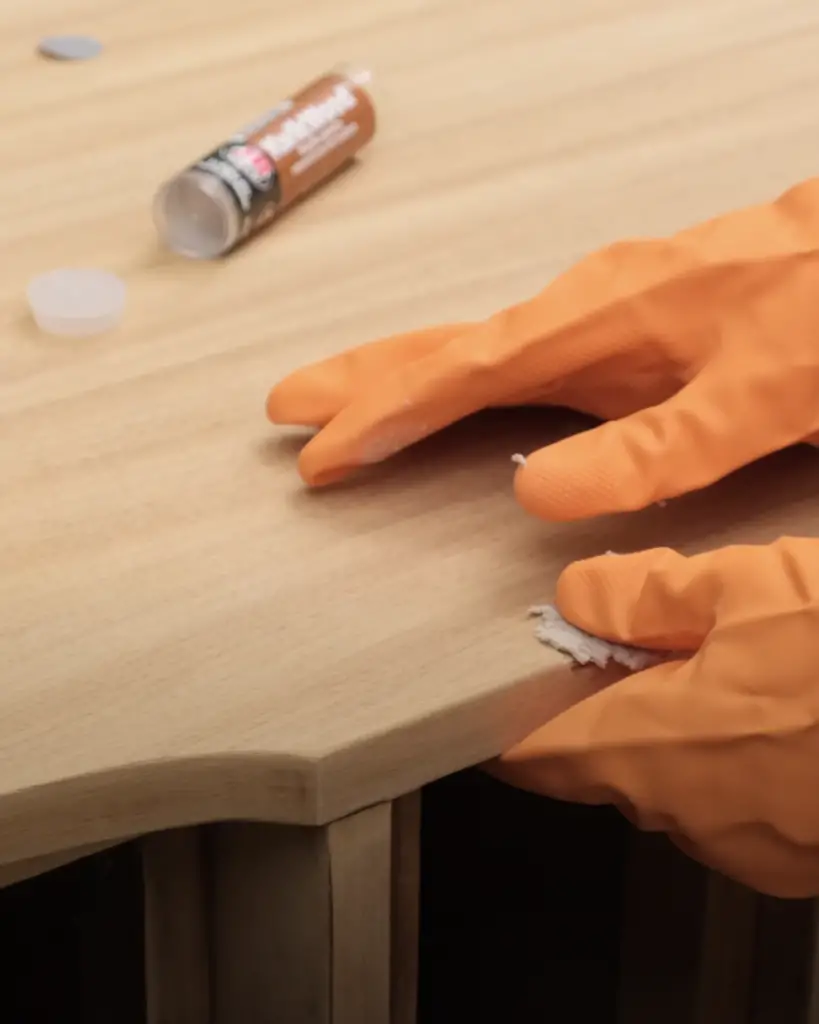
Patch as needed. On my pieces there were several spots where the veneer had chipped that I need to fix. For this, I used Kwikwood epoxy to fill the spots. Once it’s completely dry I sanded it down to the same level as the rest of the veneer. It will be obvious that it’s a fix, but don’t worry — I have some tips for blending it in once we get to staining!
Smooth out the wood. Incrementally move up your sandpaper grit to smooth out the finish of the wood until you’re happy with the feel. Thankfully, these passes of sanding will go a lot quicker than the initial stripping of the piece.
Clean Clean Clean! Don’t skip on this part. You can start by vacuuming it out with a shop vac to get the major mess. From there I like to use a very dilluted soap water mix to get as much of it up as I can. Lastly, I go over it with mineral spirits and a fine steel wool to make sure there’s no lingering residue or anything that that a previous finish might have left behind.
Condition the wood. It may be tempting to skip over wood conditioner, but don’t! I have learned my lesson too many times. It really don’t take that much extra time and it can make a big difference. Follow the directions on whatever wood conditioner you’re using. Most recommend applying within an hour or two before you’re ready to stain.
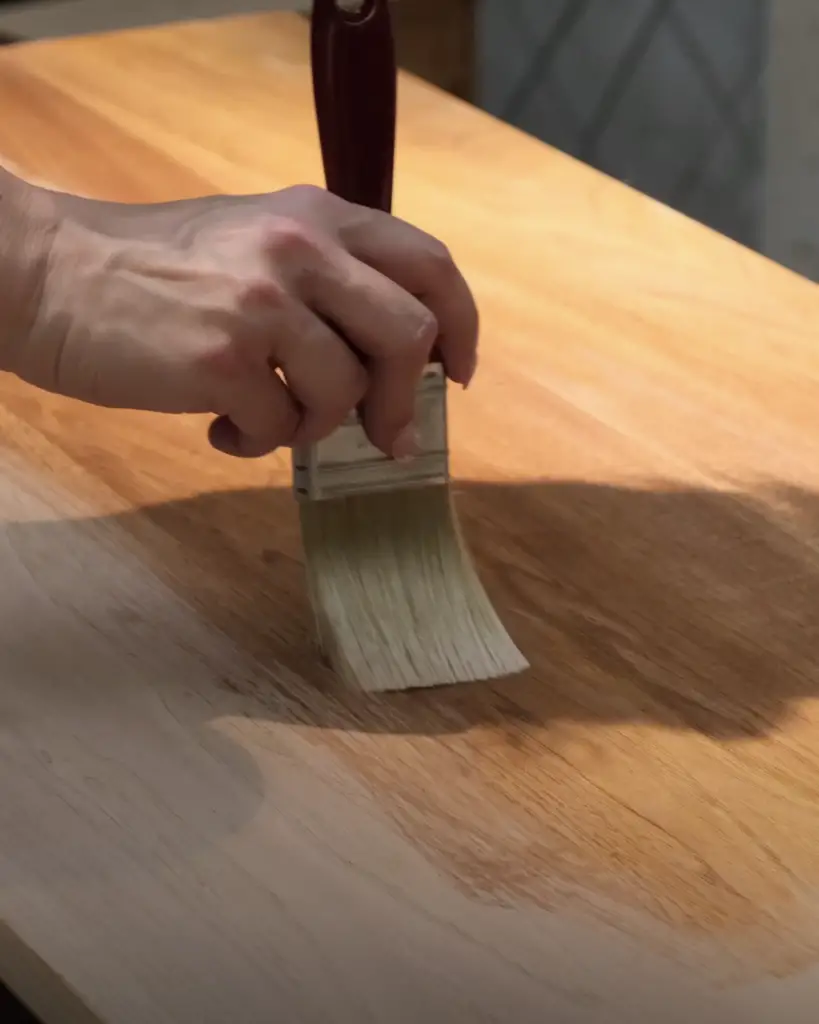
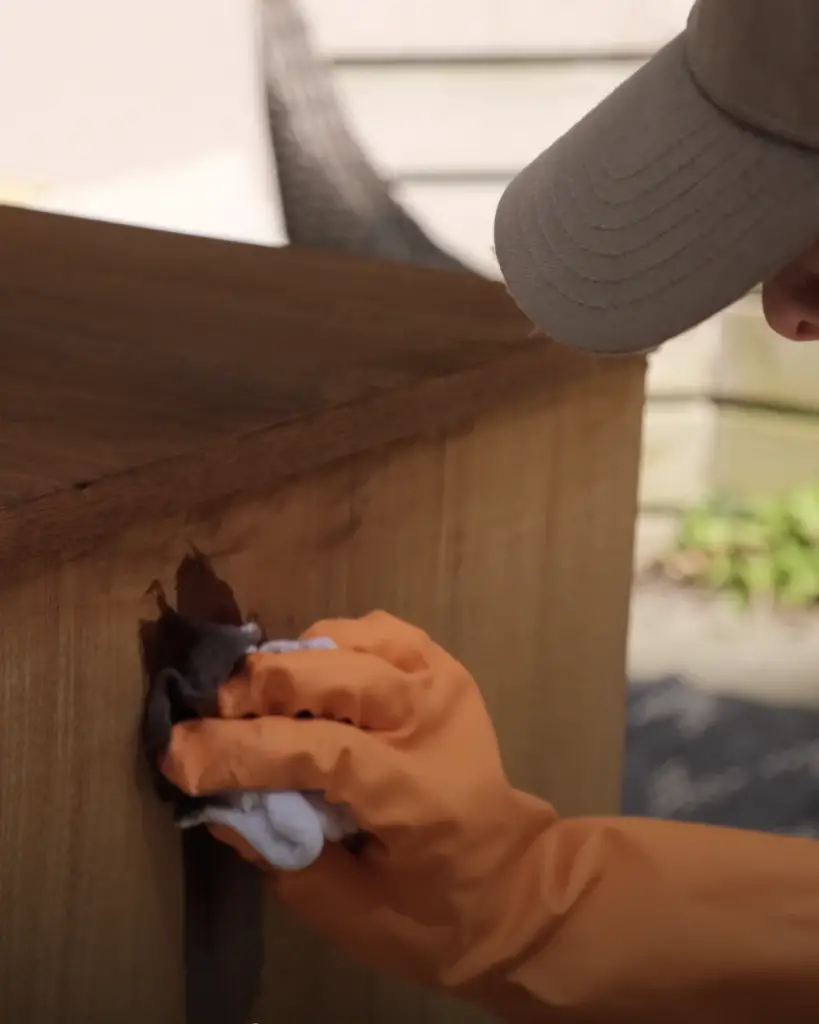
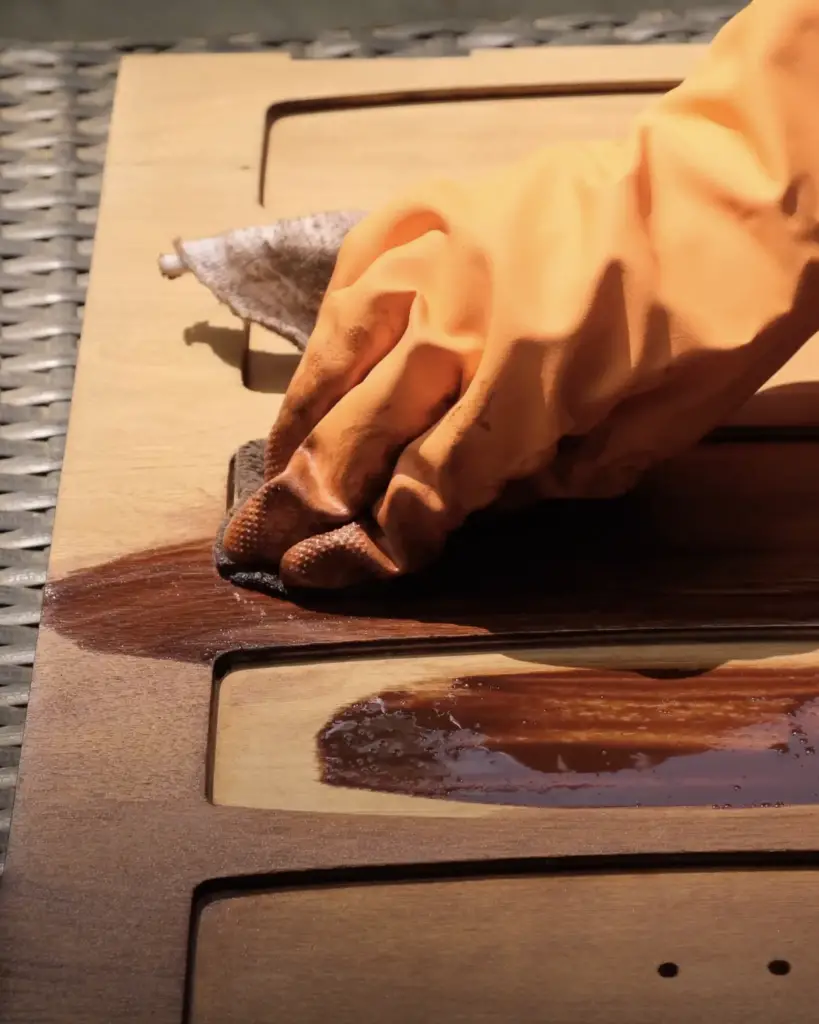
It’s time to STAIN! This is always the most exciting part to me. I like to use clean rags to apply the stain. You don’t want to try to apply too much stain at once, just what the wood will accept. but make sure you blend it in really well, nothing is worse than a streaky finish! If your first coat isn’t dark enough you can apply more coats once it dries until you find your preference.
STAINING TIP: Many times I’ve found myself disliking a stain color and then having to strip it back down again once it dries. Now, if I start putting on a stain color I’m not happy with I try to stop myself as quickly as possible, grab my mineral spirits and clean the stain off while it’s still wet. This is way easier than having to strip it back afterwards, so don’t let yourself get too far if you’re not liking it!
Blend patches (if needed). If you had spots to patch with epoxy then likely the epoxy will not accept the stain the same way the rest of the dresser does — that’s what I experience. What worked for me is using a slightly darker gel stain (gel stains are much stronger). I applied it to the patched spots using a small paintbrush and using it to also create a little bit of “wood texture”. I had to go over these spots a few times to get them to blend right, but now you really can’t tell where I patched. Keep in mind that gel stains also tend to take more time to dry than regular stains.
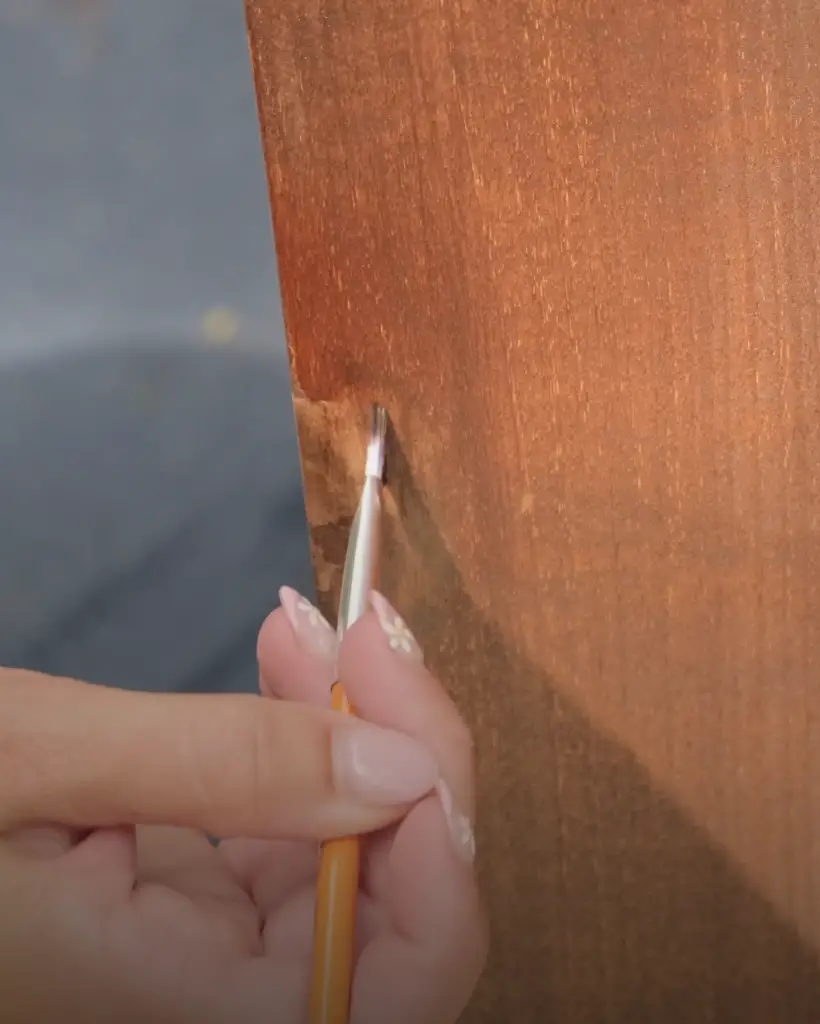
Blend patches (if needed). If you had spots to patch with epoxy then likely the epoxy will not accept the stain the same way the rest of the dresser does — that’s what I experience. What worked for me is using a slightly darker gel stain (gel stains are much stronger). I applied it to the patched spots using a small paintbrush and using it to also create a little bit of “wood texture”. I had to go over these spots a few times to get them to blend right, but now you really can’t tell where I patched. Keep in mind that gel stains also tend to take more time to dry than regular stains.
Seal it. I prefer using a water-based poly to seal my pieces. They’re much less stinky, and just all around easier to work with in my opinion. The downside is that they’re not as thick as a traditional poly, which means I usually do at least 2 coats, if not 3. You will want to carefully consider what finish you want when picking your Poly. For these pieces I used a semi-gloss, but for other projects where I wanted a more “worn” look I went with a Matte finish. Follow your Poly’s instructions. Typically I apply it using a paintbrush, allow it to dry fully, do a light sanding with fine sandpaper, a quick clean, and then apply another coat. Make sure you let it dry completely before you start using your furniture!
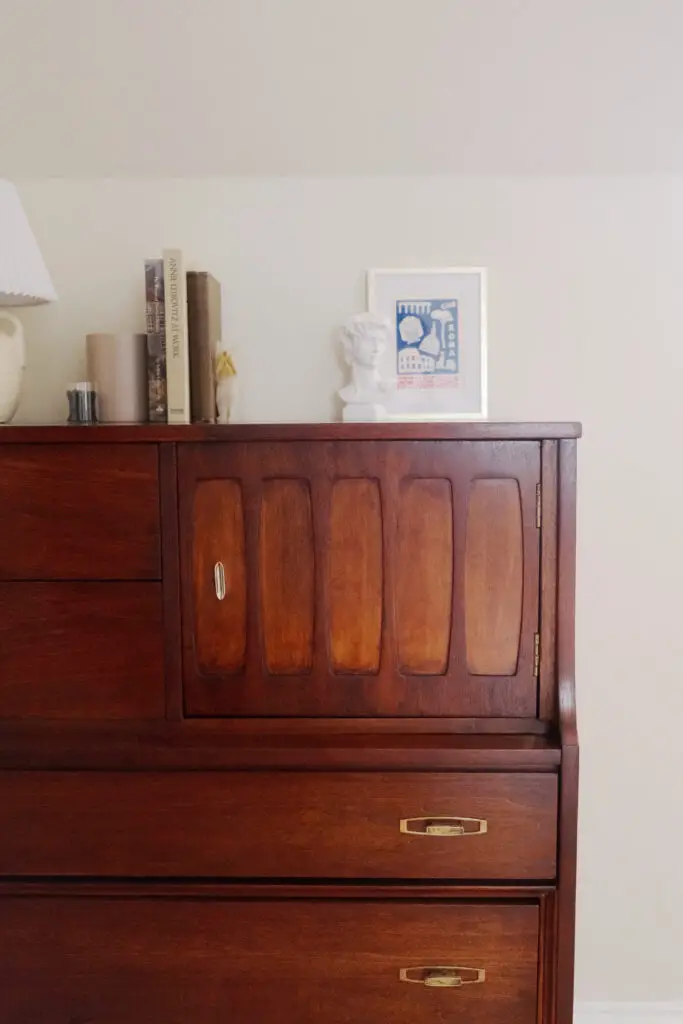
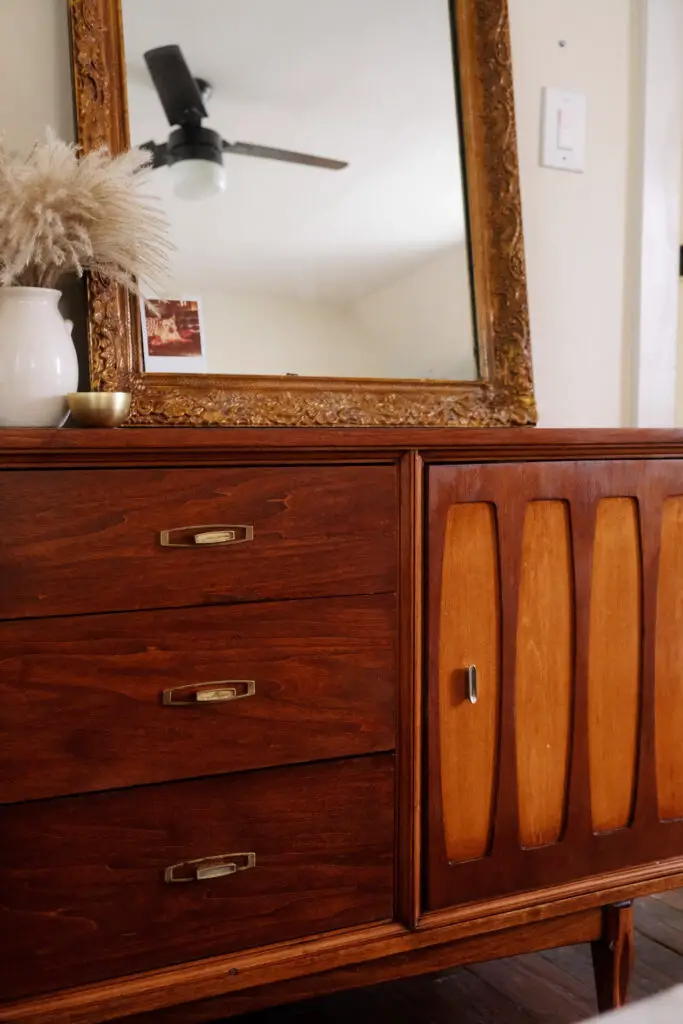
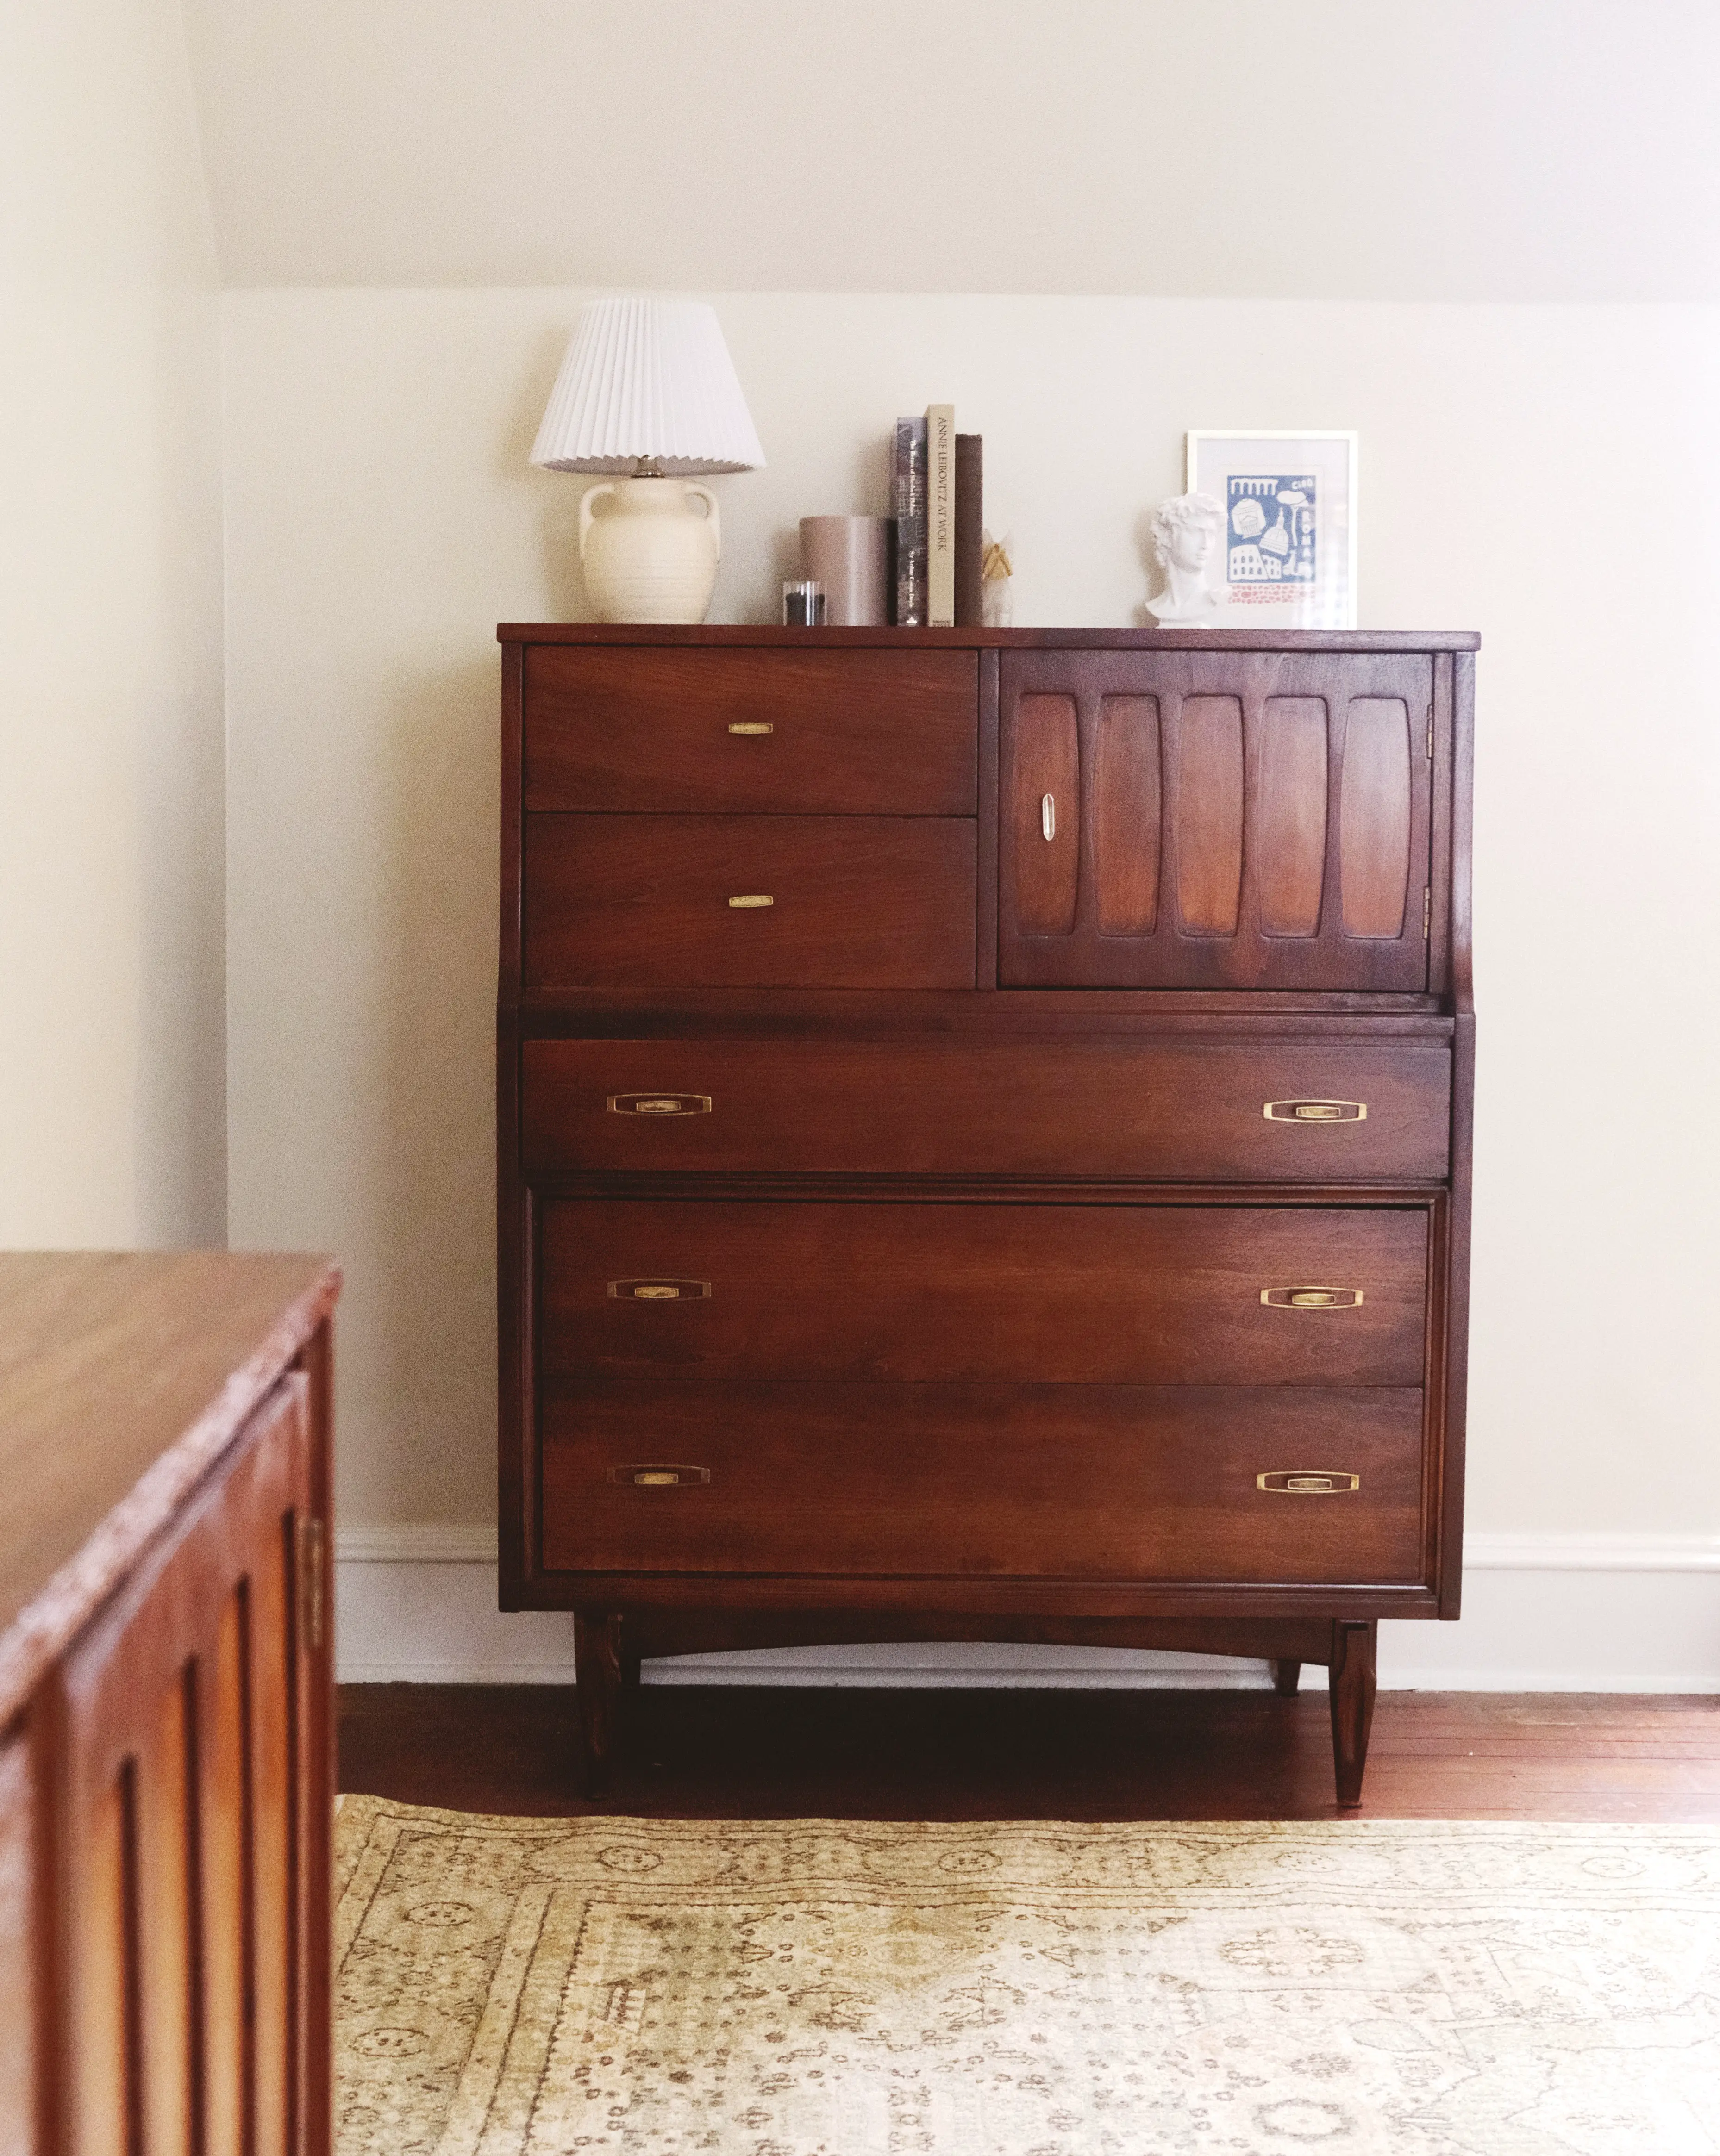
Is it a quick process? No. It certainly is much more time consuming than paint in my experience. But I still think it’s totally worth it, especially on pieces that were originally designed to show off the wood grain. I always try not to judge to harshly, but I will admit that a have to look away whenever I see someone painting a perfectly savable Mid-Century Modern piece furniture 🫣
If you’re looking for more tips and ideas for refinishing furniture I highly recommend Recycled Restored on Tiktok. She is a complete pro and does an unbelievable job!
