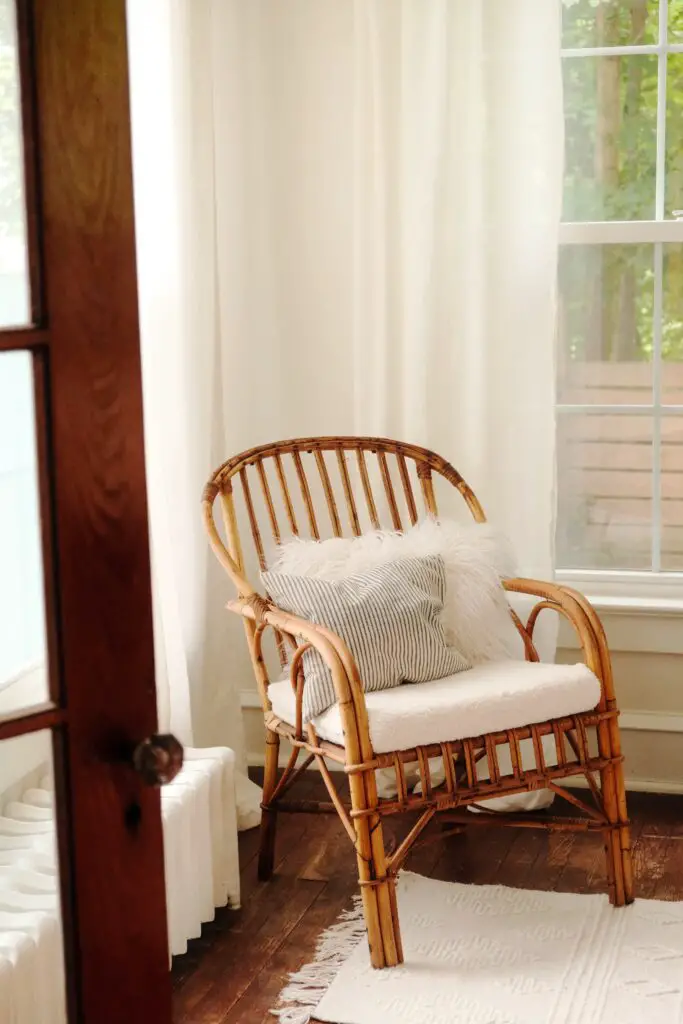
As someone who’s been sharing things online for much too long it still surprises me what projects I’ve shared that get resurrected long after I’ve moved on and accepted that it was destined to disappear into the ether. This chair is one of them.
The video of me re-canning a chair was one of my earliest youtube videos when I was just getting my feet wet and was still figuring out how to even upload a video. It seemed to flop with only a few people ever seeing it. Since then I figured was probably for the best since it was such poor quality in retrospect. Then all the sudden, well over a year after it was posted, the views started growing. Did it go viral? No (thank god). But going from 300ish views to 20k in a month is a pretty big jump when you’re still an itty bitty creator in the big pond that is Youtube.
Along with new views came comments and questions. As a newbie at the time to both video making and the caning process, I didn’t explain things terribly well. And while time has wiped away the finer details of the project from my mind, I’d like to try to break things down the best I can for anyone looking for a little more info on how I did it. I am still no expert, so this won’t be a step-by-step on how to re-cane a chair, but a mix of tips and recommendations to hopefully get you started.
Cleaning
My rattan chair came from an estate sale, and had been sitting either outside or in a shed for quite some time. As such, it was quite grime-y. I uses a power washer to clean it and then let it sit out in the full sun to dry out completely. If you don’t have a power washer, a hose and some hot soapy water should do the trick. I’m not fancy, I would just use Dawn soap to give it a good cleaning.
Sanding
In the video I mentioned how I realized after I finished re-caning the chair that I should have sanded it down first. It wasn’t the end of the world that I didn’t, but learn from me and go ahead and give it a good sand down here. What grit sandpaper you use will likely depend on how worn out your project is, I used a medium/fine (180 I think) sandpaper as most of my chair was in decent shape. If you need to start at a lower grit, just make sure you end with something finer to smooth out the finish.
Caning
This is the caning that I used for my chair. As I mentioned in the video, it was a little bit smaller than the original caning on the chair, but I already had it on hand and figured it was close enough. If you have some original caning you can measure it and google to find the same size to keep it looking original.
In order for the caning to be pliable it needs to soak in warm water for a few minutes. You can do this in a big bowl or bucket, or just fill up your sink and let it sit in there as you work. When it came to the actual caning I tried my best to re-create the original designs. I would recommend watching some professional’s youtube videos to get a better idea of how to work with the caning. It’s not a hard material to work with (I think it’s fun, actually) but there’s definitely an art to it!
Here’s a few videos to watch on caning:
How to restore a Cane Saucer Chair
How to Replace Cane Binding
How to Bind your Joints
All the real professionals seem to use wood glue and tying techniques to secure their caning. I ended up using hot glue to help me along with securing the caning as I worked. I found it really helpful as a newbie, but probably gets at least a big old side-eye from professionals. Hot glue dried quite a bit faster than most wood glues, so it really made my life easier while learning, and I haven’t had any come undone so far. If you do use hot glue, don’t get too heavy handed with it, just tiny dabs are generally enough to help you out.
Oiling
To finish off my chair I decided to go with Danish oil in Medium Walnut. Most professionals seemed to be recommending Danish oil, which is why I went with it. I’ve had a few people ask me about using a clear coat – I can’t really speak to that since I didn’t use it for this project. But I will say that after more than a year my chair still looks great with just the oil.
I didn’t do anything special besides follow the directions on the can for the Danish oil. Whatever brand you use just make sure you read their their specific directions fully first.
Creating a Cushion
Like with re-caning chairs, I am also not a professional at sewing. I’ve done some sewing off and on since I was a teenager, but I’m far from being skilled enough to be able to teach anyone anything. If you watched my video you’ll also probably already know that it was a frustrating process for me to make a cushion for the chair. It didn’t come out perfect, but it came out good enough and is still the cushion we use on the chair. There are plenty of videos on youtube about making cushions for chairs, but here is the one I watched and (attempted) to follow to make mine: Make a Box Cushion

I’ve mentioned it before, but we do still have and use this chair. Well, to be more specific, one of us uses it. Our chihuahua has decided that it’s her chair and will give you the absolute dirtiest looks if you dare to sit in her chair. As I write this Dutch is currently dreaming away in this very chair.
I hope I’ve been able to clear up some of the things I missed with my original video, but feel free to reach out if you have any additional questions. I do think re-caning is a truly enjoyable process, so if you find a chair that needs a little love, don’t be afraid to give it a try!


COMMENTS