Gluten Free French Silk Pie Everyone will Love
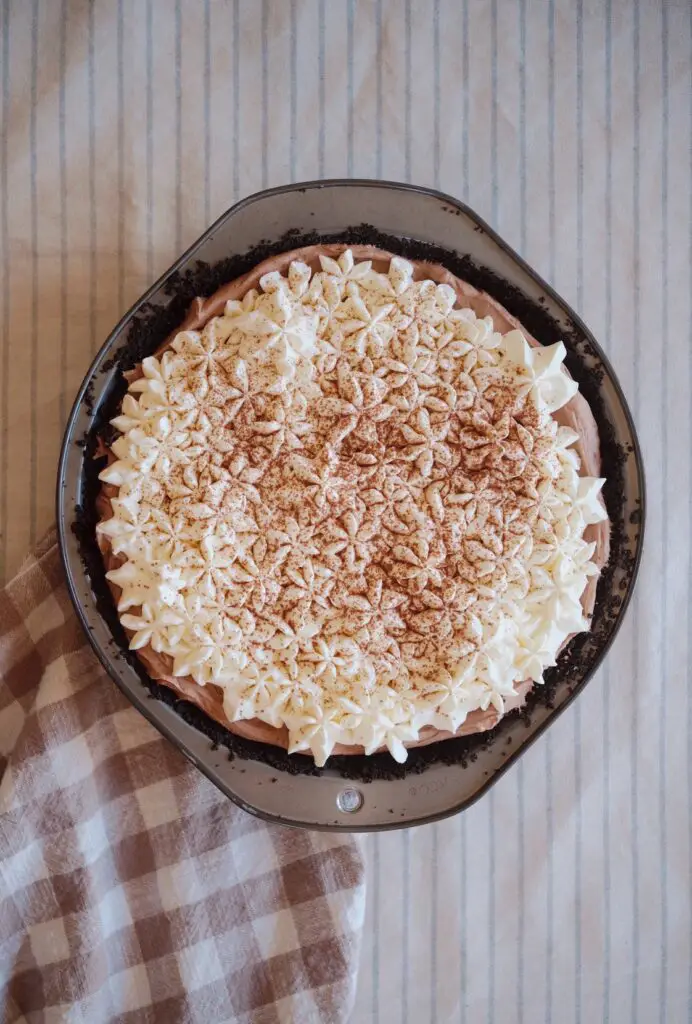
I have always loved to bake. From my early teens I was always tinkering in the kitchen (remember the cupcake craze of the early aughts? I sure do). When my nephew was diagnosed with celiacs I had the hardest time finding good desserts to make for family functions that everyone could enjoy. I don’t like to sacrifice flavor, so I was determined to find some options that were just as good as the gluten versions. This pie exceeds that expectation and has become a family favorite no one can resist!
I had long wanted to try my hand at making a French Silk Pie, so a few years ago I pulled up Joy The Baker’s French Silk Pie recipe and followed it to the T. It was incredible. Everyone was raving about it. Even the (now multiple) family members who are gluten free were scooping the filling out to try. With the filling itself already being gluten free, I felt there had to be a way to make the entire pie safe for everyone. After a little bit of tinkering, I have to say I actually like this version even a little better than the original (which, to be clear, is absolutely incredible).
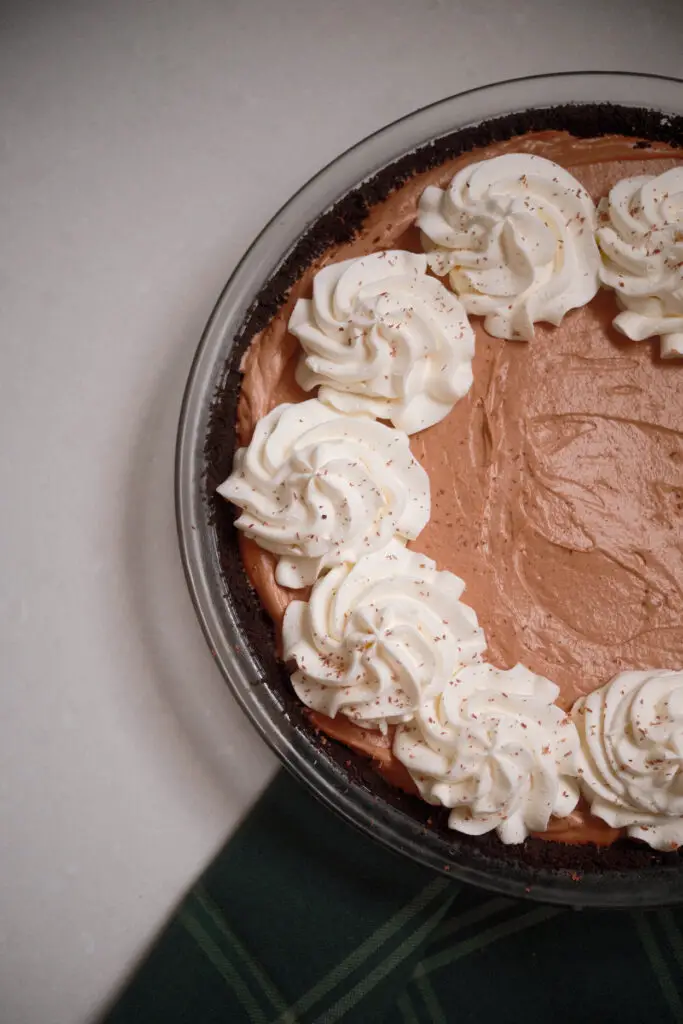
Clearly, this is a chocolate lover’s pie. Swapping the original classic crust for an Oreo cookie crust really ups it to the next level chocolate-wise. I also love the little bit of crunch that using a cookie crust gives. I think it’s the perfect balance when paired with the super smooth filling.
Gluten Free French Silk Pie
Ingredients
Pie Crust
- 24 Gluten Free Oreos
- 4 Tbsp Melted Butter
Pie Filling
- 2.5 ounces unsweetened chocolate
- 2/3 Cup granulated sugar
- 2 Eggs
- 1 Tsp vanilla extract
- Pinch kosher salt
- 1/3 Cup unsalted butter, softened to room temperature
- 1 Cup Heavy cream
- 1 tsp powdered sugar
Topping
- 1 Cup Heavy cream
- 2 tsp powdered sugar
- Splash vanilla extract
Instructions
Pie Crust
- Preheat the oven to 350F
- In a food processor or blender, pulse the whole gluten-free Oreos into a fine crumb. Remove any large pieces of Oreos.
- Add melted butter to the food processor and pulse a few times to incorporate with the cookie crumbs.
- Press the crumb mixture firmly into the bottom and sides of a pie pan. You can do this by hand, or use the bottom of a measuring cup to help.
- Bake the crust for 10 minutes and allow to cool fully before filling.
Pie Filling
- In a microwave safe bowl, melt the unsweetened chocolate. Check the chocolate every 10-20 seconds, stirring regularly until melted, to make sure it doesn't burn. Once melted, remove from microwave and let cool completely.
- In a medium saucepan over low heat whisk together granulated sugar and eggs. Whisk near constantly until the mixture reaches 160 degrees on a cooking thermometer, about 10 minutes. Whisk constantly to ensure the eggs don’t cook (This will ensure that the raw eggs are safe to eat)
- Remove from heat and whisk in the cooled melted chocolate and pinch of salt. The mixture will thicken and seize a bit. Just keep whisking until glossy and smooth. Set aside to cool to room temperature.
- While chocolate cools, make the whipped cream. Using a mixer with a whisk attachment, beat heavy whipping cream and powdered sugar together until medium-stiff peaks form. Keep in refrigerator until ready to incorporate.
- In a medium bowl, use the beater attachment of an electric mixer to beat butter until fluffy. On low speed, slowly add the cooled chocolate mixture and beat until the mixture is thick and glossy, scraping down to make sure the butter is and chocolate are fully incorporated. Ensure this mixutre is fully cool before moving to next step.
- Fold in the whipped cream into the chocolate mixture in three batches, being careful not to deflate the cream too much with stirring (try not to rush this step! otherwise your pie will be more soup-y than stiff). Transfer the chocolate whip to the cooled pie crust and smooth the top. Keep refrigerated while making the topping.
Topping
- To make the topping, whip heavy cream, powdered sugar, and vanilla extract to medium peaks that hold their shape. Spoon over the prepared pie. You can also use a icing bag with a large star tip to pipe on the whipped cream if you want to fun design. Allow the pie to set in the refrigerator for 2 hours before serving. Pie can be stored in the refrigerator overnight. Store any leftovers in the refrigerator for up to 3 days.
What Tools do I need?
- Regular Pie pan
- Electric Mixer with both paddle and whisk attachments
- Cooking or candy thermometer (yes, you really do need this!)
- Food Processor : This isn’t an absolutely necessity, but it does make this process much easier. If you don’t have one, you could crush up the Oreos by putting them in a sealed plastic bag and using a rolling pin or mallet to crush them by hand. Then mix in the butter by hand as well.
Is it Gluten Free?
Yep! Just make sure that you use only the gluten-free Oreos for the crust. Regular Oreos are not gluten free. I typically use the regular gluten free Oreos, but have used the double stuffed ones on occasions where I can’t find the normal ones.
Can it be made Dairy Free / Vegan?
Dairy free and vegan are not my area of expertise. Many in my family are gluten free, but thankfully can have dairy, so I use that to my advantage with a lot of our baking. I personally would not recommend trying to make this recipe dairy free or vegan. The eggs and whipping cream are highly essential to this pie, and I think you would need to adjust many other things about this recipe in order to make it work without dairy. That said, there are many incredible vegan and dairy-free bakers on the internet, so I would search out an alternative recipe from someone who’s an expert in that area.

