
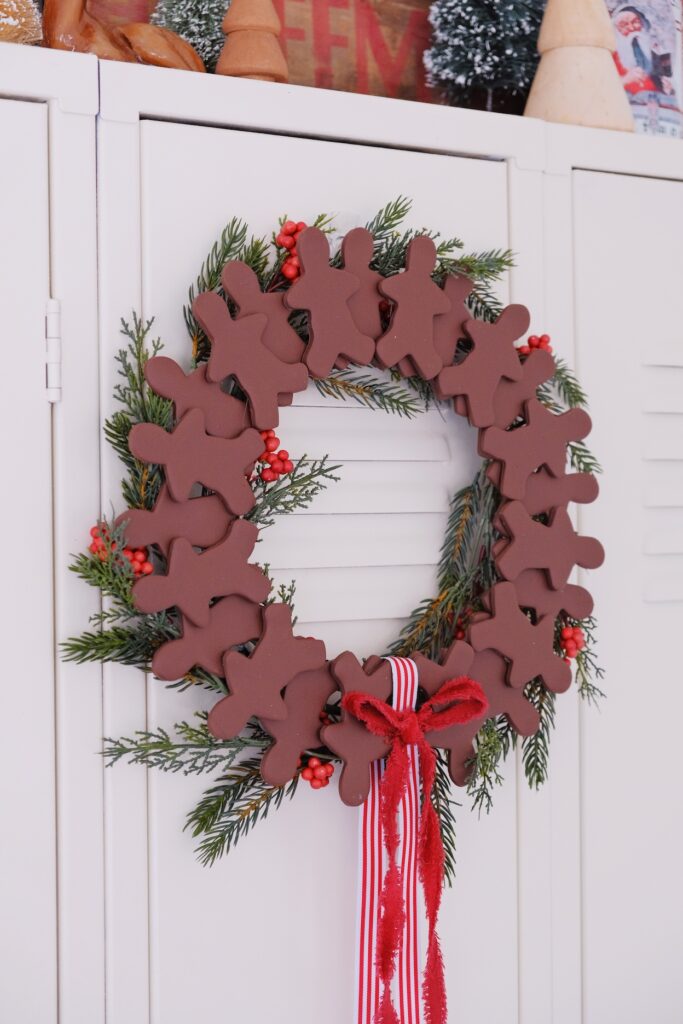
Recently I’ve come across the cutest ideas for creating wreaths for the holidays using Gingerbread! I love the look, but I wanted to find a way to create one that I could enjoy year after year (and also something that I wouldn’t have to worry about attracting bugs or any other critters!). I ended up turning to one of my favorite craft supplies – oven bake clay! This is a really simple and fun DIY to create a wreath you can bring out year after year and enjoy.
This is exactly how I made mine, but you can dress up your own however you like with your own favorite types of faux greenery and ribbons!
Disclosure – this page contains affiliate links that, at no additional cost to you, I may earn a small commission from. As an Amazon Influencer, I earn from qualifying purchases.

Supplies
- Oven Bake Clay in a medium or dark brown color
- 3″ Gingerbread Man Cookie Cutter
- 10inch Wreath Frame
- Faux Greenery Garland (5ft)
- Red and White Ticking Ribbon
- Red Velvet Ribbon
- Hot Glue Gun and extra glue
- Rolling Pin
- Baking Sheet
- Parchment paper (oven safe)
How to Make a Clay Gingerbread Wreath
Bake the gingerbread men
- Follow your clay’s baking instructions for pre-heating to the correct oven temperature (it will tell you on the back). Line a baking sheet with parchment paper.
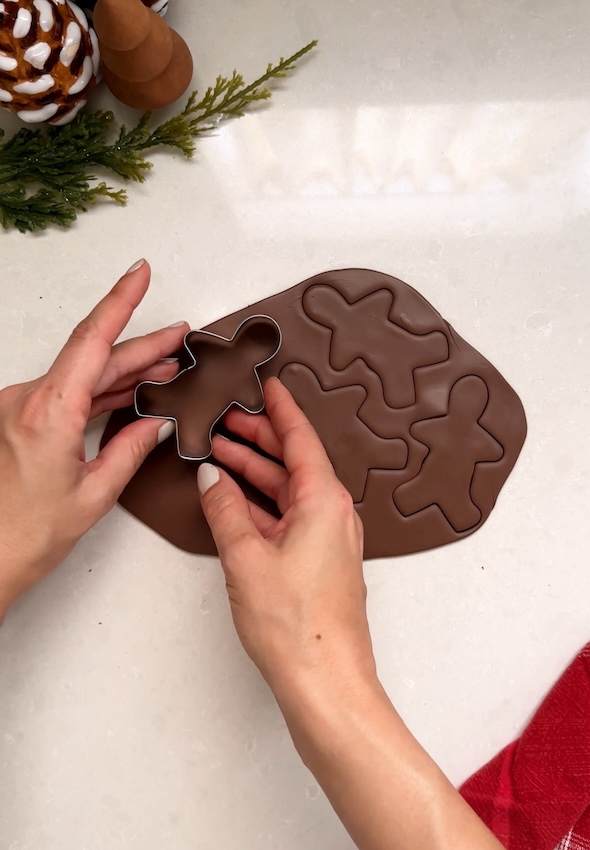
- Knead the clay until it’s soft and pliable (I found that working in small batches makes it easier to get the clay to a workable state). Use a rolling pin to roll out the clay to be about 1/4inch thick.
- Use your cookie cutter to cut out as many gingerbread men from the clay as you can. Move cut out shapes to the baking sheet lined with parchment paper.
- You can rework any scrap clay into your next batch as you continue to roll out your clay and cut out more shapes. You’ll want approximately 20 gingerbread men if you’re using the 10inch wreath frame.
- Once all of your shapes are cut out, bake them in the oven according to the clay package directions. When finished baking allow to cool completely.
Assembling the wreath
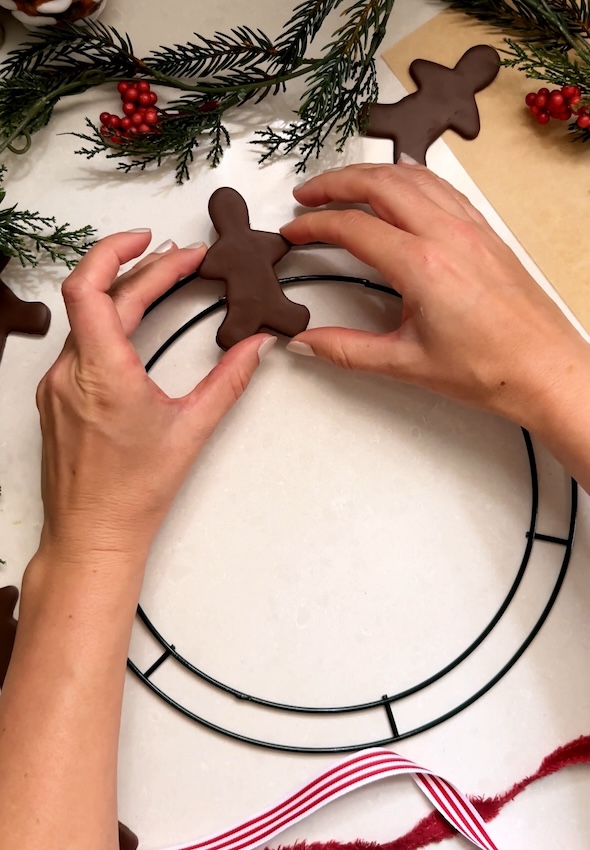
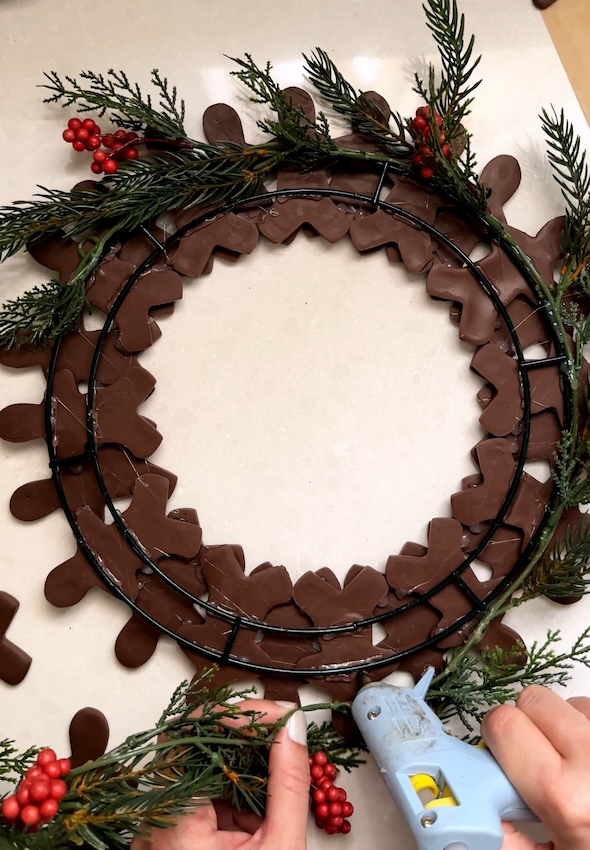
- For the first layer: Using a glue gun, add a small amount of glue to the top and bottom rails of the wreath frame (glue should be approximately the same width as your gingerbread men) and place a gingerbread man on top of the glue with it’s arms in line with the top rail. Continue glueing and placing the gingerbread men side by side until you’ve worked your way around the wreath.
- When you get closer to the first gingerbread man you will want to plan your spacing on the last few so there isn’t such a big gap leftover. They don’t need to be perfect, just even out the spacing. The second layer should hide any inconsistencies in spacing.
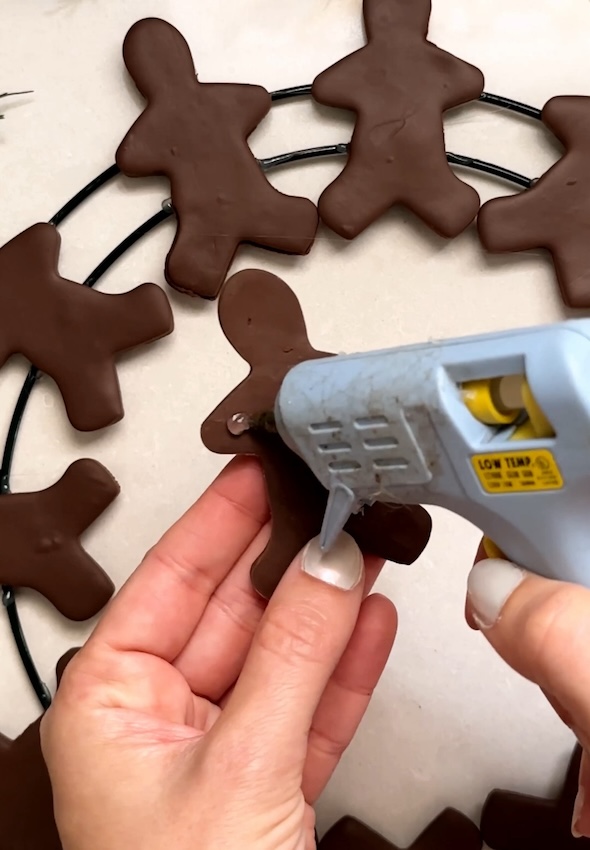
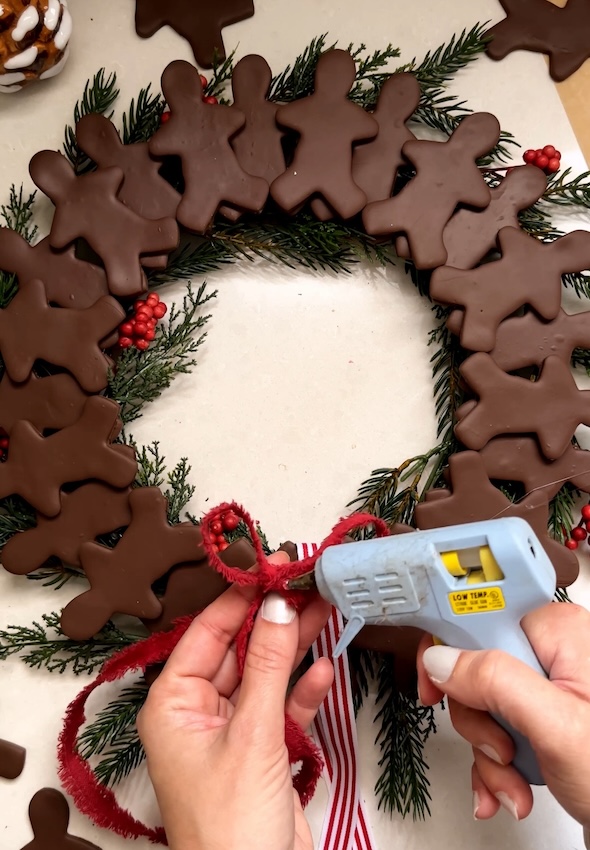
- For the second layer: Add small dollops of glue to the hands and feet of your gingerbread man and lay overtop of the first layer so it sits in between two of gingerbread men. Repeat with the rest of your gingerbread men until you’ve completed the second layer. Let the glue fully cool.
- To add the greenery: Carefully flip the wreath over so you can see the back of the wreath frame. At this point you can also add a little more glue to the back of the gingerbread men if you feel like they could use additional support. Using your hot glue add dollops of glue and attach your garland to the back of the wreath frame.
- Adding Ribbon: You can add ribbon in whatever way you like. For mine, I started with the red and white ticking ribbon, simply wrapping it around the base of the wreath and using just a small bit of hot glue to attach it in place. I then created a bow with my velvet ribbon and glued it right on top of the first ribbon. Nice and easy!
- Ribbon hanger: for a ribbon hanger I used a small bit of spare wire I hot glued in place, but you can also make one using additional ribbon, or whatever you like!





COMMENTS