DIY Decorative Gingerbread House from Thrifted Tea Light
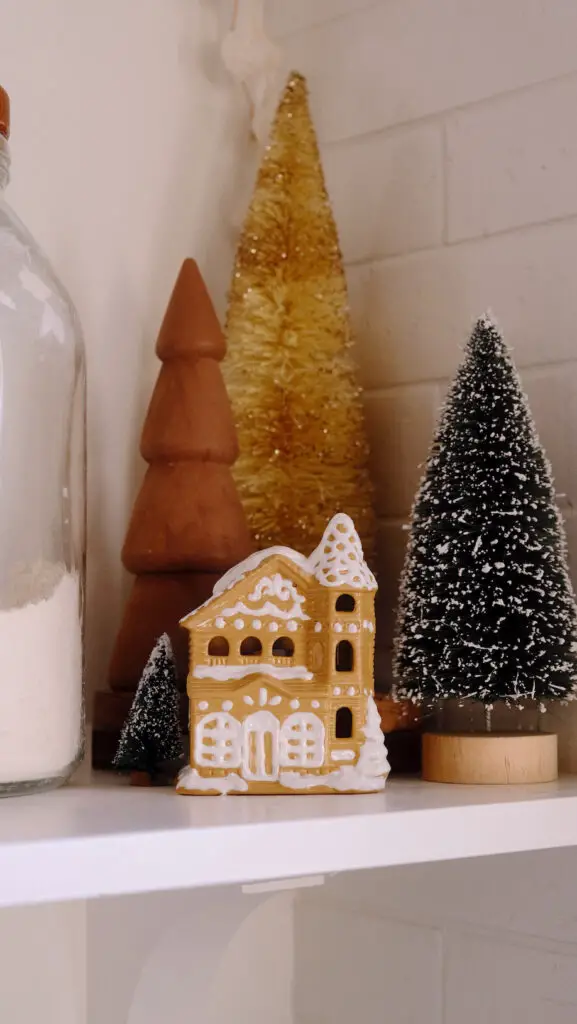
Gingerbread seems to be all the craze this year. Obviously, it’s a classic holiday motif, but it really feels like it’s on another level this year. Especially with Pottery Barn doing a whole gingerbread line, it feels like it’s everywhere this year.
This fall my sisters and I went thrifting all together. My oldest sister ended up buying two identical house tea lights with the adorable idea of making them into haunted houses. She ended up giving me one of the houses to make into a haunted house myself. Unfortunately, I never quite got around to it this fall. I also never felt like I had an idea that excited me for a haunted house, besides just painting it dark colors, which didn’t feel special enough for me to really get excited. Fast forward to me digging through my Holiday decor to plan out my decorating and I spotted that little house sitting unloved. Cue light bulb moment! I had a feeling it would be the cutest gingerbread house tea light.
Disclosure – this page contains affiliate links that, at no additional cost to you, I may earn a small commission from. As an Amazon Influencer, I earn from qualifying purchases.
Getting the 3D Icing Look
I’ve seen a few people DIY gingerbread house decor. Most of the versions have gone two directions. One, using regular paint, which still looks cute but doesn’t give you the 3D effect of gingerbread that I wanted. The second version I’ve seen has used joint compound. As someone who works a lot with joint compound for our home renovations, I know how finicky it can be, especially to get it to hold a specific shape while also being smooth. And to be honest, I didn’t love the final look I saw from those versions either.
When I sat down and thought about it, the perfect “icing” that came to my mind was puffy paint! I hadn’t used or even thought of puffy paint since I was probably 8 years old, but I remember just hold well it held it’s shape. I thought it would be easy to find at the craft store, but was surprised I couldn’t find the really classic “puff paint” I remembered (although I later was able to find it online!). After wandering the whole store for a while I did however find “dimensional fabric paint“, which I was pretty confident was just the modern version of puff paint. The great thing about this paint is that it comes in a bottle that already has a detail tip on it.
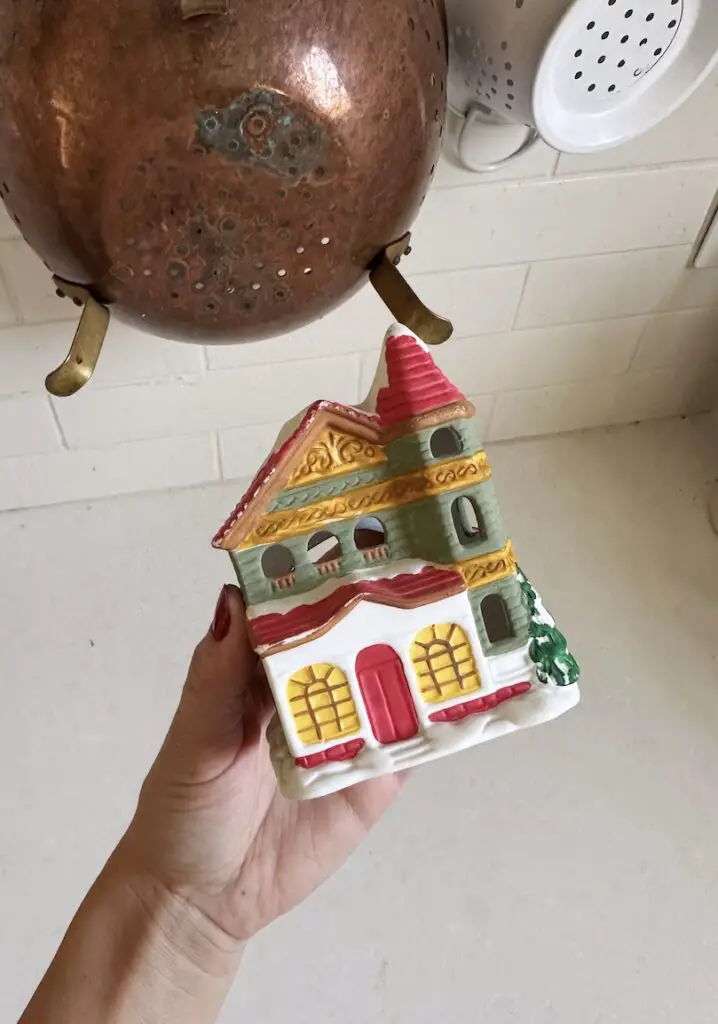
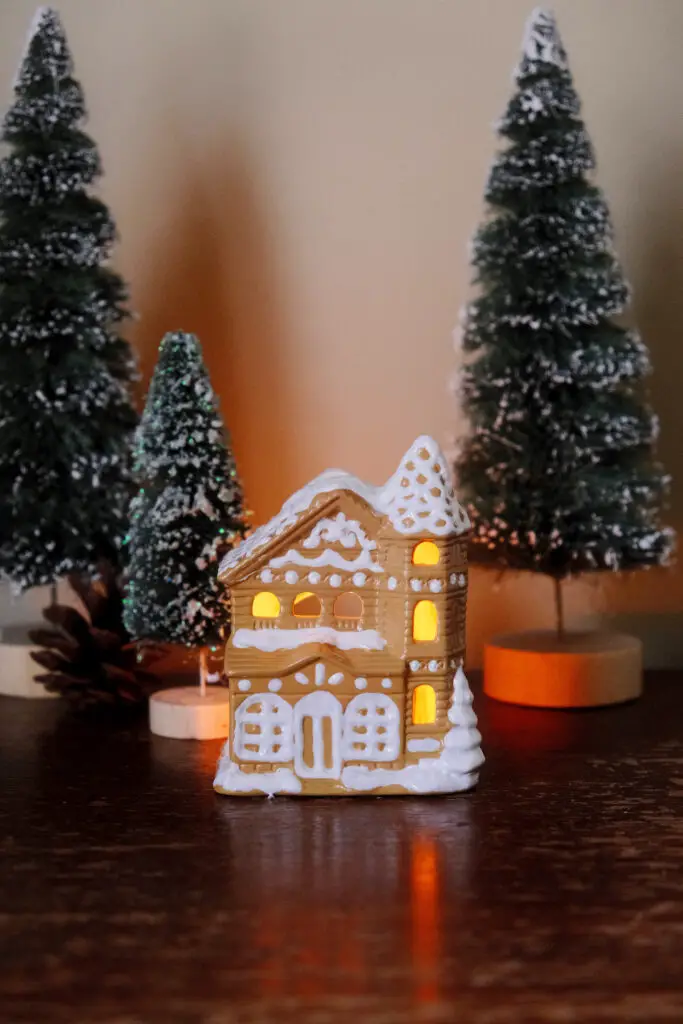
Step by Step Guide to DIY Decorative Gingerbread House
What you’ll need:
- Ceramic house (you can easily find these at the thrift store! No need to buy new)
- Tan or light brown Spray paint : I used Rostoleum in Khaki Gloss
- Dimensional Fabric Paint in White
How to:
- In a well ventilated area, coat the whole house in your tan spray paint. Let dry completely before moving onto the next step.
- Use the dimensional paint to create snow and draw in your gingerbread accents just like you would a real gingerbread house. You may want to practice a little on a piece of paper to get the hang of using the paint before you get started. If you mess up you can easily white off the paint with a wet paper towel while it’s still wet and try again!
- The dimensional paint takes a little longer to dry, but you can add more layers for more dimension once the first layer dries. This is great for creating the illusion of snow piles!
Note: The dimensional paint is not made for heat, so don’t put real candles inside your gingerbread house! LED string lights or battery powered fake candles are great for adding a little magic inside!

