How to Create a Foraged Witch’s Broomstick

I’ve always been a big fan of halloween, despite the fact that I rarely actually dress up. I’m a textbook over-thinker. I try to start thinking of costumes the beginning of September, sure that I’ll come up with the perfect one with plenty of time before halloween – yet every year halloween week sneaks up on me and I try to throw together something with what I’ve got on hand.
A week or so ago my sister asked if I had a witch broomstick one of my niece’s could borrow for her witch costume. I didn’t, but I realized in that moment that it might be really fun to make one. I had decided to let our backyard go a bit wild this summer (the way our backyard is on a hill makes it mostly unusable anyhow) which worked out perfectly for finding long dying grasses to use for the brush. Also by luck we had to take down a few smaller trees last month which left plenty of long sticks to choose from for a good handle. Keep reading for the step by step of how I put it all together, or head over to my youtube to see me make it!
How to Make a Witch Broomstick
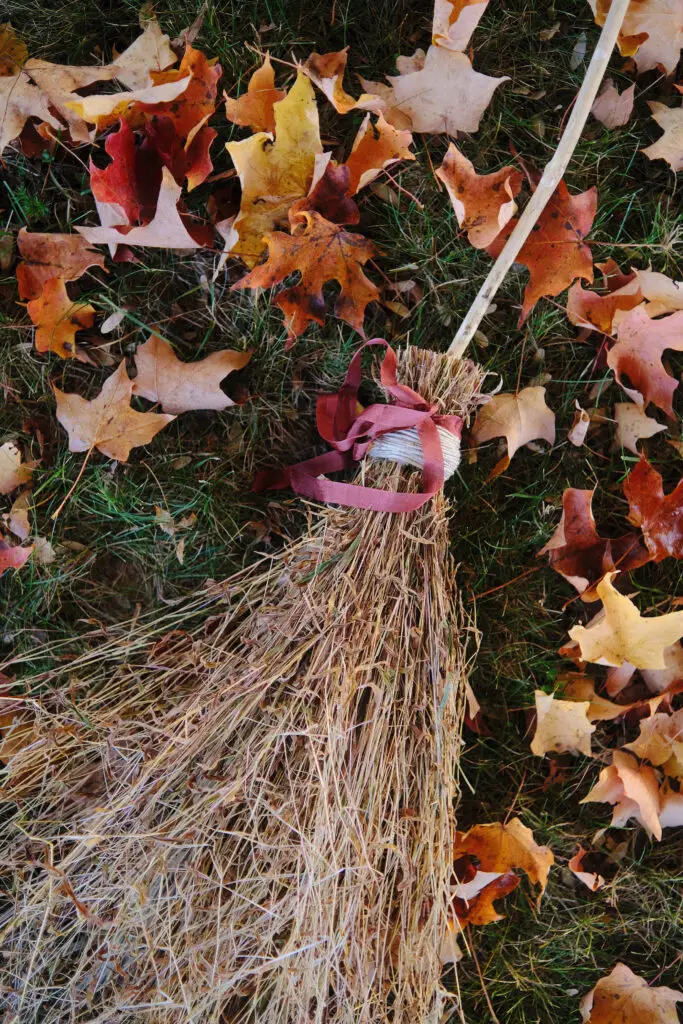
Start by collecting your materials. For the brush I was able to find a variety of long dying grasses in our backyard to use. You just want something that’s whispy in nature but nice and long (at least 2 feet or so). You can also get broom straw from many local farms during the fall.
Find a good stick for the handle – 4-5 feet long (depending on your height). You don’t want it too thick, but definitely something thick and sturdy enough that it won’t snap on you when you sand it down.
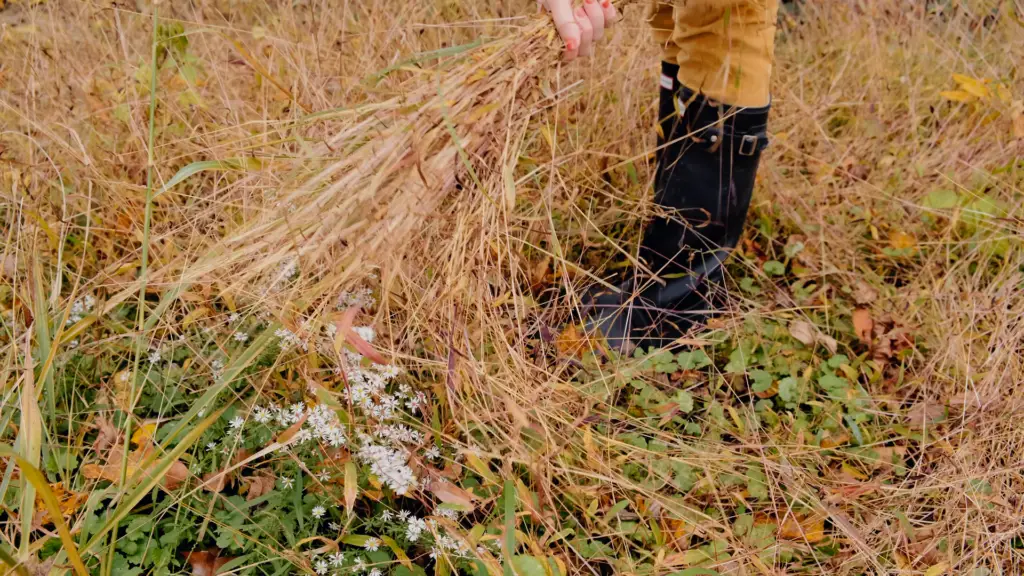
Dry everything out overnight. Put it in a nice dry, warm space. I laid everything on top of our metal radiators which worked perfect, but make sure you’re not putting them somewhere that could catch fire!
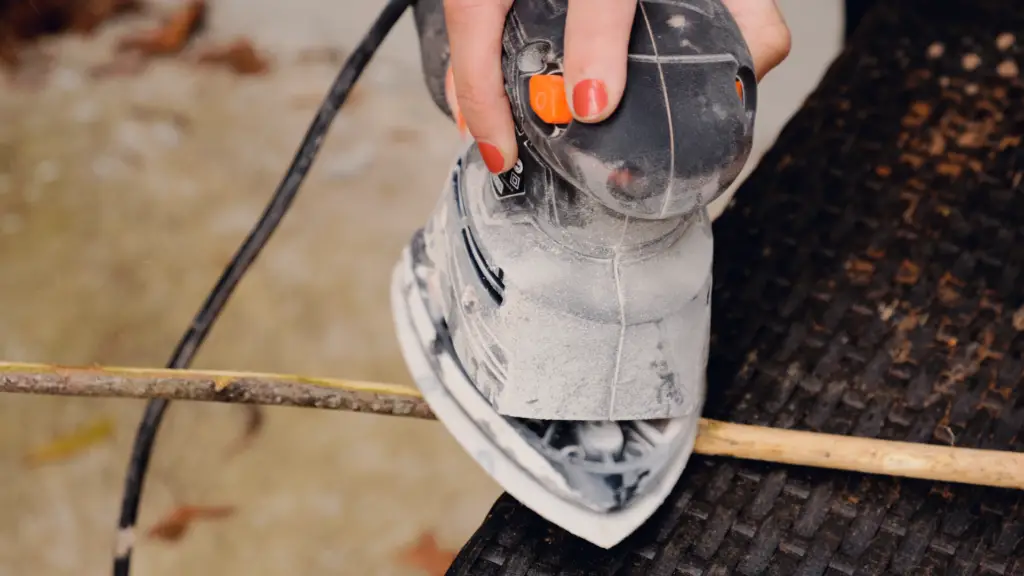
Sand down your handle stick to remove all of the bark using a rough sandpaper.
Separate your brush bundle into smaller bundles. This will help make your broom more stable when you attach everything to the handle. The bundles should be an inch or two thick.
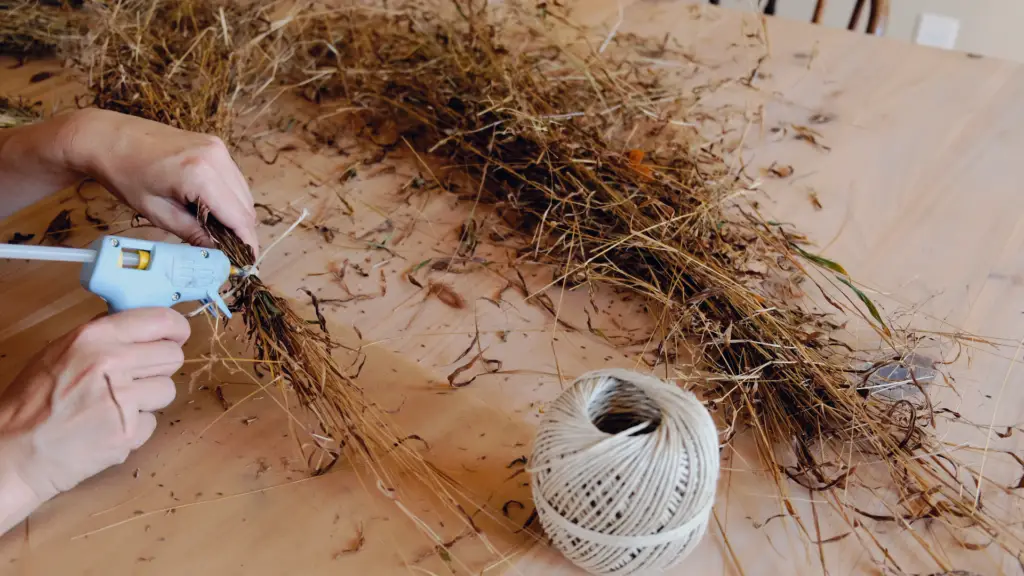
Use twine to tie each bundle individually at one end, leaving 3~ inches of brush sticking out the top. Leave a little bit of a tail to your twine after you tie them off. Use hot glue to fully secure your twine.
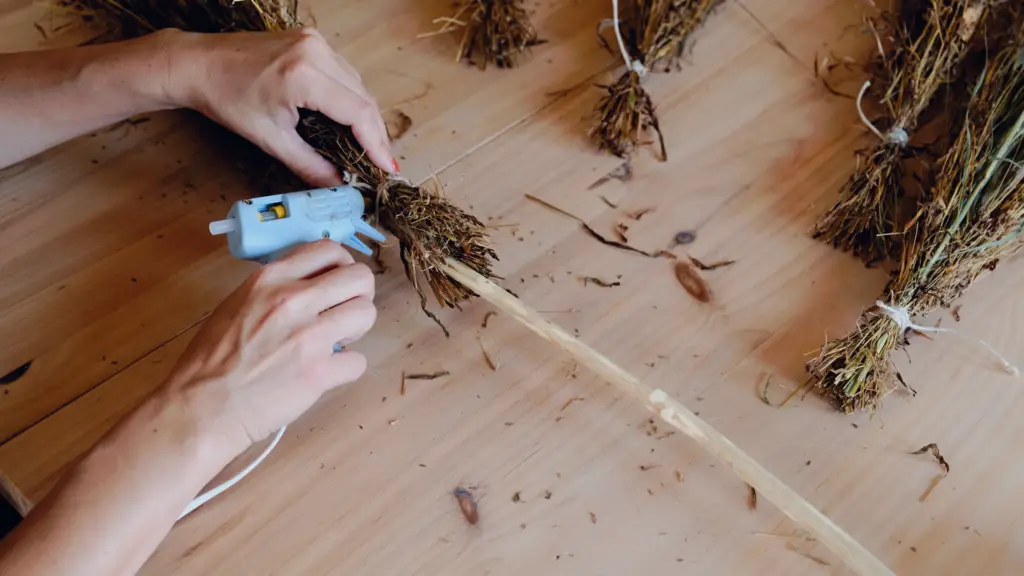
One by one, attach each small bundle to the handle by tying the twine tails around the handle, and to each other where you can. Use hot glue to secure each one.
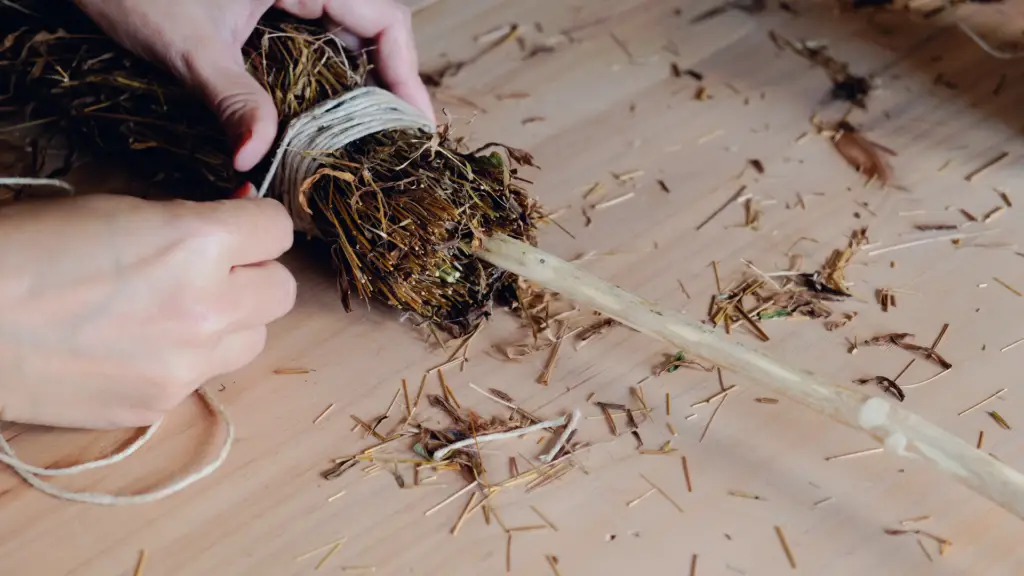
By this point all of your bundles should be securely attached to your handle, but it may look a bit messy. Trim the tops of your brush to even them out a bit. Use more twine to create a more decorative tie off to cover up all of the messy bundle twine and glue.
Optional: Add a little bit of ribbon tied into a bow! I used a bit of vintage ribbon I recently thrifted and I just love the little extra touch it adds.
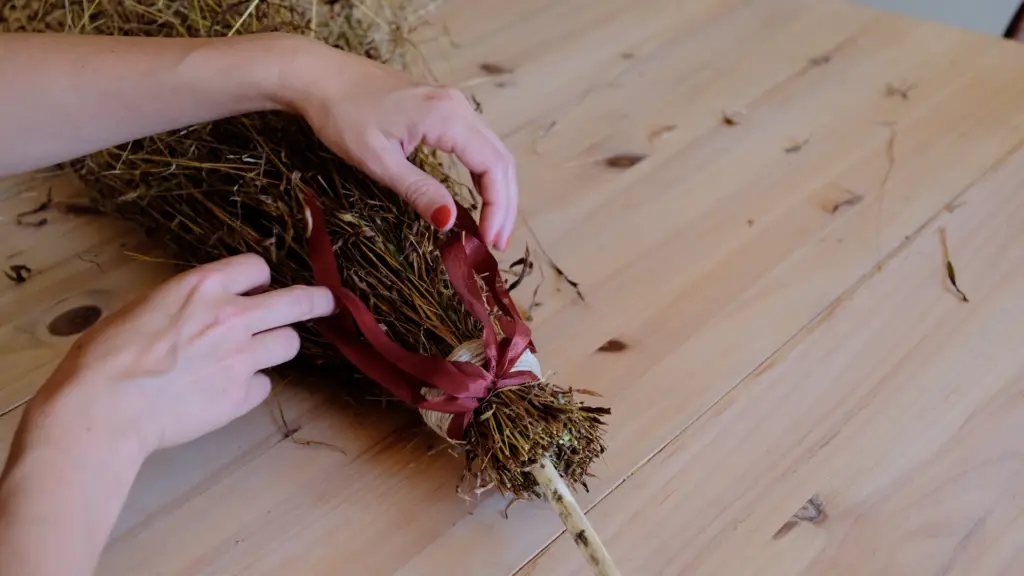
That’s all! It was honestly a much more simple project then I initially thought it would be. I also can see myself also using it year after year as a big of fall decor. I’ve always been a bit of a stickler for wanting more “realistic” looking costumes (silly, I know) so I love that this feels more authentic and rustic versus the plastic kind you find at most big box stores.
